Table of Contents
Advertisement
Quick Links
Advertisement
Table of Contents

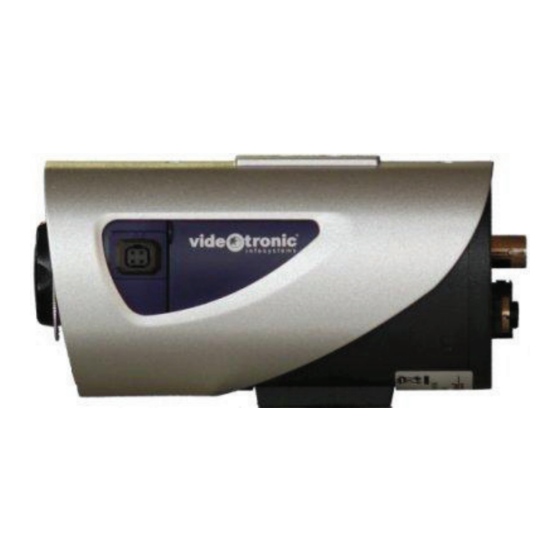
Summary of Contents for videotronic IX-1000AL/IP
- Page 1 Mounting- and Operating Instructions for IX – 1000AL/IP IX – 3000AL/IP 11/08...
-
Page 2: Table Of Contents
Dear Customer! By selecting this videotronic product you have chosen a professional device which guarantees highest possible quality and reliability. We like to thank you very much for your confidence in our products and kindly ask you to read the following instructions carefully before commissioning the product in order to be able to take full advantage of all quality features regarding this product line. -
Page 3: General Information
General Information Safety Precautions Read these instructions carefully before commissioning the camera in order to avoid damages caused by improper installation or use. Installation may only be carried out by authorised personnel according to the local safety regulations. Operate the camera with the designated voltage only. Follow the safety instructions attached to the camera. -
Page 4: Mounting The Camera
Mounting the Camera Mounting the Camera to a Wall Mount... -
Page 5: Commissioning The Camera
Commissioning the Camera Tips for Camera Location 1.0 To avoid internal overheating: - never expose the camera to direct sunlight without additional camera housing - keep sufficient distance to direct heat sources. 2.0 Never install the camera at humid, oily or dusty locations without using an additional housing. -
Page 6: Adjustment Of Back Focus
Adjustment of Back Focus This adjustment should only be carried out, if the lens cannot be focused properly using the lens focus ring. For such a case proceed as follows: 1 Loosen the Allan head screw with the attached Allan head key. For large distances, turn the focus ring of the lens almost (0.5 cm) to the "endless"... -
Page 7: Focusing The Camera Lens
Focusing the Camera Lens After you have selected the correct picture detail you have to adjust the lens focus. The focus adjustment needs to be done with the iris fully open, since the camera has the smallest depth of focus in this position. If the focus adjustment was not done with the iris completely open, the picture would be sharp during the day but slowly getting out of focus the more the light disappears. -
Page 8: Rear View
Rear View IX 1000AL/IP and IX 3000AL/IP MENU: Camera settings for camera module via VIDEO OUT VIDEO OUT: analogue video signal RESET: press 5 sec. for factory defaults POWER: Power connection indication (red LED) ETH STATUS: Network connection and activity indication (green light) AUDIO IN/OUT: Two way audio transmission connector 12VDC:... -
Page 9: Camera Configuration
Camera Configuration Press the menu key on the left side of the camera to open the set up menu. All settings are accessible from this menu. Set the cursor with the “up ¿” and “down À” keys to the setting you will change. Change the settings with the “left ½”... - Page 10 MANUAL: Manual White Bal., in the submenu the values are adjusted and stored. Proper White Balance may not be obtained with ATW under following conditions, in Note: these cases select AWC mode: When the scene contains mostly high colour temperature objects, such as a blue sky. When the scene is dim.
- Page 11 SPECIAL In this menu the special function of the camera will be configured and set to the conditions on site. For some settings the values will be set in a submenu. The arrow marks the settings in case of a submenu. To get into the submenu press the „MENU“...
- Page 12 SYNC A synchronization with Linelock is possible with the L Version (only 24 V AC) and H Version. With 12VDC the camera is firmly set on internal synchronization. You can adjust the phase in the submenu. MOTION DET This camera has a feature that allows you to observe movements of objects in four different areas on the screen, and the words „MOTION DETECTED“...
-
Page 13: Exhibit
Back focus not adjusted properly When used outdoors: heater defective; front pane of camera housing gets steamy Different GND potentials between camera and The picture is distorted monitor; use opto coupler (e.g. VPT from videotronic) Bad connections Wrong 75 termination Ghost image... -
Page 14: Technical Specifications
Technical Spezifications IX 1000A L IX 3000A L Camera typ IX 1000AL/IP IX 3000AL/IP CCD SENSOR 1/3“ Super HAD color CCD 752(H) x 582(V) Effective Pixels 720x576, 640x480, 352x288, 176x144 Resolution 1,2,3,4,5,6,8,12,25 Framerate MJPEG, MPEG4 Encoder Type 0,3Lux / F1.2 <... -
Page 15: Cleaning And Care
Cleaning and Care Before you start to clean the camera body, disconnect the unit from power supply. For reasons of electrical safety never clean the camera with water or other liquid matters and never put the camera under water. To clean use a soft dry cloth. Cleaning the camera inside is strictly forbidden and may only be done by your authorised dealer. - Page 16 International Service Hotline Tel.: 04321-879-0 Fax: 04321-879-97 Lahnstraße 1 D-24539 Neumünster/Germany Irrtümer sowie Änderungen, die dem technischen Fortschritt dienen, vorbehalten. Technical specifications are subject to change without prior notice. 2008, vin - videotronic infosystems gmbh Germany - printed in Germany...
