Advertisement
Quick Links
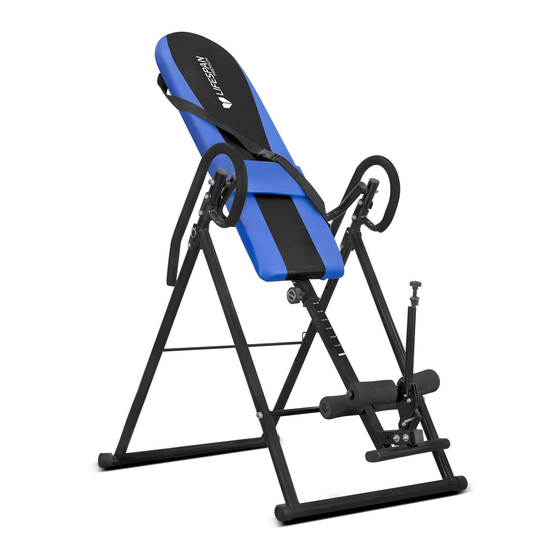
INVERSION TABLE
OWNER'S MANUAL
Product may vary slightly from the item pictured due to model upgrades
Read all instructions carefully before using this product. Retain this owner's manual for
future reference.
NOTE: This manual may be subject to updates or changes. Up to date manuals are available through our website at www.lifespanonline.com.au
Advertisement

Subscribe to Our Youtube Channel
Related Manuals for Life Span Inversion Table


Summary of Contents for Life Span Inversion Table
- Page 1 INVERSION TABLE OWNER’S MANUAL Product may vary slightly from the item pictured due to model upgrades Read all instructions carefully before using this product. Retain this owner’s manual for future reference. NOTE: This manual may be subject to updates or changes. Up to date manuals are available through our website at www.lifespanonline.com.au...
- Page 2 TABLE OF CONTENTS IMPORTANT SAFETY INSTRUCTIONS ASSEMBLY INSTRUCTIONS WARRANTY INVERSION TABLE...
- Page 3 Before using the equipment, check that the nuts and bolts are securely tightened. If you hear any unusual noises coming from the equipment during use and assembly, stop immediately. Do not use the equipment until the problem has been rectified. INVERSION TABLE...
- Page 4 This equipment is designed for indoor and family use only Care must be taken when lifting or moving the equipment so as not to injure your back. Always keep this instruction manual and assembly tools at hand for reference. The equipment is not suitable for therapeutic use. INVERSION TABLE...
- Page 5 2. ASSEMBLY INSTRUCTIONS EXPLODED VIEW: INVERSION TABLE...
- Page 6 FOAM BOLT M8*35 FOOT BAR WASHER d8*φ16*1.5 METAL SPACER BACKREST FIXED JOIN CAP PT70*30*60 PEDAL TUBE JOIN NUT M12 BOLT M8*55 WASHER d12*φ24*2 SLIDE TUBE JOIN BEARING 6001Z BACKREST CONNECT TUBE JOIN BOLT M10*65 BOLT M12*130 BOLT φ8*52 INVERSION TABLE...
- Page 7 INVERSION TABLE...
- Page 8 STEP 1: 1. Secure cushion tube join (4) to the front brace join (1) with bolt (50) and washer (6). 2. Adjust to a suitable angle and put limit rod join (15) on to rear brace join (14). INVERSION TABLE...
- Page 9 STEP 2: 1. Secure backrest fixed join (19) to the connect tube join (24) with bolt (26), washer (6) and nut (10). INVERSION TABLE...
- Page 10 1. Insert slide tube join (47) into the backrest fixed join (19), and then secure them with knob (16) and bolt (50). 2. Secure them to the slide tube join (47) with bolt (27), washer (18)and nut (30). INVERSION TABLE...
- Page 11 2. Secure the second foot bar (42) to the adjust tube join (37) with nut (13), washer (6) and metal spacer (43), and then insert bolt (50). 3. Secure pedal tube join (45) to the slide tube join (47) with bolt (46), washer (18) and nut (30). INVERSION TABLE...
- Page 12 STEP 5: 1. Secure handle join (9) to the rear brace join (14) with washer (6), bolt (5) and nut (10). INVERSION TABLE...
- Page 13 Full details of your consumer rights may be found at www.consumerlaw.gov.au Please visit our website to view our full warranty terms and conditions: http://www.lifespanonline.com.au/Warranty-Policy Please email us through support@lifespanfitness.com.au for all warranty or support issues. INVERSION TABLE...
Need help?
Do you have a question about the Inversion Table and is the answer not in the manual?
Questions and answers