Advertisement
Available languages
Available languages
Quick Links
Advertisement

Related Manuals for Thunderbike 42-74-020


Summary of Contents for Thunderbike 42-74-020
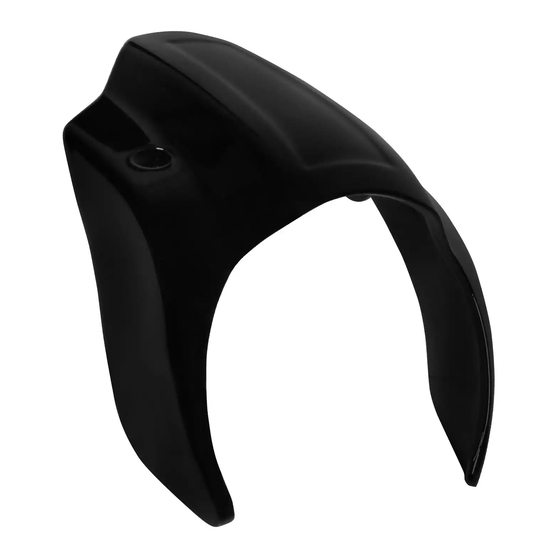
- Page 1 HEADLAMP CAP FÜR HARLEY-DAVIDSON BREAKOUT (2018->)
- Page 2 PACKLISTE: Menge Beschreibung Headlamp Cap Hülse Ø8,2*14*18 Inbusschraube UNC 5/16*2 MONTAGEANLEITUNG: Achtung: Das Kupplungsspiel muss später neu eingestellt werden! Schieben Sie die Abdeckung (2) des Kupplungszug-Verstellers nach oben und maximieren sie das Kupplungsspiel. Lösen Sie dazu den roten Verriegelungsknopf (2) und schieben Sie den oberen Kupplungszug (1) komplett in den Versteller.
- Page 3 Demontieren Sie den Kupplungshebel von der Armatur und hängen Sie den Kupplungszug aus. Verlegen Sie den kompletten Kupplungszug am rechten Rahmen- Unterzug und befestigen Sie ihn gegebenenfalls zusätzlich mit Kabelbindern.
- Page 4 Führen Sie den oberen Kupplungszug durch die Aussparung der oberen Gabelbrücke und bauen Sie den Kupplungshebel samt -zug wieder an die Armatur. Stellen Sie das Kupplungsspiel am Versteller ein! Dazu stellen Sie sicher, dass der Kupplungshebel in voll geöffneter Position ist und der Kupplungszug korrekt in der Armatur sitzt. Lösen Sie nun den roten Verriegelungsknopf am Versteller.
- Page 5 Montieren Sie die Headlamp Cap mit den beiliegenden Schrauben und Hülsen, sowie zusammen mit dem Scheinwerferhalter, an der oberen Gabelbrücke. Achtung: Achten Sie dabei darauf, dass die Hülsen zwischen der Headlamp Cap und dem Scheinwerferhalter positioniert werden! Das Thunderbike-Team wünscht viel Vergnügen. Gute Fahrt!
- Page 6 HEADLAMP CAP FOR HARLEY-DAVIDSON BREAKOUT (2018->)
-
Page 7: Packing List
PACKING LIST: amount item Headlamp cap Spacer Ø8,2*14*18 Allen head screw UNC 5/16*2 MOUNTING INSTRUCTIONS: Attention: The clutch cable has to be adjusted later! Push up the cover (2) of the clutch calbe adjuster and maximize the clutch distance. Therefor loosen the red locking knob (2) and push the upper clutch cable (1) into the adjuster completely. - Page 8 Dismount the clutch lever and remove the clutch cable. Relocate the complete clutch cable on the right frame downtube and fix it with straps if necessary.
- Page 9 Relocate the upper clutch cable through the upper triple tree and install the clutch cable to the clutch lever. Mount the clutch lever to the armature. Adjust the clutch distance with the adjuster! Therefor make sure the clutch lever is in full opened position and the clutch cable fits the armature correctly.
- Page 10 Attention: Make sure the spacers are in the position between the headlamp cap and the headlight bracket! The Thunderbike team wishes you fun with your new parts. Have a nice and safe ride!
Need help?
Do you have a question about the 42-74-020 and is the answer not in the manual?
Questions and answers