Bosch Indego 350 Installation Manual
Hide thumbs
Also See for Indego 350:
- Original instructions manual (398 pages) ,
- Firmware update instruction (2 pages) ,
- Installation manual (67 pages)

Subscribe to Our Youtube Channel
Related Manuals for Bosch Indego 350


Summary of Contents for Bosch Indego 350
- Page 1 The expert for robots in your home With one click to the online shop myRobotcenter.eu myRobotcenter.co.uk myRobotcenter...
- Page 2 Indego 350/400 Indego 350/400 Connect Installation guide GB / DE / FR / NL / IT / ES / PT Home made by you.
-
Page 3: Table Of Contents
Indego 350/400 Indego 350/400 Connect Installation guide English Home made by you. Table of contents Know your Indego If you prefer you can watch our installation video by Lawn preparation scanning the QR code here: Docking station placement Power connection... -
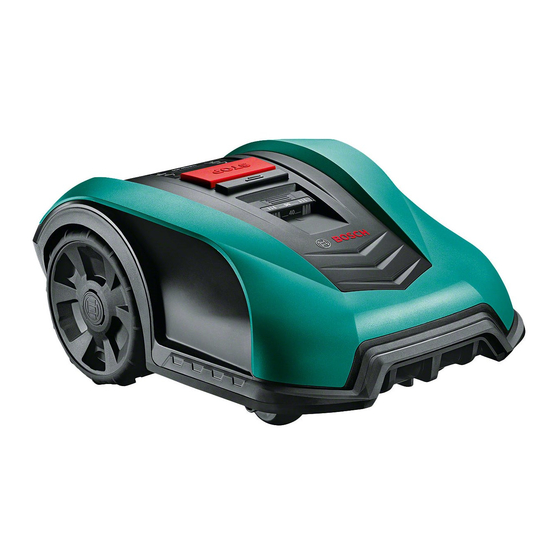
Page 4: Know Your Indego
Dock indicator Rating label Garden symbol Anti theft sticker Mower ‘On’ indicator Height of cut button QR-Code B (Indego 350 Connect/400 Connect) Drive wheels Bumper Charging contacts (pins) Height of cut – release button QR-Code wird aktualisiert You have a 5 step process for installing your Indego. If you do not follow these steps the Indego will not work. -
Page 5: Lawn Preparation
Lawn preparation First you will need to prepare the lawn. This is a key step Cut the main area for a successful installation. Please have a close look at of the lawn your lawn and any objects on it. to 40 mm. Remove foreign objects from the cutting area. -
Page 6: Docking Station Placement
Determine the best place to position your docking station, point left where your Indego will return on its own to get charged. (so you can read the Bosch logo whilst standing outside the lawn area). Separate the mower from the docking station. -
Page 7: Power Connection
Power connection Switch the Indego on. The isolator switch is located at the back left of the mower. Please note, if the mower is not We advise powering the docking station now so when you turned on, it will not charge. At this point, nothing will be shown on the display. -
Page 8: Perimeter Wire Layout
Feed the perimeter wire Strip carefully Perimeter wire layout through the tubing on the docking station as 10–15 mm of insulation off the wire. indicated by the arrow on the docking station, until it appears on the other side. This part of the installation will most likely take you the longest amount of time. We will take you through it step by step. - Page 9 Perimeter wire layout Marking permanent objects (1.2) <75 cm Mark out permanent objects you do not want the mower to run over, e.g. roots, ponds, rocks. Lay the perimeter wire around the lawn area This will prevent your Indego colliding with objects, or going straight into them.
-
Page 10: Screen Settings And Mapping Your Lawn
If you have purchased an Indego Connect you can finish your installation by setting up your account and completing the final steps through the Bosch Smart Gardening app – download now by scanning the QR code here: Set time and date. - Page 11 Your Indego is intelligent How your Indego cuts efficiently Logicut Intelligent Cutting – During the first 3 full cuts your Indego ▶ learns the shape of the cutting area it is working in ▶ learns the location of the objects within it: trees, flower beds, ponds, etc. (only those objects that are marked out during installation are learnt) How your Indego learns the lawn shape Mapping the cutting area...
Need help?
Do you have a question about the Indego 350 and is the answer not in the manual?
Questions and answers