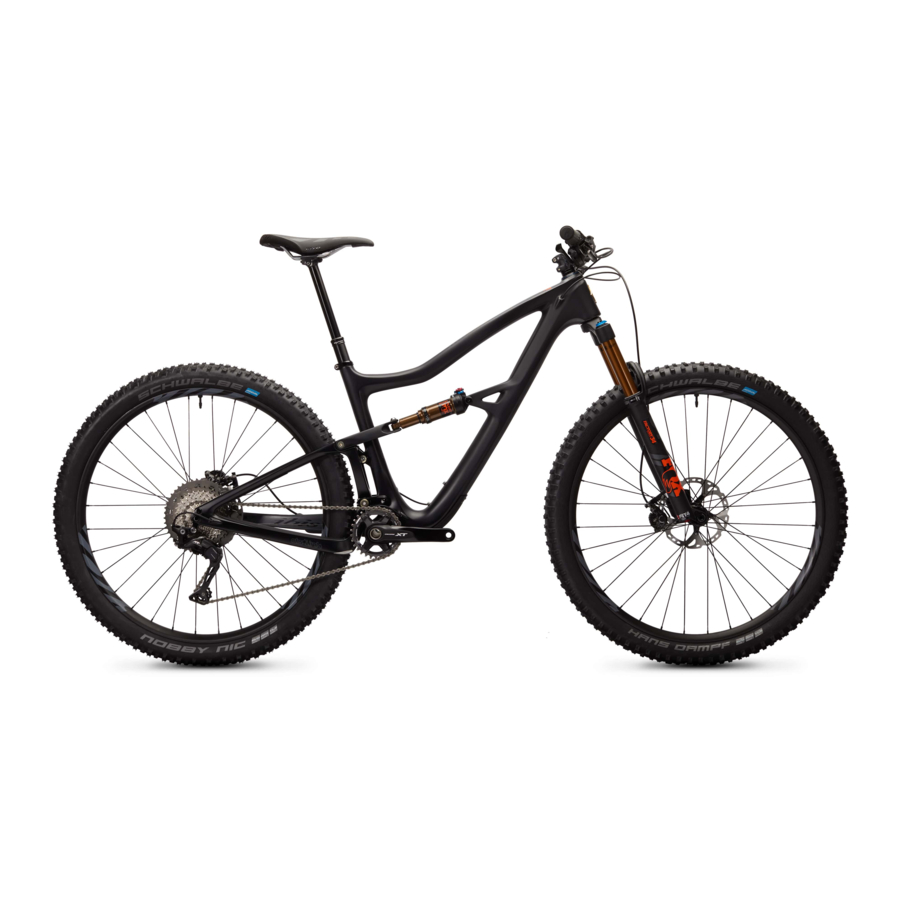
ibis RIpley Instruction Manual
Hide thumbs
Also See for RIpley:
- Instruction book (61 pages) ,
- Instruction book (37 pages) ,
- Frame tuning manual (12 pages)
Summary of Contents for ibis RIpley
- Page 1 Instruction Manual Notes on Tuning and Maintenance of Ibis Bicycles, Rev. C ( Ripley Edition) Reprinting Permit ted if Source Quoted...
- Page 2 The housing A cable clip is provided to keep provided in Ibis build kits is a little longer than you need and works fine the cable from getting unruly. It should clip onto the two derailleur as a pilot.
- Page 3 Bike Set-Up Tips and Tricks Ripley Routing...
- Page 4 Bike Set-Up Tips and Tricks Cable Routing Ripley Routing...
- Page 5 Thread adapter that will make your fork work the chain through the gears and derail- on the Ripley. Both Chris King and Cane leurs, compress the suspension all the Creek make adapter style headsets that way to bottom out, and cut the chain at will adapt our 1.5 cup to your 1...
- Page 6 Bike Set-Up Tips and Tricks 120mm Fork 140mm Fork 150mm Fork 160mm Fork 180mm Fork 70° 68.5° Ripley Head Angle Chart 69° 68.5° 67.5° Mojo SL 120mm Fork 140mm Fork 150mm Fork 160mm Fork 180mm Fork 68.5° 68° 67° Mojo HD140 70°...
- Page 7 Fork Setup Fork Setup Information Lockout after a drop off or large bump. If adjusted too slow, the fork may Read this first for a general under- As the name implies this turns the fork “pack down” and feel sluggish. standing of fork set-up or skip straight rigid (or close to it) for out of the sad- to the air pressure charts if you just...
- Page 8 Fork Setup 1. Add recommended air for rider weight 2. Slide o-ring until it rests on wiper, 3. Measure sag–the distance from o-ring to wiper. (see chart on facing page). With bike on level then dismount without disturbing Start with sag of 25% of travel and adjust to ground, bounce up and down a bit to overcome o-ring's position.
- Page 9 Fork Setup Climb enables a firm low-speed com- pression setting. We’d use it for paved or smooth fire road climbs. Trail mode dials back the low-speed compression damping from climb mode. And once you set the lever to Trail mode, changing between soft, medium, and firm settings on the outer dial enable you to further fine tune the low-speed compression damping...
- Page 10 Rear Shock Setup Descend mode changes the compres- Ripley Sag sion setting to full-open for maximum We recommend the following shock control and plush performance on pressures as starting points for the steep, aggressive descents. Ripley: The pedaling efficiency of the dw- <...
- Page 11 Rear Shock Setup and the bike will bounce you up in the to the left, and you have the firmest air after bumps and drops. Adjust to ProPedal setting. To the right is 0 your preference. (open) or ProPedal 1 or 2. The other settings are the same as prior RP23s.
- Page 12 Maintenance...
- Page 13 Maintenance Working on your Ripley Ripley Bearing Specs: The Ripley uses the following shock and Eccentric Core Inner Bearings: Should you find it necessary to shock hardware: replace any of the bearings on the Ri- • 6806-2RS (30 x 42 x 7)
- Page 14 (3 ft·lbs) (3.68 ft·lbs) (4.5 ft·lbs) (4.5 ft·lbs) (TK ft·lbs) (TK ft·lbs) (7 ft·lbs) (11.8 ft·lbs) Ripley Upper And Lower Eccentric Core Bolts M8 w/5mm Hex Eccentric Shaft Bolts 6mm Hex Lower Shock to Clevis Bolts 8 N·m Clevis To Swingarm Bolts 5 N·m...
- Page 15 Frame Hardware Ripley was he r-10x 5 m 5 x8 bhc s 4 2x3 0x7 beari ng l ower l ef t ec c c ore e m 8x8 f hc s pi n uppe r s ho c ke y e...
- Page 16 Ripley Swingarm Removal Step 1 Step 2 Put your Ripley in a work stand. Remove both of the eccentric core Remove the front derailleur, bolts using 6mm allen wrenches. cranks, brakes and the rear wheel. Remove the upper shock bolts (4mm Allen) and lower clevis bolts (5mm).
- Page 17 Ripley Swingarm Removal Step 4 Step 3 Gently remove the cap, and then you Remove the countersunk bolt from will be able to push the eccentric core each eccentric core cap. You might out of the frame. need to use a 12mm open end wrench to prevent the eccentric from rotating.
- Page 18 To reinstall the swingarm, work in the reverse order. Special tools are needed to remove Add grease to the core when reinstalling, and replace the Ripley bearings in the seat tube and in the swingarm. and a lightly grease the inner lip of the eccentric cap.
- Page 19 Ripley Swingarm Removal Use a 12 mm open end wrench to align the eccentrics so that the flats are hori- zontal and at the 9 o'clock position when the frame is parallel with the ground. Gently slide the swingarm onto the ec- centrics.


Need help?
Do you have a question about the RIpley and is the answer not in the manual?
Questions and answers