Advertisement
Quick Links
PRODUCT DETAILS:
Part Number:
ECU Number:
Tail Harness Length Required:
TBM/Lug Part Number:
FITTING DETAILS:
Towbar Installation Time:
Total Installation Time:
Bumper Cut Required:
49-75 Pacific Drive Keysborough, VIC 3173
Phone: 1800 812 017
Email:
enquiries@cequent.com.au
REV A
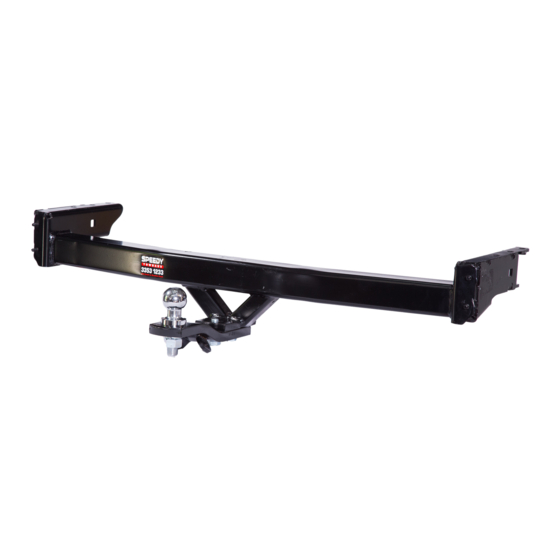
TOWBAR INSTALLATION INSTRUCTIONS
KM23L
04836
04936
07756
70 Mins.
70 Mins.
Yes
Page 1
Maximum Towing Braked:
Maximum Towing Unbraked:
Maximum Static Ball Load:
RPA Disable/Other Notes:
Note:
RPA Disable - Harness 04936 must be used
and connected
Electric Brake Input Location: Near ECU
connector
PART NUMBER KM23L
KIA CERATO BD CL2
1200
kg
610
kg
75
kg
YES
Issue Date: 31-05-19
Advertisement

Related Manuals for Trailboss KM23L


Summary of Contents for Trailboss KM23L
- Page 1 TOWBAR INSTALLATION INSTRUCTIONS PART NUMBER KM23L KIA CERATO BD CL2 PRODUCT DETAILS: Part Number: KM23L Maximum Towing Braked: 1200 ECU Number: 04836 Maximum Towing Unbraked: Tail Harness Length Required: 04936 Maximum Static Ball Load: TBM/Lug Part Number: 07756 FITTING DETAILS: Towbar Installation Time: 70 Mins.
-
Page 2: Before You Start
WARNING: Do not, drill, cut, weld or otherwise modify the towbar. FOR TOWING PURPOSES ONLY - This towbar is designed and tested by Trailboss to adhere to ADR 62/02 which provides only for the expected load demands of towing. 2. 3. - Page 3 TOWBAR INSTALLATION INSTRUCTIONS PART NUMBER KM23L KIA CERATO BD CL2 TOWBAR ASSEMBLY DIAGRAM ITEM DESCRIPTION ITEM DESCRIPTION KIA CERATO WELDED ASSEMBLY SPRING WASHER M16 RH SIDE ARM ASSEMBLY LUG ASSY LH SIDE ARM ASSEMBLY NUT NYLON LOCK HEX M4X0.7P BUMPER TAB PLUG BRACKET SET SCREW HEX HD M10x40x1.25P...
- Page 4 TOWBAR INSTALLATION INSTRUCTIONS PART NUMBER KM23L KIA CERATO BD CL2 1. Open boot and remove LH and RH side panel trims from inside boot to expose rear of tail-light. 2. Remove 4 x hex nuts securing tail-light to vehicle. Gently pull tail-light rearwards to dislodge and unclip attached wiring from inside vehicle and feed through rear panel.
- Page 5 TOWBAR INSTALLATION INSTRUCTIONS PART NUMBER KM23L KIA CERATO BD CL2 4. For single exhaust, remove trim from underside of vehicle by removing 3 x scrivets and 3 x hex nuts. Set trim aside. 5. Inside rear wheel arch, remove 2 x screws and 2 x scrivets (one on the underside of vehicle).
- Page 6 TOWBAR INSTALLATION INSTRUCTIONS PART NUMBER KM23L KIA CERATO BD CL2 7. Carefully peel back bumper from corners to remove. Disconnect wiring harness from rear panel to free the bumper. Set bumper safely aside. 8. Remove 5 x scrivets securing impact beam to bumper.
- Page 7 TOWBAR INSTALLATION INSTRUCTIONS PART NUMBER KM23L KIA CERATO BD CL2 10. If required, remove exhaust from rear exhaust hanger to allow better access for fitment. Note: Repeat for opposite side if fitting a dual exhaust model. 11. Attach supplied bumper tab brackets to front face of towbar (refer to exploded diagram on page 3) with 1 x tek screw per bracket.
- Page 8 TOWBAR INSTALLATION INSTRUCTIONS PART NUMBER KM23L KIA CERATO BD CL2 13. Loosely secure welded centre section to side arms via 2 x M10 bolts complete with 2 x M10 washers and 1 x M10 nut per bolt. Secure side arms to weld nuts on centre section via 1 x M10 bolt complete with 1 x M10 washer.
- Page 9 TOWBAR INSTALLATION INSTRUCTIONS PART NUMBER KM23L KIA CERATO BD CL2 IMPORTANT Due to possible vehicle variations, always confirm any noted vehicle colour wires with a multi-meter to ensure the correct function is identified before soldering or scotch locking. For vehicle wires denoted with two colours (example;...
- Page 10 TOWBAR INSTALLATION INSTRUCTIONS PART NUMBER KM23L KIA CERATO BD CL2 21. Remove the rear scuff trim (1) by first removing the trim clips (2), and then pulling in an upwards direction. 22. Remove the RHS tool tray (1) by releasing the Phillip's Head screws (2).
- Page 11 TOWBAR INSTALLATION INSTRUCTIONS PART NUMBER KM23L KIA CERATO BD CL2 29. Route the white and blue connector on the larger trailer patch harness (102111-WL) (1) from the inside of the vehicle through the drilled grommet hole (2) to the outside.
- Page 12 TOWBAR INSTALLATION INSTRUCTIONS PART NUMBER KM23L KIA CERATO BD CL2 36. From the RHS passenger door, remove a small section of the weather seal (1). 37. Dislodge the trim (2) covering the rear passenger seatbelt. 38. Route the power wire from the boot towards the front of the vehicle.
- Page 13 TOWBAR INSTALLATION INSTRUCTIONS PART NUMBER KM23L KIA CERATO BD CL2 41. Remove Vehicle 20 amp fuse from location Fuse 14. 42. Insert the supplied 20 amp fuse (1) into the Add- A- Fuse (2) top slot and then insert the vehicle fuse (3) into the bottom slot.
- Page 14 TOWBAR INSTALLATION INSTRUCTIONS PART NUMBER KM23L KIA CERATO BD CL2 52. Secure all harnesses using supplied Cable Ties. 53. Test the trailer patch function using a light board or multi-meter. 54. Re-fit all removed parts and secure all fasteners, ensuring there are no squeaks or rattles.
-
Page 15: Customer Information
THIS PRODUCT WILL PROVIDE A LIFETIME OF TROUBLE-FREE OPERATION. TOWBAR MAINTENANCE AND CARE: 1. Trailboss recommend that the towbar LUG or TBM (Trailer Ball Mount) Pull Pin and R-clip are removed and stored when not in use. Removal of LUG or TBM (Trailer Ball Mount) is advisable when not in use to assist with any of the following. - Page 16 VEHICLE’S GLOVEBOX AFTER INSTALLATION PRO SERIES SILENT ANTI-RATTLE HITCH PIN Your Trailboss towbar is equipped with a Pro Series Silent Anti-Rattle Hitch Pin technology to help reduce towbar tongue rattle in most driving conditions. Please ensure below instructions are understood and routine maintenance is carried out to ensure best towing experience.
Need help?
Do you have a question about the KM23L and is the answer not in the manual?
Questions and answers