Table of Contents
Advertisement
Quick Links
CLIQ.mini Quick Start Guide
Content
Introduction...1
LED Display...6
Troubleshooting...6
Support...7
Last modified: 11/11/19
Introduction
Thank you for choosing Clare Controls. In today's competitive market place, we
can appreciate that you have many choices for your home automation needs.
This document is intended as a quick-start guide, not a full product guide. For
more information, view the full
CLIQ.mini Controller Installation and Setup Guide
(DOC ID
1263).
Included and recommended tools
Ensure all accessories are included. If not, contact your dealer.
Included with the CLIQ.mini.
• CLIQ.mini smart home control hub
• Ethernet cable
• Paper clip/Reset tool
• Power over ethernet (PoE) injector
• PoE power supply
• Mounting bracket and screws
• UUID/Mac identification labels
Recommended tools:
• #2 Phillips head screwdriver (used for mounting bracket installation)
• Needle node pliers (used to insert micro USB plug into CLIQ.mini)
DOC ID - 1284 • Rev 09
1 / 7
Advertisement
Table of Contents

Subscribe to Our Youtube Channel
Related Manuals for Clare Controls CLIQ.mini


Summary of Contents for Clare Controls CLIQ.mini
- Page 1 • Mounting bracket and screws • UUID/Mac identification labels Recommended tools: • #2 Phillips head screwdriver (used for mounting bracket installation) • Needle node pliers (used to insert micro USB plug into CLIQ.mini) DOC ID - 1284 • Rev 09 1 / 7...
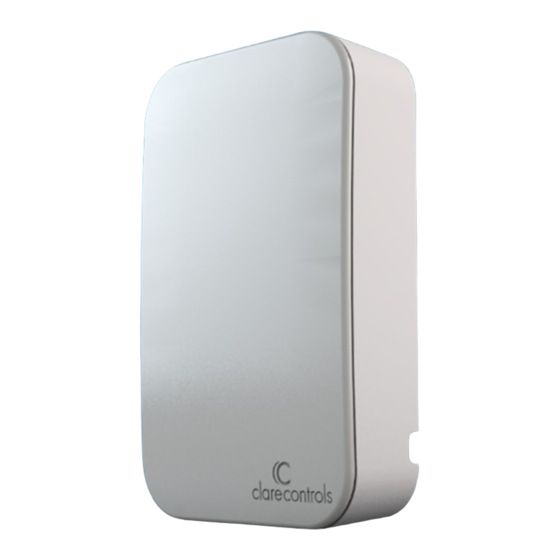
- Page 2 CLIQ.mini diagram The following image is a diagram of the CLIQ.mini controller. Use this diagram during installation and for reference. Figure 1: CLIQ.mini diagram (1) Recessed push button (4) Wall mount slot (2) 2 USB ports (5) Micro USB port...
- Page 3 Select an installation option. Installation Option 1: PoE (Power over Ethernet) To connect to ClareHome you must have the Install Assist app, a CLIQ.mini controller, and access to your home’s Wi-Fi. Note: This method requires that the user has 2 Ethernet cables.
- Page 4 Enter the home’s Wi-Fi SSID and password, tap Next, and then follow the on-screen instructions. b. Wait for the LED on the CLIQ.mini to turn solid blue. The CLIQ.mini is now connected to Wi-Fi. If the LED does not change to solid blue, see “LED Display” on Note: page 6 or “Troubleshooting”...
- Page 5 CLIQ.mini. To wall mount the CLIQ.mini: 1. Attach the mounting bracket to the gang box. 2. Plug in the CLIQ.mini, and then slide it on to the mounting bracket. DOC ID - 1284 • Rev 09 5 / 7...
- Page 6 LED Display The CLIQ.mini has an LED status indicator. Use the LED chart below to determine the CLIQ.mini’s status. Table 1: CLIQ.mini LED status LED behavior Solid blue Everything is working correctly. Solid red ClareOS is not operational. Shut down and power cycle the CLIQ.mini.
- Page 7 20 seconds. Warranty Information Clare Controls offers a three (3) year limited warranty on original Clare Controls components, from the date of shipment form Clare Controls. To view complete limited warranty details, including limitations and exclusions, see www.clarecontrols.com/warranty.
Need help?
Do you have a question about the CLIQ.mini and is the answer not in the manual?
Questions and answers