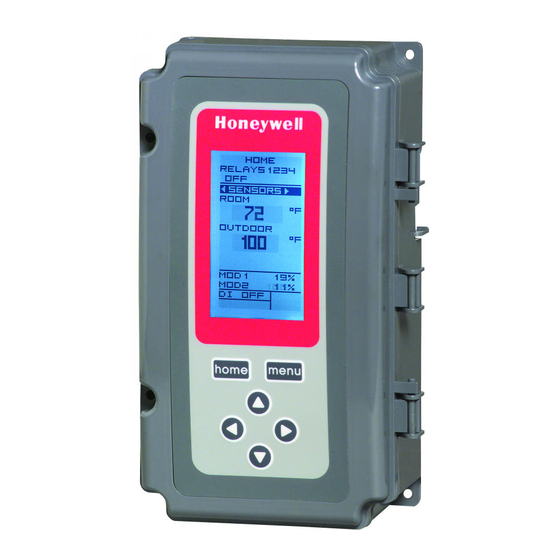
Honeywell T775M Programming
Programming as famu temperature controller
Hide thumbs
Also See for T775M:
- Installation instructions manual (37 pages) ,
- Instruction instructions (36 pages) ,
- Installation instructions manual (36 pages)
Table of Contents
Advertisement
Quick Links
To program the controller, perform the following procedures in the order listed:
Press the MENU button, then select PROGRAM and press the
program menu.
Fig. 1 shows the Program menu for controller.
1. From the menu, use the
2. Press the
button to select MOD 1 to view the parameters. Fig. 2 shows
RELAY 1. In MOD 1, THROT RNG replaces DIFFERNTL.
Fig. Program – Setpoint
1. From the menu, use the
2. Press the
button to display the setpoint value.
3. Use the
and
temperature.
Set the temperature to 55° F.
4. Press the
button to accept the setpoint temperature and display the next
option.
Fig. 1
Fig. 2
and
buttons to highlight MOD 1.
and
buttons to highlight SETPOINT.
buttons to increase/decrease the desired setpoint
button to view the
! "
#
Advertisement
Table of Contents

Summary of Contents for Honeywell T775M
- Page 1 To program the controller, perform the following procedures in the order listed: Fig. 1 Press the MENU button, then select PROGRAM and press the button to view the program menu. Fig. 1 shows the Program menu for controller. Fig. 2 1.
- Page 2 ! "$ %& '! "$ & "$ Fig. Program – Throttling Range 1. From the menu, use the buttons to highlight THROT RNG. 2. Press the button to display the throttling range value. 3. Use the buttons to increase/decrease the desired value. Set the value to 10°...
- Page 3 Press the button to accept the highlighted selection EXIT. This will display the main Program Menu screen (Fig. 1) Fig. 1 " + 1. From the menu, use the buttons to highlight MOD 2. 2. Press the button to select MOD 2 to view the parameters. ! "...
- Page 4 ! "$ %& '! "$ & "$ Fig. Program – Throttling Range 1. From the menu, use the buttons to highlight THROT RNG. 2. Press the button to display the throttling range value. 3. Use the buttons to increase/decrease the desired value. Set the value to 10°...
- Page 5 ( ) % Fig. Program Heat/Cool 5. From the menu, use the buttons to highlight HEAT/COOL (Default: HEAT). 6. Press the button to display the heat and cool selections. 7. Use the buttons to select Heat or Cool. Select HEAT. 8.
- Page 6 ! " & ' . Fig. Program - Setpoint 1. From the menu, use the buttons to highlight SETPOINT (Fig. 2). 2. Press the button to display the setpoint value. 3. Use the buttons to increase/decrease the desired setpoint temperature. Set the temperature to 100°...
- Page 7 " & Fig. Program – Sensor 1. From the menu, use the buttons to highlight SENSOR. 2. Press the button to display the sensor selections. 3. Use the buttons to select Sensor A or B. Select sensor A. 4. Press the button to accept the highlighted sensor and display the next option.


Need help?
Do you have a question about the T775M and is the answer not in the manual?
Questions and answers