Sign In
Upload
Download
Table of Contents
Contents
Add to my manuals
Delete from my manuals
Share
URL of this page:
HTML Link:
Bookmark this page
Add
Manual will be automatically added to "My Manuals"
Print this page
×
Bookmark added
×
Added to my manuals
Manuals
Brands
Gira Manuals
Home Automation
X1
Operating instructions manual
Gira X1 Operating Instructions Manual
Operating instructions for the gira smart home app
Hide thumbs
1
Table Of Contents
2
3
4
5
6
7
8
9
10
11
12
13
14
15
16
17
18
19
20
21
22
23
24
25
26
27
28
29
30
31
32
33
34
35
36
37
38
39
40
41
42
43
44
45
46
47
48
page
of
48
Go
/
48
Contents
Table of Contents
Bookmarks
Table of Contents
Table of Contents
1 User Interface
Structure of the User Interface
1.4.1 Tile View
Status Bar
Navigation Bar
Action Area
Tile View
Detail View
1.4.2 Detail View
Operating the Alarm Connect Security System
Alarm-Specific Buttons and Displays
1.5.1 Alarm-Specific Buttons and Displays
Activating Security Area Externally
1.5.2 Activating Security Area Externally
Activating Security Area Internally
1.5.3 Activating Security Area Internally
Deactivating the Security Area
1.5.4 Deactivating the Security Area
Viewing and Acknowledging Alarms and Messages
1.5.5 Viewing and Acknowledging Alarms and Messages
Remote Access
Remote Access in Detail View
1.6.1 Remote Access in Detail View
Remote Access in Tile View
1.6.2 Remote Access in Tile View
2 Settings in the System Menu
System
Connection to Gira Device
2.1.2 Start Demo Mode
2.1.1 Connection to Gira Device
Start Demo Mode
Configuring Remote Access
2.1.3 Configuring Remote Access
Connecting to Gira X1 Via Openvpn
2.1.4 Connecting to Gira X1 Via Openvpn
Changing Password
2.1.5 Changing Password
PIN Protection
View Configuration
2.3.1 Selecting Home
Selecting Home
Favourites
2.3.3 Favourites in Front
2.3.2 Favourites
Favourites in Front
Display Trades
2.4.1 Recording Simulation
2.3.4 Display Trades
Occupancy Simulation
Recording Simulation
Play Simulation
2.4.2 Play Simulation
Manage Rooms
Manage Functions
2.6.1 Create New Function
Create New Function
Manage Function
2.6.2 Manage Function
Sort Rooms/Functions
Manage Subsections
Manage Users
Select Functions that You Wish to Authorise
2.9.1 Select Functions that You Wish to Authorise
Apply Functions
2.9.2 Apply Functions
Sonos Audio Function
Set up Sonos Audio
2.10.1 Set up Sonos Audio
Change Sonos Loudspeaker
2.10.2 Change Sonos Loudspeaker
Configuring Favourites
2.10.3 Configuring Favourites
How Favourites Behave after the Memory Function Has Been Used
What Errors Might Occur
Advertisement
Quick Links
1
User Interface
2
Settings in the System Menu
3
Connection to Gira Device
4
Configuring Remote Access
Download this manual
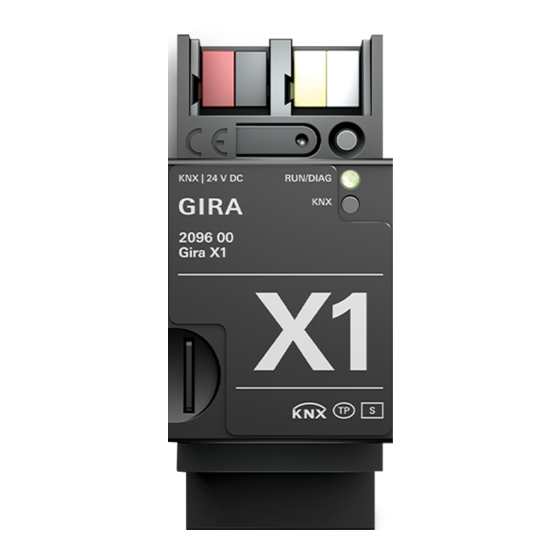
Gira X1
2096 00
Operating instructions
for the
Gira Smart Home App
Table of
Contents
Previous
Page
Next
Page
1
2
3
4
5
Advertisement
Table of Contents
Need help?
Do you have a question about the X1 and is the answer not in the manual?
Ask a question
Questions and answers
Related Manuals for Gira X1
Home Automation Gira 2096 00 Operating Instructions Manual
Operating instructions for the gira smart home app (48 pages)
Home Automation Gira S1 Configuration
(69 pages)
Home Automation Gira HomeServer Installation Instructions Manual
(16 pages)
Home Automation Gira KNX 5001 Series Operating Instructions Manual
(6 pages)
Home Automation Gira KNX Control 9 Client Operating Instructions Manual
(11 pages)
Home Automation Gira System 3000 Operating Instructions Manual
Touch top unit (8 pages)
Home Automation Gira System 3000 2460 00 Operating Instructions
Speed regulator insert (5 pages)
Home Automation Gira KNX/EIB Operating Instructions Manual
Infoterminal touch (14 pages)
This manual is also suitable for:
2096 00
Table of Contents
Save PDF
Print
Rename the bookmark
Delete bookmark?
Delete from my manuals?
Login
Sign In
OR
Sign in with Facebook
Sign in with Google
Upload manual
Upload from disk
Upload from URL


Need help?
Do you have a question about the X1 and is the answer not in the manual?
Questions and answers