Advertisement
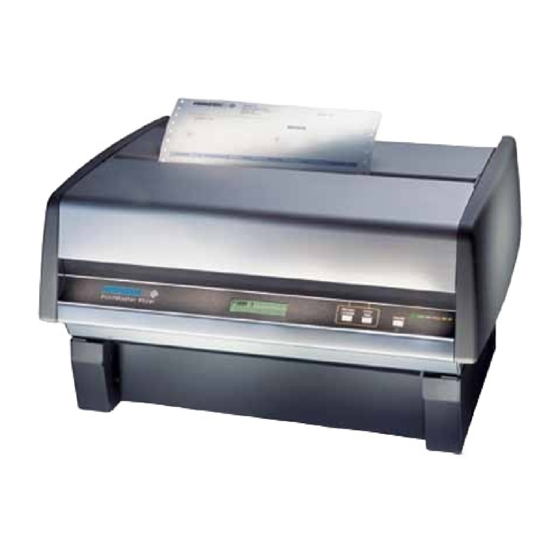
PrintMaster 852si Quick Setup Instructions
1
Connect Power and Cable
Connect the printer cable from the host computer to
the printer port on the right side of the rear panel.
Connect the power cable to the socket on the left side
of the rear panel and to a power source/outlet.
*NOTE: Left and right side of the printer are
referenced with operator facing the front of the
printer.
3
Load Bottom Paper Path
Loading paper in the bottom tractor is similar to the
rear tractor. Just load paper on the 3 pins of the left
and right tractors. Adjust the right tractor for paper
width by releasing the green lever and sliding the
tractor either to the left or right. NOTE: The left
tractor is not adjustable. Do not attempt to move
it. When done, lock the green lever back down.
2
Load Rear Paper Path
Load paper on the 3 pins of the left and right tractors.
Adjust the right tractor for paper width by releasing the
4
green lever and sliding the tractor either to the left or
right. NOTE: The left tractor is not adjustable. Do
not attempt to move it. When done, lock the green
lever back down.
4
Turn Printer On
Turn the printer on by pressing the ONLINE button
located on the front panel of the printer.
Load paper on th
Adjust the right t
2
green lever and
right. NOTE: Th
not attempt to m
lever back down
Turn P
L
Load
Adjus
green
right.
not a
lever
Advertisement
Table of Contents

Subscribe to Our Youtube Channel
Related Manuals for Printek PrintMaster 852si


Summary of Contents for Printek PrintMaster 852si
- Page 1 Adjust the right t oad Rear Paper Path green lever and socket on the left side PrintMaster 852si Quick Setup Instructions Power and Cable nect Power and Cable right. NOTE: Th r source/outlet. not attempt to m...
- Page 2 PrintMaster 852si Quick Setup Instructions Selecting The Load Ribbon Selecting The Form bon Install Ribbon Install tructions Printer Online Instructions Load the ribbon cartridge by following the instructions With the printer “off line”, select the form you wish to located on the inside of the front lid. NOTE: Do not print by pressing the UNLOAD/CHANGE button until tighten the ribbon after installation.
Need help?
Do you have a question about the PrintMaster 852si and is the answer not in the manual?
Questions and answers