Table of Contents
Advertisement
Quick Links
Advertisement
Table of Contents

Summary of Contents for Kogan KAMERCVTBKA
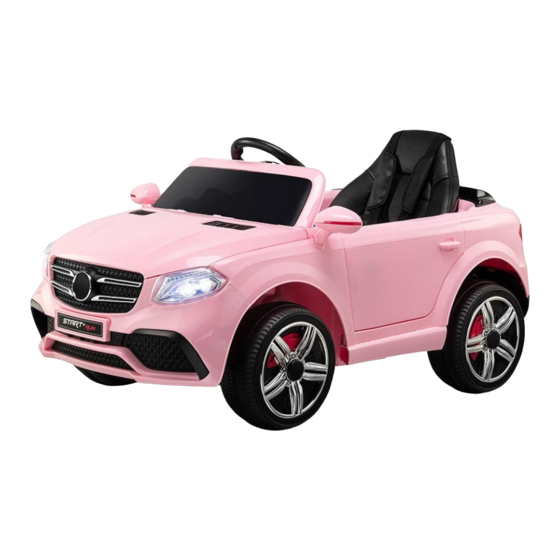
- Page 1 KIDS MERCEDES-BENZ INSPIRED RIDE-ON CAR (BLACK & PINK) KAMERCVTBKA & KAMERCVTPKA...
-
Page 3: Safety And Warnings
SAFETY & WARNINGS • Be sure to read and understand these instructions in full before using the product. • The product must be assembled by an adult before use. • Battery charging should be carried out by adults, and the product must be charged for a full 10 hours before first use. - Page 4 • Rechargeable batteries are only to be charged under adult supervision and should be removed from the toy before being charged. • Different types of batteries or new and used batteries are not to be mixed. • Ensure batteries are always inserted according to the correct polarity. •...
- Page 5 INSTRUCTION Charge Method Ensure the battery is fully charged before first use. Open the cushion to locate the battery connections within the main distributing frame and ensure that the connectors are matched with red in red and black in black. Any alteration to this may cause a short circuit.
-
Page 6: Installation
INSTALLATION Step 1: Install the front wheel Wheel Locknut Set the washer and bushing Bushing onto the front axle, then the front wheel and second washer, and tighten the lock nut into place with a wrench. Cover the locknut with the wheel cap. Washer Step 2: Install the rear wheel Turn the car body over, remove... - Page 7 Step 3: Install the rear-view mirror Rear view mirror Insert the rear-view mirror into the corresponding slot on the car body and press down firmly until it clicks into place. Step 4: Install the front and rear brackets Affix the front bracket to the underside of the car with screws as shown. Attach the rear bracket in the same manner.
- Page 8 Step 5: Install the steering wheel Steering wheel Ensure the steering power plug is securely connected to the dashboard power (noting to connect the positive and negative terminals accordingly). Align and attach the steering wheel in the direction of the pole, Dashboard inserting the M5 inner hexangular set screw rod through the steering wheel and...
- Page 9 Step 7: Remote control battery installation 2x AAA 1.5V Battery cover Use a screwdriver to remove the screw on the battery cover, then the battery cover itself. Insert two AAA 1.5 V batteries, replace the battery cover, and screw it back into place. Refer to Remote Control section for instructions on pairing.
- Page 10 Step 9: Function of the instructions Music Power High (fast) Slow Play The light Previous Horn Radio English The story Press the power button to power on the vehicle and the control panel lights will illuminate. Press the music button to commence audio playback from the USB/micro SD inputs.
-
Page 11: Remote Control
REMOTE CONTROL When using the unit for the first time, you must pair the remote with the car. Turn off the car’s power switch. Remove the battery cover on the remote control and insert 2 AAA batteries. Once this has been done, the remote control’s LED indicators will flash slowly. Turn on the car’s power switch and the LEDs will turn solid when pairing is successful. -
Page 12: Troubleshooting
Put on the connector operate correctly Exhaust & bad battery Change with a new battery Damage to electrical parts or Contact Kogan.com motor Battery connector is loose Tighten the connector Battery cannot Charger is not connected to power Connect the charger to power... -
Page 13: Specifications
IN THE BOX Car body (polypropylene) 1 pc Charger 1 pc The steering wheel 1 pc MP3 connector 1 pc Chair 1 pc Manual 1 pc Car wheel, blocks 4 pcs Remote controller 1 pc SPECIFICATIONS Battery 6V 4.5AH k2 motor 12V 25W x2 Charger Input: 100-240VAC 50/60HZ, Output: DC12V 1000MA... - Page 14 NOTES...
- Page 17 Need more information? We hope that this user guide has given you the assistance needed for a simple set-up. For the most up-to-date guide for your product, as well as any additional assistance you may require, head online to help.kogan.com...


Need help?
Do you have a question about the KAMERCVTBKA and is the answer not in the manual?
Questions and answers