Tubular motor with electronic limit switch for rolling shutters (22 pages)
Summary of Contents for CHERUBINI Wave Wire
Page 1
Wave Wire Senso Wire 
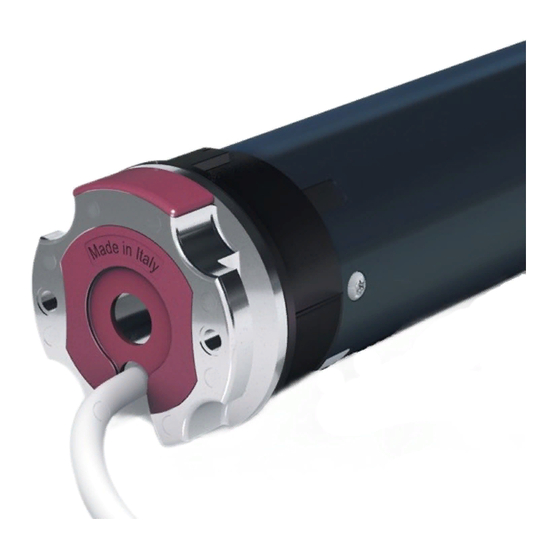
MOTORE TUBOLARE CON REGOLAZIONE MANUALE DEL FINECORSA ELETTRONICO PER SCREEN E TENDE A RULLO TUBULAR MOTOR WITH MANUAL ADJUSTMENT OF THE ELECTRONIC LIMIT SWITCH FOR SCREEN AND ROLLER BLINDS ROHRMOTOR MIT MANUELLER EINSTELLUNG DER ELEKTRONISCHEN ENDLAGEN ZU SCREENS UND SENKRECHTMARKISEN MOTEUR TUBULAIRE AVEC RÉGLAGE MANUEL...
Deactivation super-sensitivity function ..............p. 19 Limit switches and obstacle detection ..............p. 20 Restoring the original configuration ............... p. 20 EU DECLARATION OF CONFORMITY CHERUBINI S.p.A. declares that the product is in conformity with the relevant Union harmonisation legislation: Directive 2014/35/EU Directive 2014/30/EU...
ELECTRICAL CONNECTIONS - To prevent any danger or malfunction, the size of electrical control components connected to the motor must be compatible with the electrical features of the motor. - Means for disconnection must be incorporated in the fixed wiring in accordance with the national installation standards.
HOW TO PREPARE THE MOTOR STOP RING NUT ADAPTOR DRIVING PULLEY STOP RING NUT 1. Insert the adaptor in the stop ring nut mating the groove with the reference notch and push till they touch. 2. Fix the driving pulley on the motor pin until the stop pin clicks.
KEY TO SYMBOLS Press the Press the Press and hold DOWN-button down the button UP-button DOWN HOLD Motor rotation to confirm DOWN DOWN 2 sec DOWN Press the up or down button to raise the awning DOWN DOWN HOLD 2 sec Press the buttons as indicated in rapid sequence and hold the button down at the step marked by “HOLD”, to check the motor confirmation movement.
LIMIT SWITCH SETTING The motor can learn the limit switches only in manual mode. It is suggested that the strength of the awning, its couplings and its safety lugs be checked. As long as both of the limit switch positions have not been learned, the motor will move briefly, stop and then start back up again.
EXAMPLE 2: SETTING THE LOWER LIMIT SWITCH AS FIRST POSITION If the awning is already completely lowered, it must be first raised about 20 cm, then proceed as follows. Using the button switch, bring the awning down to the desired position. To set the lower limit switch position perform the indicated sequence of commands (DOWN-DOWN-DOWN) with the button to be linked to descent.
CHANGING LIMIT SWITCHES The following command sequences may be performed only after the limit switches have been set and only when the motor is in one of the two limit switch positions. DELETING OF SINGLE LIMIT SWITCH POSITIONS Deletion of the UPPER limit switch. Take the awning to the upper limit switch and perform the sequence: DOWN HOLD...
ACTIVATION AND ADJUSTMENT OF THE SUPER-SENSITIVITY The super-sensitivity feature for obstacles when descending may be enabled on three levels only after both limit switches have been set. From the UPPER position DOWN DOWN HOLD DOWN DOWN HOLD 2 sec confirm DOWN DOWN DOWN...
LIMIT SWITCHES AND OBSTACLE DETECTION Obstacle detection in ASCENT Obstacle detection in ascent is enabled only after both the limit switches have been set. In the event of obstacle detection in ascent, the motor will stop without making any movements backwards. Obstacle detection in DESCENT In the event of obstacle detection in descent, with the super-sensitivity feature on, the motor stops and makes a backwards safety movement.
Page 12
CHERUBINI S.p.A. Via Adige 55 25081 Bedizzole (BS) - Italy Tel. +39 030 6872.039 | Fax +39 030 6872.040 info@cherubini.it | www.cherubini.it CHERUBINI Iberia S.L. Avda. Unión Europea 11-H Apdo. 283 - P. I. El Castillo 03630 Sax Alicante - Spain Tel.
Need help?
Do you have a question about the Wave Wire and is the answer not in the manual?
Questions and answers