Table of Contents
Advertisement
INTRODUCTION
Thank you for choosing a De'Longhi product. Please take a few
moments to read the instructions to avoid risks or damage to the
appliance.
DESCRIPTION
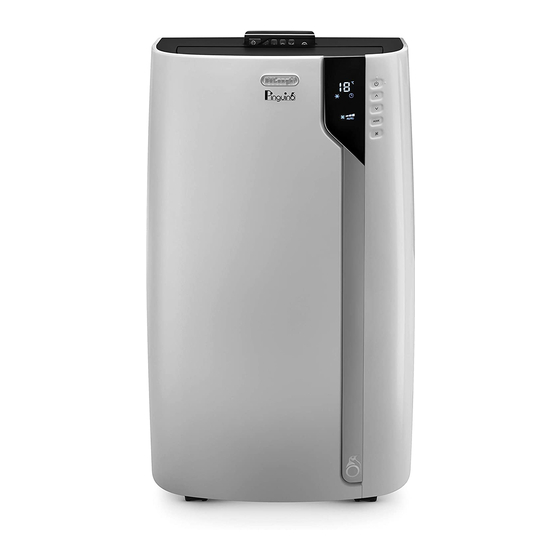
Description of the appliance (see page 3 - A)
A1 air outlet flap
A2 control panel
A3 handles
A4 castors
A5 BioSilver filter
A6 air intake grille
A7 air exhaust hose housing
A8 air intake grille
A9 power cable
A10 drainage hose with cap
A11 remote control signal receiver
A12 remote control compartment
Description of the accessories (see page 3 - B)
B1 wall flange with cap
B2 air exhaust hose
B3 hose adaptor
B4 adapter for window bracket
B5 window bracket with wing nut
B6 adapter for wall mounting/window outlet
B7 window outlet
B8 remote control
B9 window bracket cap
ELECTRICAL CONNECTION
Before plugging into the mains, check the following:
•
the mains voltage is the same as that indicated on the plate
on the back of the appliance;
•
the socket and electrical line are sized to support the load
required;
•
the socket is the proper type for the plug, otherwise, re-
place the socket;
•
the socket is connected to an efficient earthing system.
The manufacturer is not responsible in the event of non-
compliance with these injury prevention standards.
The power cable must only be replaced by specialised
technicians.
USE
The instructions below will enable you to prepare your air con-
ditioner for operation as efficiently as possible. Before use, make
sure the air intake and outlet grilles are unobstructed.
Please note: This appliance is provided with an auto-evapora-
tion feature for condensate removal during cooling and dehu-
midifying modes.
AIR CONDITIONING WITHOUT INSTALLATION
CASEMENT WINDOW
If you have a casement window proceed as follows:
•
Fit the air exhaust hose (B2) in the relevant housing located
on the rear side of the appliance (fig. 1).
•
Screw the window outlet (B7) and place outside the win-
dow to exhaust the hot air (fig. 2).
DOUBLE-HUNG WINDOW
If you have a double-hung window proceed as follows:
•
Insert and lock the adapter for window bracket (B4) into
the slot of the window bracket (B5) (fig.3)
•
Place the window bracket in the window sill, and extend
the bracket fully within the window frame (fig. 4).
•
Fix the bracket by the wing nut (fig. 5) (Should the window
bracket be too large for the window the plastic can be cut
with a saw by a qualified professional).
•
Insert the air exhaust hose (B2) into the adapter for win-
dow bracket (B4) and rotate it as shown in fig. 6.
•
In order to facilitate the fitting of the air exhaust hose (B2)
in the relevant housing located on the rear side of the ap-
pliance, position the hose adapter 's tabs (B3) in a vertical
axis as shown in fig. 7 and proceed as shown in fig.1.
SLIDING WINDOWS
•
Thanks to the locking wing nut, it's possible to use the win-
dow bracket also for sliding windows. Position the bracket
vetically with the hole in the lower part so to allow a easier
installation of the exhaust hose.
AIR CONDITIONING WITH INSTALLATION
•
Fit the air exhaust hose (B2) in the relevant housing located
on the rear side of the appliance (fig. 1).
•
Drill a hole 150 mm in an outside wall or through a window
panel. Respect the distances, dimensions and heigh of the
hole given in figure 8.
12
Advertisement
Table of Contents

Related Manuals for DeLonghi Pinguino Air-to-Air PAC EX130


Summary of Contents for DeLonghi Pinguino Air-to-Air PAC EX130
- Page 1 INTRODUCTION Thank you for choosing a De’Longhi product. Please take a few The instructions below will enable you to prepare your air con- moments to read the instructions to avoid risks or damage to the ditioner for operation as efficiently as possible. Before use, make appliance.
- Page 2 DESCRIPTION OF THE CONTROL PANEL (C) C1. ON/STAND-BY (on/off) key C2. Function selection key MODE (air conditioner, dehumidifier, fan) C3. Temperature increase key C4. Temperature decrease key C5. Fan speed selection key (MIN/MED/MAX/AUTO) C6. Air conditioner symbol C7. Dehumidifyìng symbol in the wall: you are in the wooden in the...
- Page 3 MODES SELECTION To correctly set this mode: Touch repeatedly the MODE key (C2) until the dehumidify- • To select the desired operating ing symbol appears. mode, touch repeatedly the MODE • The appliance will automatically choose the best air flow. key (C2) until the desired function is selected.
- Page 4 USING THE REMOTE CONTROL SELECTING THE OPERATING MODES • Point the remote control at the receiver (A11) on the air To select the desired operating mode, touch repeatedly the conditioner. The remote control must be no more than 7 MODE button (D6) until the desired function is selected. metres away from the appliance (fig.
- Page 5 The timer allows the delayed start up or shut down of the appli- HIGH ance. This function will prevent wasting electricity by optimising the operating periods. Operating curve How to program delayed shut down MEDIUM • While the appliance is on in any operating mode, delayed shut down can be programmed.
- Page 6 SELF-DIAGNOSIS The appliance has a self diagnosis system to identify a number of warning/malfunctions. Error messages are displayed on the appliance display. IF ... IS DISPLAYED, IF ... IS DISPLAYED, IF ... IS DISPLAYED, “Low Temperature” Probe Failure “High Level” (frost prevention) (Probe damaged) (Internal tray full)
- Page 7 START OF SEASON CHECKS Make sure the power cable and plug are undamaged and the earth system is efficient. Follow the installation instructions precisely. END OF SEASON OPERATIONS To drain all water from the circuit, remove the external cap by unscrewing it in the anticlockwise (fig.
- Page 8 TROUBLESHOOTING PROBLEM CAUSE SOLUTION The air conditioner does not come on it is not plugged into the outlet plug into the outlet there is no current wait the internal safety device has tripped call the Service Center The air conditioner works for a short there are bends or kinks in the air position the air hose correctly, keeping it time only...
Need help?
Do you have a question about the Pinguino Air-to-Air PAC EX130 and is the answer not in the manual?
Questions and answers