Advertisement
Quick Links
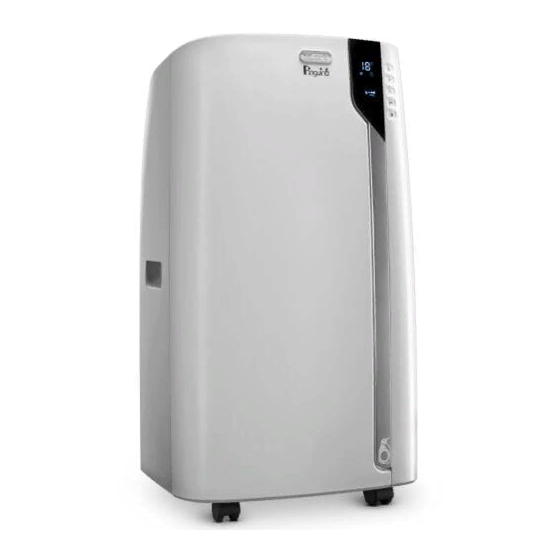
Congratulations on your purchase.
Use this quick set-up guide, and the user manual, to fully use all of the features and functions of your De'Longhi product
DESCRIPTION OF THE ACCESSORIES
1
Air exhaust hose (shown with
adapters already attached)
Foam stripping
E
F
I
B
A
ON/STAND-BY (on/off)
button
Function selection button
B
MODE (air conditioning,
dehumidifying, fan)
C
Decrease key
D
Increase key
E
Swing button (flap swing)
2
Additional bracket
CST remote control
G
H
C
D
F
Arctic Whisper button
Fan button
G
Timer button
H
ECO REAL FEEL button
H I
Indication LED
L
3
Window outlet vent
The CST remote control senses temperature and humidity like a thermostat for a
personalized custom cool around you.
By keeping the CST remote nearby, it will track humidity and temperature around
you making sure you'll always enjoy your desired comfort.
L
•
Keep the CST remote control
placed on a table or a flat sur-
face. Do not hold the CST remote
A A
control in your hand for long
time to avoid altering the read-
ing of the sensors.
•
The remote control must be no
more than about 33 ft (10 me-
ters) away from the appliance
(even in non line of sight).
•
The CST sensors are also disabled if the CST remote control is positioned at a
distance less than 3.3 ft from the unit.
What led means....
3 fast flashes (white)
It blinks every 30 seconds
(white)
It blinks periodically
White color: batteries good status.
Red color:
4
End of season accessories bag
at the touch of each button
data transmission
entering pairing
batteries beginning to be exhausted.
.
5
End of season dust cover
Advertisement

Related Manuals for DeLonghi PACEX390LVYN


Summary of Contents for DeLonghi PACEX390LVYN
- Page 1 Congratulations on your purchase. Use this quick set-up guide, and the user manual, to fully use all of the features and functions of your De’Longhi product DESCRIPTION OF THE ACCESSORIES Air exhaust hose (shown with Additional bracket Window outlet vent End of season accessories bag End of season dust cover adapters already attached)
- Page 2 EASY SET UP - ALL PARTS INCLUDED - NO TOOLS REQUIRED! Step 1 - Placement Step 4 - Hose assembly STEP STEP Select the best window for the air conditioner. A - Insert and lock the accessory for window The window kit will fit from a 20” to 47” bracket, already assembled to the air opening.
Need help?
Do you have a question about the PACEX390LVYN and is the answer not in the manual?
Questions and answers