
Related Manuals for Hisense HS512


Summary of Contents for Hisense HS512
- Page 1 USER MANUAL Before using the sound bar, please read this manual thoroughly and retain it for future reference.
-
Page 2: Table Of Contents
Contents Important Safety Instructions Safety ......................................3 Warning .......................................4 What’s in the Box Identifying the Parts Main Unit ....................................8 Wireless Subwoofer ................................8 Remote Control ..................................9 Preparations Prepare the Remote Control ..............................9 Replace the Remote Control Battery ..........................9 Placement and Mounting ..............................10 Connections Dolby Atmos®.................................. -
Page 3: Important Safety Instructions
Important Safety Instructions third prong is provided for your safety. If the C AUT I ON provided plug does not fit into your outlet, RISK OF ELECTRIC SHOCK consult an electrician for replacement of the DO NOT OPEN obsolete outlet. AV IS 10 Protect the power cord from being walked on or pinched particularly at plugs, convenience... -
Page 4: Warning
Caution: Install all batteries correctly, + and - as marked on the apparatus. Use of controls or adjustments or performance of procedures other than those described Do not mix old and new batteries. herein, may result in hazardous radiation Do not mix alkaline, standard (Carbon-Zinc) or exposure or other unsafe operation. - Page 5 Supported input audio formats The audio formats supported by this system are as follows. Format Function HDMI 1 HDMI 2 √ √ √ √ LPCM 2ch √ LPCM 5.1ch √ LPCM 7.1ch √ √ √ √ Dolby Digital √ Dolby TrueHD √...
- Page 6 Supported HDMI video formats The video formats supported by this system are as follows. Color [HDMI Signal Resolution Frame rate 3D Color space depth Format] setting RGB 4:4:4 YCbCr 8 bits 4:4:4 50/59.94/60 Hz YCbCr 8/10/12 4:2:2 bits 4096 x 2160p [enhanced format] YCbCr 10/12...
-
Page 7: What's In The Box
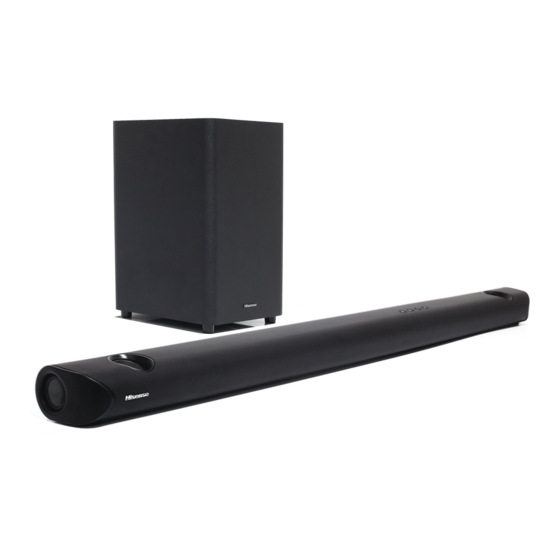
What’s in the Box Main Unit Remote Control / Wireless Subwoofer AAA Batteries x 2 Adapter 3.5mm to 3.5mm AC power Cord (for Main Unit) audio Cable Wall Bracket Wall mounting Screw Quick Start Guide HDMI Cable • Design and specifications are subject to change without notice. -
Page 8: Identifying The Parts
Identifying the Parts Main Unit 1 Overhead Sound 2 Surround Speakers 3 Display Window Show the current status. 4 Remote Control Sensor Receive signal from the remote control. 5 Screws Remove the screws then install the wall mounting screws into the back of the unit. (ON/OFF) button Switch the unit between ON and Standby mode. -
Page 9: Remote Control
Remote Control Switch the unit between ON and STANDBY mode. 2 MUTE Mute or resume the sound. 3 SOURCE Select the play function. 4 BT Select the Bluetooth mode. 5 VOL+/VOL- Increase/decrease the volume level. Skip to previous/next track in Bluetooth/USB mode. -
Page 10: Placement And Mounting
Placement and Mounting Placement A If your TV is placed on a table, you can place the unit on the table directly in front of the TV stand, centered with the TV screen. B If your TV is attached to a wall, you can mount the unit on the wall directly below the TV screen. Wall Mounting (if using option-B) Note: Installation must be carried out by qualified... -
Page 11: Connections
Connections Dolby Atmos® Dolby Atmos gives you amazing experience you have never before by overhead sound, and all the richness, clarity, and power of Dolby sound. DTS: X DTS: X The border sound is no longer constrained by fixed-position speaker placement or specific channel signals. -
Page 12: Use The Optical Socket
Connect the HDMI cable (not included) from unit's HDMI (ARC) socket to the HDMI (ARC) socket on your ARC compliant TV. Then press the remote control to select HDMI ARC. Tips: • Your TV must support the HDMI-CEC and ARC function. HDMI-CEC and ARC must be set to On. •... -
Page 13: Connect Power
Connect Power Risk of product damage! Ensure that the power supply voltage corresponds to the voltage printed on the back or the underside of the unit. Before connecting the AC power cord, ensure you have completed all other connections. Soundbar Unwind the mains adapter and mains cable to their full length. -
Page 14: Basic Operation
Basic Operation Standby/ON When you first connect the main unit to the mains socket, the main unit will be in Standby mode. • Press the button on the unit or on the remote control to switch the unit ON. • Press the button again to switch the unit back to STANDBY mode. -
Page 15: Bluetooth Operation
If you cannot find the unit, press and hold the searchable. The display will show “PAIR” and you will hear "Pairing" from the unit. 3 Select “HS512” in the pairing list. After successful pairing, you will hear "Paired" from the unit, and the display panel shows “BT”. -
Page 16: Listen To Music From Bluetooth Device
To disconnect the Bluetooth function, you can : Switch to another function on the unit. Disable the function from your Bluetooth device.The Bluetooth device will be disconnected from the unit after the “Disconnected” voice prompt. / PAIR button on the remote control. Press and hold the Tips: •... -
Page 17: Troubleshooting
Troubleshooting To keep the warranty valid, never try to repair the system yourself. If you encounter problems when using this unit, check the following points before requesting service. No power • Ensure that the AC cord of the apparatus is properly connected . •... -
Page 18: Specifications
Specifications Model Name HS512 Soundbar Adapter Power Input AC120V~ /220-240V~ 50/60Hz, 1.8A Adapter Power Output Main Unit Power Supply Input DC 23V 0.5A Dimension (WxHxD) 1200 x 73 x 110 mm (47.2 x 2.9 x 4.3 inch) Net weight 8.8 lbs (4 kg) - Page 19 HS512...
Need help?
Do you have a question about the HS512 and is the answer not in the manual?
Questions and answers