Advertisement
Quick Links
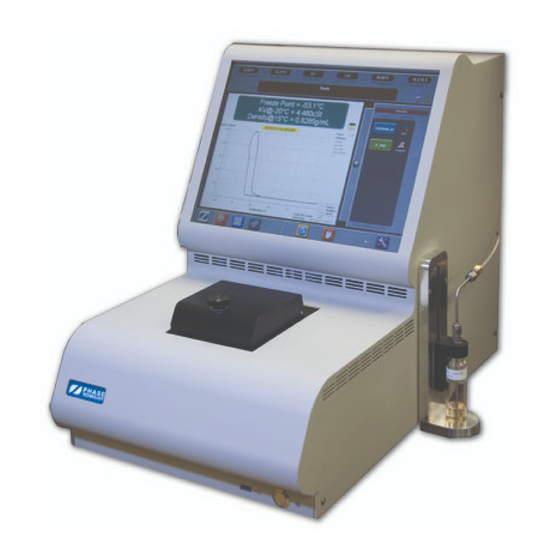
70Xi Sample Injection Port – Quick Installation Guide
1.
Remove the following items from the 70xi analyzer box:
a) 1 70xi analyzer
b) 1 accessory box:
i)
1 AC power cable
ii)
1 dryer bottle
iii) 1 box labeled "Sample Injection Port":
1 Sample Injection Port Assembly
1 plastic bag containing:
4 mounting screws
1 Sample IN Tubing (with 2 Swage fittings)
1 Sample OUT Tubing (with 1 Swage fitting)
2.
The analyzer should be set up:
on a flat, vibration-free surface
in a well-ventilated location
3.
Remove the caps on the back of the analyzer. Keep them
with the shipping boxes and related packing materials.
2 red plastic caps that cover the "PURGE IN" and "PURGE
OUT" fittings
2 brass caps that cover the "SAMPLE IN" and "SAMPLE
OUT" fittings
4.
Connect the dryer bottle to the back of the analyzer:
a) Attach the dryer bottle to the
back of the analyzer by fitting
the two mounting bracket holes
over the two mounting screws.
b) Separate the quick-connect
fittings on the dryer bottle. Press
the latch on the female fitting
and pull them apart.
c) Attach the quick-connect fittings
to the "PURGE IN" and "PURGE
OUT" fittings on the back of the
analyzer. A "click" sound
confirms that the fittings have
snapped into place.
5.
Connect the AC power cable to the back of the analyzer.
Plug the power cables into a grounded AC outlet that is a
dedicated circuit. If the power source is unstable or noisy,
use a power surge protector, equipped with a line filter.
6.
7.
8.
Page 1 of 2
Customer Service & Support: 604-241-9568
customer_service@phase-technology.com
Mount the Sample Injection Port Assembly onto the
analyzer cover with the 4 mounting screws, using a Philips
screw driver. Make sure the stainless steel tubing of the
Sample Injection Port Assembly point to the back of the
analyzer. Rotate the tubing if needed.
Install the Sample IN Tubing:
a) Connect the stainless steel
fitting to the Sample Injection
Port Assembly, with two 7/16"
wrenches.
b) Connect the brass fitting to the
port labeled "SAMPLE IN" at the
back of the analyzer, with a
7/16" wrench.
Install the Sample OUT Tubing:
a) Connect the brass fitting to the
port labeled "SAMPLE OUT" at
the back of the analyzer, with a
7/16" wrench.
b) Put the free end into a user-supplied waste bottle.
Ensure the end of this tubing stays above the effluent
level in the waste bottle at all times (i.e. tubing end
should never be submerged into the effluent).
Advertisement

Related Manuals for Phase Technology 70Xi


Summary of Contents for Phase Technology 70Xi
- Page 1 70Xi Sample Injection Port – Quick Installation Guide Remove the following items from the 70xi analyzer box: Mount the Sample Injection Port Assembly onto the a) 1 70xi analyzer analyzer cover with the 4 mounting screws, using a Philips b) 1 accessory box: screw driver.
- Page 2 70Xi Sample Injection Port – Quick Installation Guide Power up the analyzer: 11. To start a test: Press the round button at the bottom right hand side at Fill a vial with sample all the way to the neck. the front of the analyzer.
Need help?
Do you have a question about the 70Xi and is the answer not in the manual?
Questions and answers