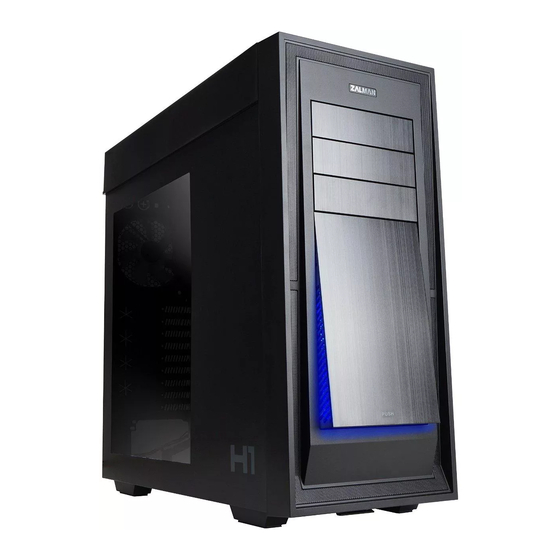
Summary of Contents for ZALMAN H1
- Page 1 AUTOMATIC HEAT VENTILATION FULL TOWER COMPUTER CASE USER MANUAL English / 한 글 / Français / Español Ver.151104...
- Page 2 8. Avoid inserting objects or hands into the system while it is in operation to prevent product damage and injuries. 9. Zalman Tech Co., Ltd. is not responsible for any improper use. 10. Product design and specifications may be revised to improve quality and performance.
- Page 3 3. Features / 특징 Enclosure Type Full Tower Case Dimensions 237(W) x 551(H) x 569(D)mm Motherboard Compatibility Standard ATX/ Micro-ATX/ Mini-ATX/ LX-ATX/E-ATX Power Supply Compatibility Standard ATX / ATX12V PCI/AGP Card Compatibility Full Size 360mm (14.1inch) 5.25" 3.5" Drive Bays Hot-swap 3.5"/2.5"...
- Page 4 5. Front I/O Ports / 상단 I/O 포트 ⑦ ⑧ ⑨ ⑩ ⑪ ⑫ 35℃ CONTROL OPEN 45℃ CLOSE TEMP.-SETTING FRONT REAR SETTING USB 3.0 USB 2.0 RESET POWER ⑥ ⑤ ④ ③ ② ① Part / 명칭 Part / 명칭 ①...
- Page 5 2) Motherboard installation / 마더보드 설치 - There are 6 Stand-offs preinstalled. Please refer to the diagrams below. - 기본 6개의 Stand-Off가 장착되어 있으며, 하단 그림을 참조하여 마더보드를 케이스에 장착합니다. B Bolt E-ATX Stand off Micro-ATX 3) VGA Card Installation / 그래픽 카드 설치 ①...
- Page 6 5) 3.5" & 2.5" HDD Tray Installation / 3.5" & 2.5"트레이 설치 ① 3.5"&2.5" HDD Module removal / 3.5"&2.5" HDD 모듈 분리 1) Remove the screws and then remove the Module as shown in the figure 1) 그림과 같이 나사를 제거한 후 Module을 분리합니다.
- Page 7 Caution / 주 의 ▶ To use Hot-Swap, the S-ATA Cable and 4-Pin Power Cable must be connected to the Hot-Swap PCB. ▶ PC and HDD might be damaged during the installation of *1) HDD and if the power is not turned off.
- Page 8 8) Cabel Connect / 케이블 연결 ① Power button cable connect / 전원버튼 케이블 연결 Power button / 전원 버튼 Power Power LED Motherboard / 마더보드 9) Cabel Connect / 전원 I/O 모듈 케이블 연결 ① Top cable connect / 상면 I/O포트 연결 Audio ▶...
- Page 9 7. 품질보증 및 A/S 안내 1. 품질 보증기간 : 제품 구입일로부터 1년 (단, 구입영수증이 있을 때) 2. 무상 A/S : 품질 보증기간 내에 제품 자체 성능상의 하자 및 불량 발생시 3. 유상 A/S : 품질 보증기간 이후에 제품 사용상의 문제 발생시. 단, 아래와 같은 사항에 대해서는 품질...


Need help?
Do you have a question about the H1 and is the answer not in the manual?
Questions and answers