
Subscribe to Our Youtube Channel
Related Manuals for Musicmakers Reverie Harp Kit


Summary of Contents for Musicmakers Reverie Harp Kit
- Page 1 REVERIE HARP KIT MUSICMAKERS KITS, INC PO Box 2117 Stillwater MN 55082 651-439-9120 www.harpkit.com If you have any questions about the assembly of your kit - please visit our online Builder’s Forum www.harpkit.com/forum...
- Page 2 Reverie Harp Kit Parts A - Soundboard (front) B - Back, veneer ply C - 2 Side frame pieces, solid hardwood D - Head end, curved solid hardwood E - Tail end, curved solid hardwood F - 22 Tuning pins...
- Page 3 _____2. Once the frame is dry, remove the tape and check the glue seams to make sure the wood surfaces are level and smooth, especially where the soundboard and back Sand seams to will be glued. Sand these surfaces to remove any glue remove bumps blobs and irregularities.
- Page 4 TRIMMING & SANDING THE BOX _____6. Now you need to trim off the excess soundboard and back material flush with the frame of the instrument. If you have a router, the quickest way to trim around the instrument is to use a flush-trim router bit. Another quick way to trim the overhang is with a belt sander.
- Page 5 APPLYING THE FINISHING STAIN -- STAINS are coloring agents and should only be used if you dislike the natural color of the wood. We usually do not apply stains to our projects, especially when they are made with naturally beautiful hardwoods such as on this project.
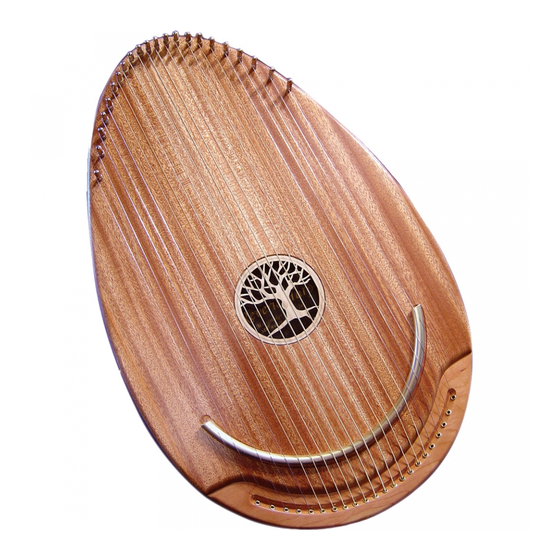
- Page 6 Begin with the lightest strings, marked .012”. Thread them through the two outermost holes in the tail end of the instrument, pulling them until the ball-end rests in the shallow groove at the back end of the frame. These two strings will be attached to the outermost tuning pins at the head end.
- Page 7 *(The notes shown above are for the standard “Reverie Tuning”) An electronic tuner is quite useful to keep your harp in tune. can also use the free online tuner at Musicmakers’ webiste - www.harpkit.com/freetuner reference keyboard © Musicmaker’s Kits, Inc...
- Page 8 _____16. (Optional) If you’d like to add a strap to the instrument, we recommend placing the mounting buttons on the sides of the box, near each end, at about the 1:00 and 7:00 o’clock positions, as indicated here. mounting but- mounting but- CONGRATULATIONS! You have assembled a beautiful instrument that anyone can play.
Need help?
Do you have a question about the Reverie Harp Kit and is the answer not in the manual?
Questions and answers