
Related Manuals for Ostermann e-Desk 1+2


Summary of Contents for Ostermann e-Desk 1+2
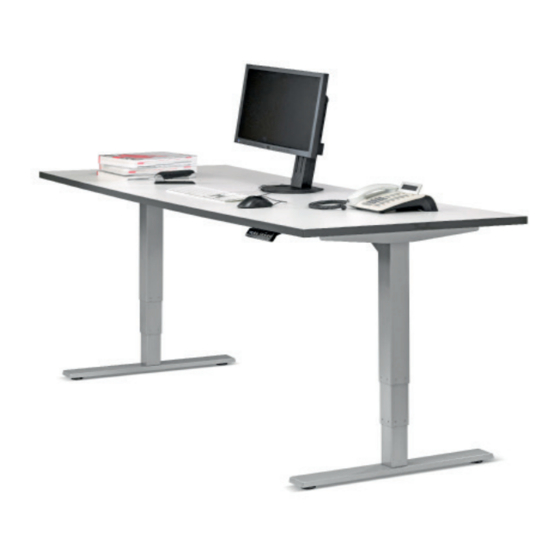
- Page 1 1+2 Electrically height-adjustable table frames Design and operating instructions As of: October 2019...
-
Page 2: Table Of Contents
Contents 1 Warnings/Information 2 Use/Liability 3 Assembly Tools Assembly 4 Use 5 Troubleshooting 6 Data 7 Setting the LED return height 8 Setting the upper and lower limits 9 Programming change from constant pressing to single pressing www.ostermann.eu... -
Page 3: Warnings/Information
Under no circumstances will the manufacturer accept any warranty claims or liability claims for damage caused by improper use or handling of the table frame. IMPORTANT: Please read the instructions carefully. When selling the table, please make this manual available to the customer. www.ostermann.eu... -
Page 4: Assembly
Side bracket R Control box Switch Power cable Cable (1.3 m) M6 x 10 metal threaded screw M6 x 14 metal threaded screw M6 x 35 metal threaded screw M5 x 20 wooden screw M5 x 16 wooden screw Cable clamp www.ostermann.eu... - Page 5 Slide the two centre rails (no. 4) into the two frame ends (no. 3a and 3b). Note: The grooves in the centre rails (no. 4) point inwards. The grooves in the centre rails (no. 4) are closer to the upper edge, as the assembly is „overhead“. www.ostermann.eu...
- Page 6 Use two M5x16 wooden screws (no. 14) to fasten the switch to the table top. Do not overtighten the screws in this step. Overtwisting causes damage to the components. www.ostermann.eu...
-
Page 7: Use
Use the up/down key to obtain the desired height, then press „M“ followed by a number 1-4. ATTENTION: As soon as a preset key is pressed, the desk moves to the programmed height (see the warning above). www.ostermann.eu... -
Page 8: Troubleshooting
Now release the key. The new starting height is stored, and your desk is now ready for use. Note: The LED display has a tolerance of 0.1 www.ostermann.eu... -
Page 9: Setting The Upper And Lower Limits
If the settings of the lowest and highest positions are set again, it is possible that the set positions 1, 2, 3 or 4 can no longer be approached. If this happens, readjust the position. If you intend to change the lowest and highest position which is outside your position setting, a new reset is necessary. www.ostermann.eu... -
Page 10: Programming Change From Constant Pressing To Single Pressing
To complete programming, press the button with the down arrow until the table moves down a little, then briefly up again and finally stops. Then release the button. The new programming is now stored, and the table can be used accordingly. www.ostermann.eu...
Need help?
Do you have a question about the e-Desk 1+2 and is the answer not in the manual?
Questions and answers