Advertisement
Quick Links
Advertisement

Related Manuals for SUOMY SR-GP


Summary of Contents for SUOMY SR-GP
- Page 1 USER MANUAL ITALIANO ENGLISH FRANÇAIS ESPAÑOL DEUTSCH...
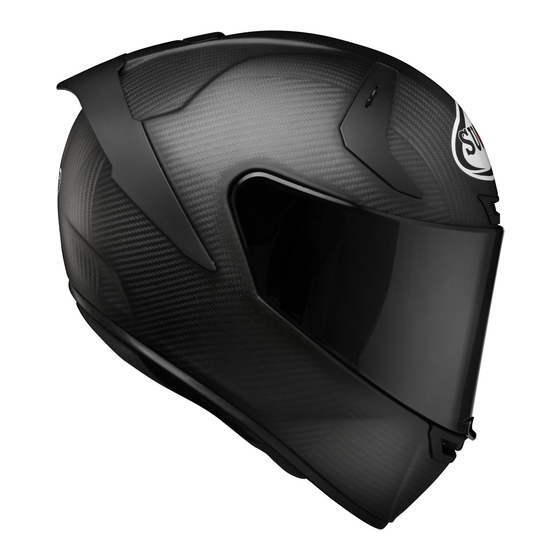
- Page 2 Warning SR-GP is not designed to be used with earphones and/or similar devices. Thank you for choosing SUOMY. Designed and manufactured in compliance with the highest qualitative standards specifically for motorcycle use, SR-GP is certified by the most important Certification Bodies.
- Page 3 Do not use scarves or neck guards which could make the strap slide and the helmet fly off in case of crash. SR-GP was designed to be used with most of the eyeglasses on the market. In any case check how the helmet fits with the glasses before purchasing it.
-
Page 4: Maintenance
Maintenance SR-GP was studied to absorb crashes through a partial destruction of the shell or some of its parts that could be damaged after a crash To clean the shell use water and mild soap; let the helmet dry even if it is not readily visibly. - Page 5 SR-GP Suomy therefore, cannot be held responsible if this should occur. FIGURE 2 If after repeating the test you are not able to efficiently tighten the retention system, do not use the helmet.
- Page 6 «D Rings ». Use the unlocking tongue only to remove the helmet! Never unlock while riding. If the retention system does not work correctly, do not use the helmet and contact Suomy authorized personnel only. FIGURE 3 CLOSE FIGURE 4...
- Page 7 FRONT AIR INTAKE — — Figure 5 REAR AIR EXTRACTORS — — Figure 7 The flow of incoming air in the front part of the helmet The innovative rear air intake has been designed to further improve may be regulated by adjusting the middle part of the air intake: ventilation inside the helmet, using residual air flows that, again thanks to the Venturi effect, are able to generate a depression in the - Figure 5: Slide up the central cursor to close the air intake, slide...
- Page 8 PADDING — — — — The inner padding, can be easily removed to be washed or replaced. Inner central padding: INNER SHELL — — Figure 8 Assembly and disassembly The inner shell (E) is fixed to the helmet through 4 press studs (F). Removing the inner padding Snap to open the press studs (F) and remove the inner shell (E).
- Page 9 Assembly — Figure 11 Inner side padding: CHEEK PADS — — Figure 9 Turn upside down the cheek pads from the original position. Assembly and disassembly Insert the fixing hook (H) in the red hooking hole (I) Put the back part of the cheek pad on the fixed part of the inner Removing the pads —...
- Page 10 VISIOR— — The visor must be periodically cleaned and controlled. If the visor is dirty and/or has bad scratches on the surface there could be unusual light reflections or deviations, which may jeopardize safety. Immediately replace the visor if there are these problems. How to operate —...
- Page 11 Visor closure and safety position: First closing fit Slide the lock on the visor to the right to insert FIGURE 12A the safety position To unlock the visor: Slide the lock to the left to release from safety position FIGURE 12B...
- Page 12 If this doesn’t happen and the rotation mechanism of the visor doesn’t work correctly, do not use the helmet and contact Suomy authorized personnel only. FIGURE 14...
- Page 13 If this doesn’t happen and the rotation mechanism of the visor doesn’t work correctly, do not use the helmet and contact authorized Suomy personnel only. FIGURE 15 FIGURE 16...
- Page 14 SETTING AIR FLOW – CHIN AIR INTAKE 1 Remove the cover by levering on the appropriate hole located on the chin inside the helmet. HOOKING PLUG SEAT COVER HOOKS 2 remove the filter by using appropriate tweezers to increase the air 3 Refit the cover by plugging and pressing the hooking teeth in flow, then refit the cover as shown in the picture.
- Page 15 If this doesn’t happen and the nose guard does not adhere to the edge of the shell or is not positioned correctly, do not use the helmet and contact authorized Suomy personnel only. FIGURE 19 FIGURE 20...
-
Page 16: Hydration System
HYDRATION SYSTEM 1 Insert the pipe in the hydration system 3 Insert the pipe in its house T2. Push it until it comes out of the appropriate exit hole T3 and then insert the relative nozzle into the pipe. 2 Slide the pipe between the check pad and the internal part of the helmet, following the trim at the bottom. -
Page 17: Warranty
Suomy undertakes to repair the defective product (or one of its must be proven by the receipt (invoice, receipt or any document part) or to replace it (at Suomy Motosport S.r.l.’s discretion), with no extra that unequivocally identifies the purchasing date as for example, charge for the parts and the labor. - Page 19 SUOMY MOTOSPORT S.r.l. Via Sant’Andrea, 20/A 22040 Lurago d’Erba (CO) Italia info@suomy.com www.suomy.com...
Need help?
Do you have a question about the SR-GP and is the answer not in the manual?
Questions and answers