FoodSaver VS3000 Series Owner's Manual
Hide thumbs
Also See for VS3000 Series:
- Quick start manual (3 pages) ,
- User manual ,
- Owner's manual (37 pages)

Related Manuals for FoodSaver VS3000 Series


Summary of Contents for FoodSaver VS3000 Series
- Page 1 Owner’s Manual For more information, watch our “How To” videos on our Youtube channel. VS3000 Series www.youtube.com/foodsaver...
-
Page 3: Table Of Contents
Important Safeguards Product Features “How To” Make a FoodSaver ® Vacuum Seal a FoodSaver ® Vacuum Seal with FoodSaver Accessories ® Care & Cleaning Storage Guide Guidelines Vacuum Sealing and Food Safety Food Preparation and Reheating Tips Sealing Non-Food Items... -
Page 4: Important Safeguards
Perishables still need to be been damaged in any manner. Do refrigerated or frozen. not attempt to replace or splice a damaged cord. Contact Customer Service (see warranty) for examination, repair or adjustment. www.FoodSaver.com... - Page 5 SAVE THESE INSTRUCTIONS HOUSEHOLD USE ONLY NORTH AMERICAN MODELS WITH POLARIZED PLUGS: This appliance has a polarized plug, (one blade is wider than the other). As a safety feature to reduce the risk of electrical shock, this plug is intended to fit in a polarized outlet only one way. If the plug does not fit fully in the outlet, reverse the plug.
-
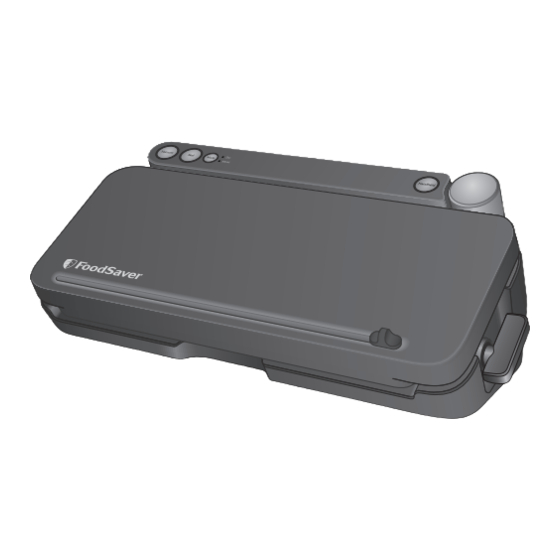
Page 6: Product Features
Product Features Built-In Handheld Control Panel Sealer Latch Bag Cutter Cutter Appliance Stabilizer Profile Upper Seal Profile Cutter Upper Foam Gasket Roll Storage Lower Foam Gasket Extra-Wide Vacuum Removable Sealing Strip Channel Drip Tray www.FoodSaver.com... - Page 7 Press to vacuum seal food airtight. Appliance shuts off automatically. Seal Button This button as three uses: i. Press button to create a seal when making bags using a FoodSaver ® Roll. ii. Press to immediately stop vacuum process and begin sealing bag.
-
Page 8: How To
How to Make a FoodSaver ® Turn Latch to Open position and open lid. Place roll inside unit’s internal storage space as indicated. Pull enough bag material to edge until it is on top of the sealing strip to make the first seal close lid. - Page 9 Turn Latch to Open position , open lid and pull enough bag material out to desired length for whatever you intend to vacuum seal and close lid. Turn Latch to Operate position Press Seal Button to make seal for next bag. While sealing, you can slide bag cutter across to remove bag.
-
Page 10: Vacuum Seal A Foodsaver ® Bag
How to Vacuum Seal a FoodSaver ® Turn Latch to Open position and open lid. Place item(s) in bag, allowing at least 3 inches (7.62 cm) of space between contents and open end of bag. Place open end of bag into Vacuum Channel (Drip Tray) close lid. -
Page 11: Vacuum Seal With Foodsaver ® Accessories
Vacuum Seal with FoodSaver Accessories ® Your new FoodSaver Appliance includes a Built-In Handheld Sealer ® for accessories. For Zipper Bags & Containers: Turn Latch to Operate position and pull Handheld Sealer from appliance. Place Built-in Handheld Sealer on zipper bag or container valve. -
Page 12: Care & Cleaning
Reservoir from Handheld Sealer, holding top portion (black upper piece) firmly, pull Lower Pull Reservoir off Reservoir down and off . Wash in warm soapy water. Air dry before replacing. NOTE: Always clean after each use when fluid is visible. www.FoodSaver.com... -
Page 13: Storage Guide
Storage Guide of your Vacuum Sealer To Store Appliance: Clean unit thoroughly as detailed in “Care & Cleaning” section. After unit has been cleaned and allowed to fully dry, close lid and push Latch into Store (middle) position . This setting will keep lid closed but prevents any undue pressure from being applied to internal sealing Gaskets of unit. -
Page 14: Guidelines
IMPORTANT: Vacuum sealing is NOT a substitute for refrigeration or freezing. Any perishable foods that require refrigeration must still be refrigerated or frozen after vacuum sealing. www.FoodSaver.com... -
Page 15: Food Preparation And Reheating Tips
NOTE: Beef may appear darker after vacuum sealing due to the removal of oxygen. This is not an indication of spoilage. Preparation Guidelines for Hard Cheeses: To keep cheese fresh, vacuum seal it after each use. Make your FoodSaver ® extra long, allowing one inch (2.54 cm) of bag material for each time you plan to open and reseal in addition to the three inches (7.62 cm) room you normally... - Page 16 This prevents them from freezing together in a block. Once they are frozen, remove from baking sheet and vacuum seal vegetables in a FoodSaver Bag. After they have been vacuum ®...
- Page 17 ® Preparation Guidelines for Baked Goods: To vacuum seal soft or airy baked goods, we recommend using a FoodSaver ® Canister so they will hold their shape. If using a bag, pre-freeze for 1-2 hours or until solidly frozen. To save time, make cookie dough, pie shells, whole pies, or mix dry ingredients in advance and vacuum seal for later use.
- Page 18 When you’re ready to use, just cut corner of bag and place in a dish in microwave or drop into water at a low simmer, below 170°F (75°C). To vacuum seal non-carbonated bottled liquids, you can use a FoodSaver ®...
- Page 19 Vacuum Sealing Non-Food Items The FoodSaver Vacuum Sealing System also protects non-food items from oxidation, ® corrosion and moisture. Simply follow directions to vacuum seal items using FoodSaver Bags, ® Canisters and Accessories. Silverware To vacuum seal silver, wrap fork tines in soft cushioning material, such as a paper towel, to avoid puncturing bag, and seal as normal.
-
Page 20: Troubleshooting
Latch to Open or Store position. • If making a bag from a roll, make sure one end of bag is sealed. See How to Make a Bag from a FoodSaver Vacuum Sealing Roll. ®... - Page 21 Examine rim of container for cracks or scratches. Make sure container valve is clean. • Call Consumer Services at 1-877-777-8042. If you need • For additional tips and answers to frequently asked further questions, go to www.foodsaver.com and click the “Service & assistance: Support” tab. Customer Service: 1-877-777-8042...
-
Page 22: Replacement Parts
® ® ® Bag Cutter Cutter Stabilizer Profile Upper Seal Profile FoodSaver FoodSaver FoodSaver ® ® ® Drip Tray Accessory Upper and Lower Reservoir Accessory Foam Gaskets Replacement parts are available for purchase on FoodSaver.com or by calling 1-877-777-8042 www.FoodSaver.com... -
Page 23: Warranty
Warranty 5 Year Limited Warranty Sunbeam Products, Inc. warrants that for a period of five (5) years from the date of initial retail purchase, this product will be free from defects in material and workmanship, when used in accordance with the instructions provided. Sunbeam, at its option, will repair or replace this product or any component of the product found to be defective during the warranty period. - Page 24 Registering your appliance is quick and easy at www.foodsaver.com/register. For important safety information and helpful tips, please visit us at www.foodsaver.com to get tips on vacuum sealing and order FoodSaver brand accessories, bags and rolls, ® or call 1-877-777-8042 (U.S.).
Need help?
Do you have a question about the VS3000 Series and is the answer not in the manual?
Questions and answers