
Related Manuals for Regency Mirada


Summary of Contents for Regency Mirada
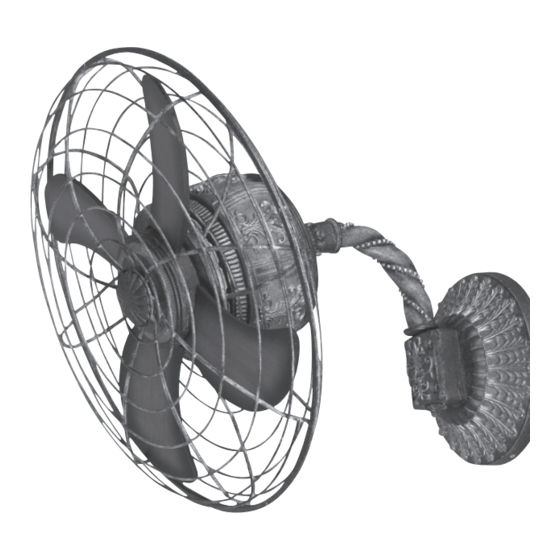
- Page 3 MpOrtant aFety reCautiOns Thank you for choosing a Regency Ceiling Fan. You have chosen the best! Your new wall fan has been designed to provide many years of service and enjoyment. Warnings: • Disconnect power by removing fuse or turning off circuit breaker before installing the fan .
- Page 6 nstalling eMOte eCeiver ttach eceIver 1. Connect the white power line from the outlet box to the white wire on the AC in side of the receiver (Fig.1). 2. Connect the black power line from the outlet box to the black wire on the AC in side of the receiver (Fig.1) 3.
- Page 7 nstalling the WARNING: To avoid damaging the blade arms and blades, do not install them onto fan until fan is fastened to wall. 1. Place canopy bracket on to the hanging bracket using the installation tab (Fig.1). 2. Remove the four screws from the hanging bracket, two on top and two on the bottom (Fig. 2). 3.
-
Page 10: Remote Control
eMOte OntrOl eneral nformatIon NOTE: For use with a standard remote control. Multiple code choices are included with your fan’s remote control in case: • you have more than one remote control fan and want them to respond only to their own remote control •... -
Page 11: Operation
peratiOn peratIng ButtonS on the ranSmItter HI – fan high speed MED – fan medium speed LOW – fan low speed FAN/OFF – fan speed off • Range of the transmitter is approximately 25 ft. rOuBleshOOting ase OF iFFiCulty 1. If fan will not start: Check main and branch circuit breakers and/or fuses. Check line wire connections to fan and switch housing wiring.
Need help?
Do you have a question about the Mirada and is the answer not in the manual?
Questions and answers