
Related Manuals for Click PFM7-SZ


Summary of Contents for Click PFM7-SZ
- Page 1 70cm Metal Pedestal Fan INSTRUCTION MANUAL MODEL: PFM7-SZ AFTER SALES SUPPORT (AU) 1300 886 649 (NZ) 0800 836 761 | info@tempo.org...
-
Page 2: Table Of Contents
Contents Important Safety Instructions Product Overview Getting Started Instructions Other Useful Information AFTER SALES SUPPORT (AU) 1300 886 649 (NZ) 0800 836 761 | info@tempo.org... -
Page 3: Important Safety Instructions
Important Safety Instructions Read this manual thoroughly before first use, even if you are familiar with this type of product. The safety precautions enclosed herein reduce the risk of fire, electric shock and injury when correctly adhered to. Make sure you understand all instructions and warnings. - Page 4 Important Safety Instructions (Cont.) • Unless your home is already fitted • WARNING! Do not leave unattended with a residual current device (safety during use. Switch it off and unplug switch), we recommend installing an it when not in use, if left unattended RCD with a rated residual operating and before cleaning and storing.
- Page 5 Important Safety Instructions (Cont.) • Do not allow curtains, drapes or any other items to drape across the appliance or openings. • CAUTION! Avoid contact with moving parts. Never insert fingers, pencils or any other objects through the grilles/ housing when the fan is running. Keep hair and loose clothing well away from the fan when it is in use.
-
Page 6: Product Overview
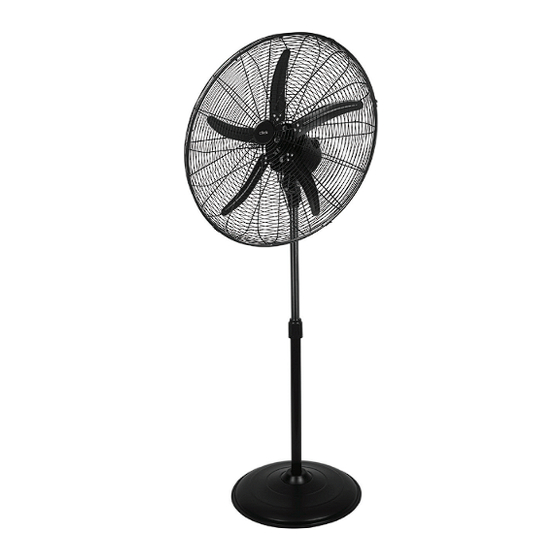
Product Overview Scope of delivery Front and rear guards (grilles) Fan blade Extension tube Height adjustment (clamping) ring Stand post Stand base Also supplied, but not shown: Assembly hardware (as per parts list, page 8) Instruction manual Warranty certificate NOTE: Due to continued product improvement, images and illustrations in this manual may vary slightly from the product purchased. -
Page 7: Getting Started
Getting Started Unpacking • Unwind the cord to its full length. Inspect the power supply cord • This product has been packaged and plug, and all other parts of the to protect it against transportation appliance, for visual damage. Do not damage. - Page 8 Getting Started (Cont.) Parts list A Front grille B Fan blade C Grille nut and bolt D Rear grille E Rear grille screws and washers F Motor head assembly G Locking thumb screw H Clamping ring Stand post J Cover K Base L Washer M Locking lever...
- Page 9 Getting Started (Cont.) Assembling the base and stand Tip up so that the underside of post the base is accessible. Then fasten in place and tighten by using the Each part of your new fan is designed to locking lever and washer. fit together and be disassembled easily for cleaning or storage First, unscrew the locking lever and...
- Page 10 Getting Started (Cont.) Place the cover over the top of the Pull out the chrome extension post and drop it down. tube as far as it will go, then refit the clamping ring and tighten (clockwise). Drop the cover all the way down so that it sits on top of the base and Take the motor assembly.
- Page 11 Getting Started (Cont.) Assembling the grilles and blade 12 Slide and push the fan blade onto the spindle. Push it until the end of Remove the four screws and the fan blade hole is aligned with the washers as identified. end of the spindle.
- Page 12 Getting Started (Cont.) 14 Remove the small nut and bolt from 17 Secure the grilles by closing all the the bottom of the grille. Keep it in a clips over the outer rim. safe place. 15 Place the front safety grille into position by lining up the location fork over the top of the rear grille, as shown, and push down.
-
Page 13: Instructions
Instructions Tilting the fan head Fan on / off / speed control The fan head can Rotate the speed control knob on be adjusted up and the motor housing to the appropriate down as required. position to start the fan. Before adjusting the Speeds: tilt angle, always... -
Page 14: Other Useful Information
Other Useful Information WARNING! • Always wait until the fan has stopped completely, then switch off the fan and unplug it from the wall outlet before cleaning, maintenance or moving the fan. • Do not immerse the fan in water or other liquid. Do not spray it with liquids. Do not allow water to drip on or into the fan motor housing. - Page 15 Other Useful Information (Cont.) Technical specifications Power 230–240V~ 50Hz 130W Fan speeds Dimensions (approx.) (H)1650 x (L)712 x (W)490 Weight (approx.) 8.5kg Compliance This appliance has been fully tested and meets all requirements as set out by standards AS/NZS 60335.1 and AS/NZS 60335.2.80. CLASS II - DOUBLE INSULATED APPLIANCE This symbol indicates that the appliance has been designed in such a way that it does not require a safety connection to electrical earth (ground).
- Page 16 Warranty returns Should you for any reason need to return this product for a warranty claim, make sure to include all accessories with the product. Product does not work? If you encounter problems with this product, or if it fails to perform to your expectations, make sure to contact our After Sales Support Centre on (AU) 1300 886 649 or (NZ) 0800 836 761 for advice.
Need help?
Do you have a question about the PFM7-SZ and is the answer not in the manual?
Questions and answers