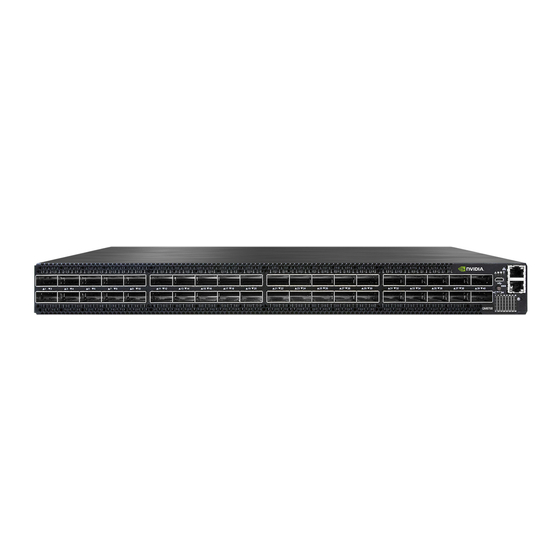
Summary of Contents for Mellanox Technologies QM8700
- Page 1 1U Switch Air Duct Kit Quick Installation Guide Model: QM8700/QM8790 Switch Air Duct Rail Kit www.mellanox.com...
-
Page 2: Pay Attention
Pay Attention! • All components must have the same airflow direction when installed in the rack. A mismatch in the air flow direction will affect the heat dissi- pation. Plan the FRU to connector or connector to FRU airflow, as required. - Page 3 *REMOVE AND DISCARD 8 SCREWS, AND DISASSAMBLE THE COVER IN THE OVAL. DISCARD THE COVER. *LOOSEN THE 2 CAPTIVE *INSTALL THE AIR DUCT UNIT ON THE CHASSIS, AND INSERT THE FASTENERS, AND REMOVE MUSHROOM INTO THE DESIGNATED THE FRONT PANEL. SLOTS.
- Page 4 *SLIDE THE SWITCH INWARDS, AND INSERT THE MUSHROOM INTO THE DESIGNATED SLOTS. *SLIDE THE RAILS ON THE SWITCH, UNTIL THE MUSHROOM IS SITUATED PROPERLY IN THE DESIGNATED SLOTS. (per side) TORQUE: 1.5±0.2Nm...
- Page 5 (per side) *DO NOT TIGHTEN THE SCREWS YET.
- Page 6 *INSERT AND TIGHTEN 4 SCREWS AS SHOWN BELOW, AND THEN TIGHTEN THE 4 SCREWS INSERTED IN THE PREVIOUS STEP. (per side) TORQUE: 4.5±0.5Nm *ROUTE THE REQUIRED CABLES THROUGH THE DESIGNATED WINDOW (RIGHT/LEFT/BOTH). *PLUG THE CABLES.
- Page 7 *SLIDE THE FRONT PANEL TOWARDS THE SWITCH, AND TIGHTEN THE TWO CAPTIVE SCREWS. Stacked Installation (Optional) • For stacked installation of adjacent switch assemblies in a rack, the system on top should be installed without its floor, in order to allow easier access to FRUs.
- Page 8 • The two systems in stacked mode are shown in the following figure: • Slide the front panels towards the switches, and tighten the captive screws. For full installation instructions, go to http://www.mellanox.com/-->Products-> InfiniBand/VPI Switch Systems A C C 0 0 1 4 6 5 - 0 0...


Need help?
Do you have a question about the QM8700 and is the answer not in the manual?
Questions and answers