
Subscribe to Our Youtube Channel
Related Manuals for NOMA Schoolhouse 42"


Summary of Contents for NOMA Schoolhouse 42"
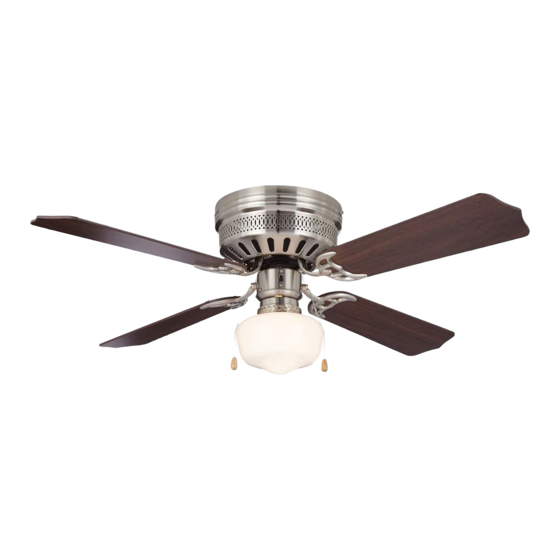
- Page 1 052-6962-0 Schoolhouse 42" Ceiling Fan Owner’s Manual READ AND SAVE THESE INSTRUCTIONS...
- Page 2 Safety Rules – Read and Save These Instructions 1. To reduce the risk of electric shock, ensure electricity has been turned off at the circuit breaker or fuse box before beginning. 2. All wiring must be in accordance with the national” and local electrical codes. Electrical installation should be performed by a qualified licensed electrician.
- Page 3 To Beging: Tools Needed (not supplied) Required Flathead Crosshead Safety glasses screwdriver screwdriver Pliers Wire cutters Electrical t ape Step ladder Helpful Wire strippers Soft cloth...
-
Page 4: Unpacking Your Fan
Unpacking Your Fan Unpack and inspect fan carefully to be certain all contents are included. 1. Set of blades (4) 2. Mounting plate 3. Fan motor assembly 4. Motor housing 5. Blade arms (4) 6. Glass shade 7. Balance kit Hardware bag Wood screws 2 pcs... -
Page 5: Hanging The Fan
Hanging the Fan Warning: Turn off the power. Follow the steps below to hang your fan properly. Outlet box 1. Carefully lift the fan motor assembly (without the blades) and insert the plate of the fan motor assembly into the slot in the mounting plate as shown in Fig. -
Page 6: Finishing The Fan Installation
Finishing the Fan Installation 1. Tilt the motor assembly up into position under the mounting bracket. Secure the bracket to the plate with the 4 mounting bracket screws provided. (Fig. 7) 2. Unscrew the 4 motor housing screws from the side of the mounting bracket. -
Page 7: Attaching The Fan Blades
Attaching the Fan Blades 1. Attach the blade to the blade bracket using the screws and fibre washers as shown in Fig. 9. 2. Tighten each screw. Make sure the blade is straight. 3. Unscrew the two blade bracket screws and washers from the motor. 4. -
Page 8: Blade Balancing
Installing the Light Kit Fan Without Light Kit (Optional) 1. Disassemble the switch housing cover from the light kit by removing the nut and washer on the centre of the switch housing cover, keep the light kit for future use. (Fig. 11) 2. - Page 9 Operating Your Fan Turn on the power and check the operation of your fan. There are two pull chains available in your fan: 1. 3-speed pull chain. Controls the fan speed as follows: 1 pull- High, 2 pulls: Medium, 3 pulls: Low, and 4 pulls: Off. Speed settings for warm or cool weather depend on factors such as the room size, ceiling height, number of fans, and so on.
-
Page 10: Care Of Your Fan
"making electrical connections". Warranty This Noma® product carries a limited ten (10) year warranty against defects in the motor, and a one (1) year warranty against defects in workmanship and materials. Trileaf Distribution agrees to replace the defective product free of charge within the stated warranty period, when returned by the original purchaser with proof of purchase. - Page 11 052-6962-0 Ventilateur de plafond de 42 po Schoolhouse Guide de l'utilisateur LISEZ ET CONSERVEZ CES CONSIGNES...
- Page 12 Règles de sécurité – Lisez et conservez ces consignes 1. Pour réduire le risque de choc électrique, assurez-vous que le courant est coupé au niveau du disjoncteur ou du coffret de fusibles avant de commencer. 2. Tout câblage doit être installé conformément aux codes électriques nationaux et locaux. L'installation électrique devrait être effectuée par un électricien qualifié...
- Page 13 Pour commencer : outils nécessaires (non fournis) Indispensables Tournevis plat Tournevis Lunettes de cruciforme protection Pinces Coupe-fils Ruban isolant Escabeau Utiles Outil à dénuder Chiffon doux...
-
Page 14: Déballage De Votre Ventilateur
Déballage de votre ventilateur Déballez et inspectez soigneusement le ventilateur pour vous assurer qu'il ne manque aucune pièce. 1. Ensemble de pales (4) 2. Plaque de montage 3. Bloc moteur 4. Boîtier du moteur 5. Bras de pales (4) 6. Abat-jour en verre 7. -
Page 15: Suspension Du Ventilateur
Suspension du ventilateur Avertissement : coupez le courant. Suivez les étapes ci-dessous pour suspendre correctement votre ventilateur. Boîte de sortie 1. Soulevez précautionneusement le bloc moteur (sans les pales) et insérez la plaque du bloc moteur dans la fente située sur la plaque de montage, tel qu'illustré... - Page 16 Finir l'installation du ventilateur 1. Inclinez le bloc moteur vers le haut pour le positionner sous le support de montage. Fixez le support à la plaque avec les 4 vis du support de montage fournies. (Fig. 7) 2. Dévissez les 4 vis du boîtier du moteur situées sur le côté du support de montage.
- Page 17 Fixation des pales du ventilateur 1. Fixez la pale au support de pale à l'aide des vis et des rondelles en fibre, tel qu'illustré à la fig. 9. 2. Serrez chaque vis. Assurez-vous que la pale est droite. 3. Dévissez les deux vis du bras de pale et les rondelles du moteur. 4.
- Page 18 Installation du luminaire Ventilateur sans luminaire (optionnel) 1. Séparez le couvercle du boîtier de l'interrupteur et le luminaire en ôtant l'écrou et la rondelle situés au centre du couvercle du boîtier de l'interrupteur. Conservez le luminaire pour utilisation future. (Fig. 11) 2.
- Page 19 Fonctionnement de votre ventilateur Établissez le courant et vérifiez l'état de marche de votre ventilateur. Il y a deux chaînettes sur votre ventilateur : 1. Une chaînette à 3 vitesses. Elle contrôle la vitesse du ventilateur comme suit : tirer 1 fois pour la grande vitesse, tirer 2 fois pour la vitesse moyenne, tirer 3 fois pour la basse vitesse, tirer 4 fois pour arrêter le ventilateur.
-
Page 20: Entretien De Votre Ventilateur
Entretien de votre ventilateur Voici quelques suggestions pour vous aider à entretenir votre ventilateur. 1. Certains branchements risquent de se desserrer en raison du mouvement naturel du ventilateur. Vérifiez les branchements, les supports et les pales deux fois par an. Assurez-vous qu'ils sont fixés fermement. (Il n'est pas nécessaire d'enlever le ventilateur du plafond.) 2.
Need help?
Do you have a question about the Schoolhouse 42" and is the answer not in the manual?
Questions and answers