Sign In
Upload
Download
Table of Contents
Contents
Add to my manuals
Delete from my manuals
Share
URL of this page:
HTML Link:
Bookmark this page
Add
Manual will be automatically added to "My Manuals"
Print this page
×
Bookmark added
×
Added to my manuals
Manuals
Brands
Advantech Manuals
Industrial Monitor
FPM-7000T Series
User manual
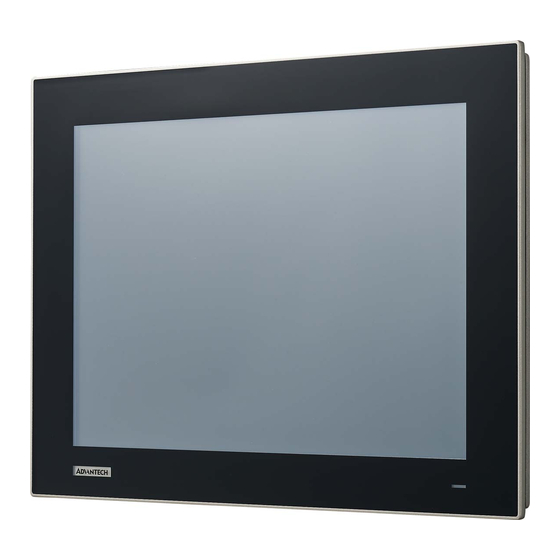
Advantech FPM-7000T Series User Manual
True-flat industrial monitor with 5-wire resistive touchscreen, direct-vga/dp ports
Hide thumbs
1
2
3
4
5
6
Table Of Contents
7
8
9
10
11
12
13
14
15
16
17
18
19
20
21
22
23
24
25
26
27
28
29
30
31
32
33
34
35
36
37
38
39
40
page
of
40
Go
/
40
Contents
Table of Contents
Bookmarks
Table of Contents
Table of Contents
Chapter 1 General Information
Introduction
Specifications
General
Touchscreen
LCD Specification
Power Consumption
Connectors
Dimensions
Power Connector Bracket
Chapter 2 Mounting
Mounting the Monitor
Wall Mounting with FPM-1000T-SMKE
Panel Mounting
VESA Mount for FPM-7000T
Appendix A OSD Operation Keypad
OSD Board Overview (FPM-71X1T)
OSD Key Functions
OSD Board Overview (FPM-7061T)
OSD Key Functions
Installing Drivers for Windows os
Appendix B Setting Serial Data for Expansion
Setting Serial Data for Expansion
Touch Screen RS232 Connector Pin Definition
Advertisement
Quick Links
Download this manual
User Manual
FPM-7000T Series
True-flat Industrial Monitor with
5-wire Resistive Touchscreen,
Direct-VGA/DP ports
Table of
Contents
Previous
Page
Next
Page
1
2
3
4
5
Advertisement
Table of Contents
Need help?
Do you have a question about the FPM-7000T Series and is the answer not in the manual?
Ask a question
Questions and answers
Related Manuals for Advantech FPM-7000T Series
Industrial Monitor Advantech FPM-7181W Series User Manual
18.5" industrial monitor with projected capacitive touchscreen, direct-vga and dvi ports (38 pages)
Industrial Monitor Advantech FPM-7151W Series User Manual
(42 pages)
Industrial Monitor Advantech FPM-7061T Series User Manual
True-flat industrial monitor with 5-wire resistive touchscreen, direct-vga/dp ports (40 pages)
Industrial Monitor Advantech FPM-7121T Series User Manual
True-flat industrial monitor with 5-wire resistive touchscreen, direct-vga/dp ports (40 pages)
Industrial Monitor Advantech FPM-7151T Series User Manual
True-flat industrial monitor with 5-wire resistive touchscreen, direct-vga/dp ports (40 pages)
Industrial Monitor Advantech FPM-7211W Series User Manual
21.5" industrial monitor with projected capacitive touchscreen, direct-vga and dvi ports (42 pages)
Industrial Monitor Advantech FPM-2120G Series User Manual
12"svga/15" xga/17" sxga industrial led monitor with resistive touchscreen, vga display port and dc12 v input (20 pages)
Industrial Monitor Advantech FPM-2170G Series User Manual
12"svga/15" xga/17" sxga industrial led monitor with resistive touchscreen, vga display port and dc12 v input (20 pages)
Industrial Monitor Advantech FPM-5151G Series User Manual
15" xga industrial monitor with resistive touchscreen, direct-vga, dvi ports and dc10-30v inputs (44 pages)
Industrial Monitor Advantech FPM-3191G Series User Manual
Industrial flat panel monitor with 19” tft lcd display (40 pages)
Industrial Monitor Advantech FPM-3150G Series User Manual
15" xga tft lcd industrial monitor with vga and dvi inputs (46 pages)
Industrial Monitor Advantech FPM-5171G Series User Manual
17" xga industrial monitor with resistive touchscreen, direct-vga, dvi ports and dc10-30v inputs (44 pages)
Industrial Monitor Advantech FPM-212 Series User Manual
12"xga/15" xga/17" sxga industrial monitor with resistive touch screen, vga ,dp or hdmi display port, and dc12 v input (30 pages)
Industrial Monitor Advantech FPM-212 Series User Manual
12" xga/ 15" xga/ 17" sxga industrial monitor with resistive touch screen, vga, dp, or hdmi display port, and 12 v dc input (32 pages)
Industrial Monitor Advantech FPM-215-R8AE User Manual
12" xga/ 15" xga/ 17" sxga industrial monitor with resistive touch screen, vga, dp, or hdmi display port, and 12 v dc input (32 pages)
Industrial Monitor Advantech FPM-217-R8AE User Manual
12" xga/ 15" xga/ 17" sxga industrial monitor with resistive touch screen, vga, dp, or hdmi display port, and 12 v dc input (32 pages)
This manual is also suitable for:
Fpm-7061t series
Fpm-7121t series
Fpm-7151t series
Table of Contents
Print
Rename the bookmark
Delete bookmark?
Delete from my manuals?
Login
Sign In
OR
Sign in with Facebook
Sign in with Google
Upload manual
Upload from disk
Upload from URL


Need help?
Do you have a question about the FPM-7000T Series and is the answer not in the manual?
Questions and answers