
Related Manuals for Craig CHT940 Series


Summary of Contents for Craig CHT940 Series
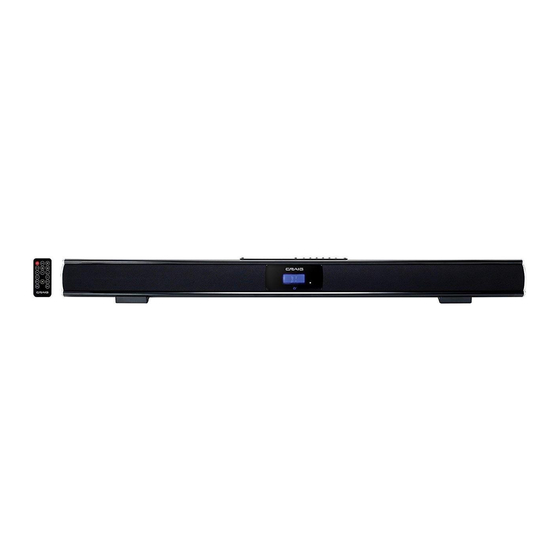
- Page 1 Sound Bar with FM/Bluetooth Sound Bar with FM/Bluetooth Music Player Music Player Model:CHT940x...
- Page 2 FCC Warnings WARNING:Changes or modifications to this unit not expressly approved by the party responsible for compliance could void the user’s authority to operate the equipment. NOTE: This equipment has been tested and found to comply with the limits for a Class B digital device, pursuant to Part 15 of the FCC Rules.
- Page 4 1. Insert the plug from the supplied AC/DC adaptor to the DC In Jack on the top of unit. To the wall outlet 2. Insert the small plug from the supplied AC Power To the AC In Jack Cord to the AC In Jack on the AC/DC Adaptor. 3.
- Page 5 2.1 Mounting on the wooden wall You may use 2 pieces screws (Included) 1. Mark the position of the mounting screws on the wall using a pencil. 2. Drill the supplied screws directly into the marks that you have made on the wall and leave approx.
- Page 6 Front View 1.Indicator 3. Speakers 3. Speakers 2. Remote Sensor Top View TUNE- TUNE+ TUNE+ TUNE- (FM receiver Antenna ) 1. FM ANT ( FM Antenna ) 6. VOL- ( Volume Down ) button 2. AUX IN 1 jack 7. VOL+ ( Volume Up ) button 3.
- Page 7 6. BASS +/- buttons Power ON/OFF button ( Mute ) button 2. TUNE-/ ( Skip Backward ) button 8. EQ ( Equalizer ) button 3. TUNE+/ ( Skip Forward ) button ( Play/Pause ) button 4. MO/ST ( Mono/Stereo ) button 10.
- Page 8 - First Time Use Remove and discard the insulation tab as figure on the right. - If the battery is consume, replace it as below: 1. Push and slide out the battery holder as figure 1 below. 2. Replace the battery with a new CR2025 button cell as the polarity markings on the rear of the Remote Control.
- Page 9 GENERAL OPERATIONS 1. Connect the AC/DC adapter to the unit and wall outlet as the previous procedure. The Red Indicator will light. 2. Press the POWER/SOURCE button on the unit or press the Power button on the remote control to power on the unit from standby mode. The color of the Indicator will turn to correspondence color.
- Page 10 BLUETOOTH PARING AND PLAYBACK Blue tooth In first time use or re-pairing to new BT Device, pairing the unit to the external BT Device as follows: 1. Power on the unit as previous procedures. 2. Press the POWER/SOURCE button on the unit or press the SOURCE button on the remote control repeatedly until the color of the Indicator turns to Blue.
- Page 11 AUX IN 1 : LISTEN TO EXTERNAL AUDIO DEVICES 1. Connect the Headphone/Earphone; Aux out jack or Line out jack from the external audio player (such like MP3 player; Discman … etc) to the AUX IN 1 jack on the top of unit by the supplied Audio Connection Cable as the figure below: Audio Player...
- Page 12 TROUBLESHOOTING GUIDE Check the followings before requesting service SYMPTOM POSSIBLE CAUSE POSSIBLE SOULTION Power AC/DC adapter Connect the power AC/DC adapter. not connected No power The unit is in Standby mode Press the button to turn on the unit. Raise volume level by pressing the VOL Volume in minimum position (Volume) + button.
- Page 13 Power Source..................DC 16V; 3A, Receiver Frequency .................. 1 x AC/DC Adaptor ( Input: AC 100-240V~; 50/60Hz; 1.5A Max. Output: DC 16V; 3 A, 1 x Remote Control, using CR 2025 button cell ( Included, already installed in remote control ) 1 x Stereo Audio Connection Cable with 3.5mm stereo plugs 1 x RCA Audio Connection Cable 1 x User's Manual...
- Page 14 Under no circumstance shall Craig be liable for any loss or consequential damage arising out of the use of this product. This warranty gives specific legal rights. However, you may have other rights which may vary from state to state.
Need help?
Do you have a question about the CHT940 Series and is the answer not in the manual?
Questions and answers