Table of Contents
Advertisement
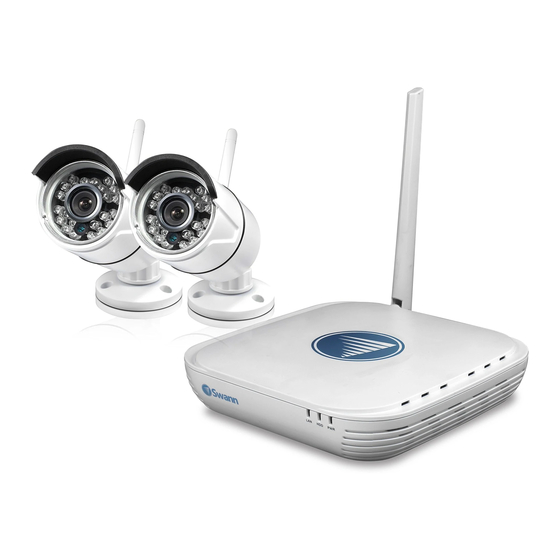
NVR Quick Start Guide
EN
Welcome! Lets get started.
• Getting to know your NVR
• What does this mean?
• Installing the Wi-Fi Antenna
• Connect your Cameras
• Connect the NVR to your Home Network
• Connect the Mouse
• Connect the NVR to your HDTV
• Connect the Power Adapter
QH460040515E | © Swann 2015
1 1
Advertisement
Table of Contents

Related Manuals for Swann NVK-460


Summary of Contents for Swann NVK-460
- Page 1 • What does this mean? • Installing the Wi-Fi Antenna • Connect your Cameras • Connect the NVR to your Home Network • Connect the Mouse • Connect the NVR to your HDTV • Connect the Power Adapter QH460040515E | © Swann 2015...
- Page 2 Getting to know your NVR Congratulations on the purchase of your Swann NVR. This quick start guide will assist you on getting your NVR up and running as soon as possible. We recommend that you connect everything and give it a try before you do a permanent installation, to make sure nothing was damaged during shipping.
-
Page 3: What Does This Mean
What does this mean? 1) Power - This is where you connect the power adapter. FCC Note: This equipment has been tested and found to comply with 2) Audio Out - For connecting speakers. the limits for a Class B digital device, pursuant to part 15 of the FCC Rules. -
Page 4: Installing The Wi-Fi Antenna
Installing the Wi-Fi Antenna The Wi-Fi antenna connects here Located at the rear As there are several Wi-Fi antennas of the NVR and the provided, use the longer version for camera is a connection the NVR and the shorter ones for the for the Wi-Fi antenna. -
Page 5: Connect Your Cameras
Connect your Cameras To reset the camera, The LAN port is mainly press and hold the reset used configure button, connect power and camera your Wi-Fi continue holding for 10 network. seconds. Connect the power input on the camera to one of the outputs on the power splitter cable. - Page 6 Connect the NVR to your Home Network Connect the Ethernet cable (supplied) to the LAN connection on the NVR, and then connect the other end to a spare port on your router or Wi-Fi network. DC 5V HDMI It’s important that you do this, as this allows you to access the NVR from your smartphone or tablet. It also allows the NVR to connect to the Internet to update its internal clock so the time it shows on the video is always accurate, and to send you email notifications.
-
Page 7: Connect The Mouse
Connect the Mouse Connect the mouse (supplied) to one of the USB ports located at the back of the NVR. You can also connect a flash drive (not supplied) to the other USB port to back up your video recordings and to perform a firmware update. DC 5V HDMI... - Page 8 Connect the NVR to your HDTV Connect the HDMI cable (supplied) to the HDMI output on the NVR, and connect the other end to a spare HDMI input on the HDTV. Make sure the video input on the HDTV matches the physical connection used to connect the NVR. HDMI IN 2 HDMI IN 1 DC 5V...
-
Page 9: Connect The Power Adapter
Connect the Power Adapter Connect the 5V power adapter (supplied) to the power input on the NVR then connect the power connection to a spare wall socket. DC 5V HDMI All the connections have now been completed. You’re now ready to run through “The Setup Wizard” to configure your NVR and to pair the alarm sensors, siren and remote control.
Need help?
Do you have a question about the NVK-460 and is the answer not in the manual?
Questions and answers