Table of Contents
Advertisement
Quick Links
Advertisement
Table of Contents

Related Manuals for Samson StudioDock Series


Summary of Contents for Samson StudioDock Series
- Page 1 StudioDock 3i StudioDock 4i...
- Page 2 Samson products in the future. Also, be sure to check out our website (www.samsontech.com) for complete information about our full product line.
-
Page 3: Studiodock 3I And 4I Features
StudioDock 3i and 4i Features The Samson StudioDock 3i and 4i studio monitor systems with integrated iPod dock provide a smooth response that’s accurate, and at the same time pleasant to listen to. Here are some of their main features: •... -
Page 4: Studiodock 3I And 4I Layout
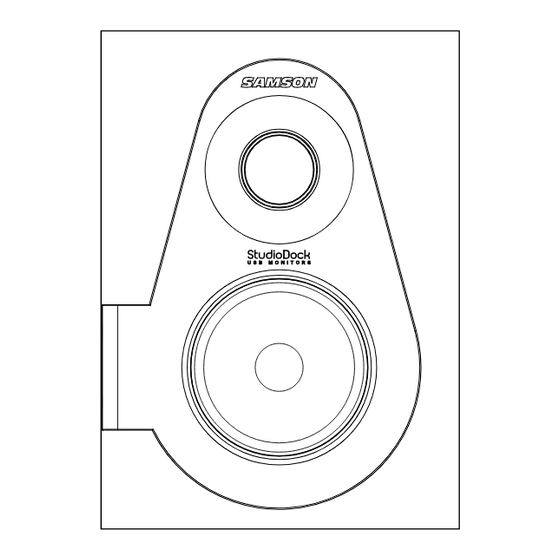
StudioDock 3i and 4i Layout Front View Layout 1. Silk Dome Tweeter - Smooth high 5. VOLUME control (Right Side Only) - frequency response produced from a Controls the overall amount of output 1-inch silk dome tweeter. level for both speakers. 2. -
Page 5: Studiodock 3I And 4I Rear Panel Layout
StudioDock 3i and 4i Rear Panel Layout StudioDock 3i and 4i Layout 1. RCA INPUT – Used to connect signals from unbalanced, –10dBV devices. The Red connector is the for Right input and the White is for the Left input. 2. -
Page 6: Studiodock 3I And 4I Quick Start
StudioDock 3i and 4i Quick Start StudioDock 3i and 4i Quick Start - iPod Playback Your StudioDock system has many sophisticated features, but if you just want to play- back music from your iPod, you can follow the simple steps below to get started. •... -
Page 7: Setting Up The Studiodock 3I And 4I
Setting up the StudioDock 3i and 4i Background on the StudioDock 3i and 4i Active USB Monitors The StudioDock 3i and 4i are near field reference monitors featuring a custom designed, 3 or 4-inch copolymer, low frequency driver and a 25mm silk dome tweeters, employing a Ferro fluid cooled voice coil and neodymium magnet. - Page 8 Setting up the StudioDock 3i and 4i Positioning the StudioDock 3i and 4i - continued Speaker Orientation The StudioDock 3i and 4i’s can be used in either the vertical or horizontal position. When using the monitors in the horizontal position, be certain to place the left and right side tweeters on the outer most sides.
-
Page 9: Connecting The Studiodock 3I And 4I
Connecting the StudioDock 3i and 4i StudioDock 3i and 4i Connections Note: Before plugging in and turning on, remember the “last on, first off” rule of power amplifiers (and powered monitors). When powering up your system, be sure that all the wires are connected, turn your mixer and any other outboard gear on, and then last turn your StudioDock 3i and 4i’s on. -
Page 10: Getting Started With Mac Os
Getting Started with MAC OS X The following example is for setting up the StudioDock in MAC OS X . The StudioDock does not require any special drivers or software. Just plug in the StudioDock into a USB port on your computer and everything is installed automatically. -
Page 11: Installing The Studiodock On Windows Vista
Installing the StudioDock on Windows Vista Installing the StudioDock is a simple procedure that takes just a few minutes. Since the StudioDock is USB compliant, you can use most any PC, connect the included Figure 4 USB cable and plug and play. You will be able to control your StudioDock using the standard audio interface controls in the MAC or Windows operating system. -
Page 12: Installing The Studiodock On Windows Xp
Installing the StudioDock on Windows XP Getting Started with Windows XP The StudioDock does not require any special drivers or software. Just plug in the StudioDock into a USB port on your computer and everything is installed Figure 9 automatically. 1. -
Page 13: Operating The Studiodock 3I And 4I
Operating the StudioDock 3i and 4i StudioDock 3i and 4i Rear Control Panel The StudioDock 3i and 4i’s rear control panel is where you will make your connections for the left side passive monitor, input signals and AC power. The following section details the rear panel connections. - Page 14 Operating the StudioDock 3i and 4i StudioDock 3i and 4i Rear Control Panel - continued and computer sound cards, to name a few. The following section details the StudioDock 3i and 4i’s input connectors. In addition, there is a detailed cable-wiring diagram on page 15. 4.
- Page 15 StudioDock 3i and 4i with Mono Sub Connecting to the Resolv120a Subwoofer Adding a subwoofer and extended low frequency response to your StudioDock 3i or 4i system is easy using the monitors’ LINE LEVEL inputs. Below is a typical system set-up using the RESOLV 120a with a mixer and a pair of StudioDock 3i or 4i’s satellite speakers.
-
Page 16: Studiodock 3I And 4I Wiring Guide
StudioDock 3i and 4i Wiring Guide StudioDock 3i and 4i Wiring Guide There are several ways to interface the StudioDock 3i and 4i, depending on your exact monitoring set-up. Follow the cable diagrams below for connecting your monitor sys- tem. RCA to RCA Cable Unbalanced 1/4”... -
Page 17: Specifications
Specifications Transducers: Woofers StudioDock 3i ....3" polypropylene with santoprene surround, StudioDock 4i ....4" polypropylene with santoprene surround, Tweeter .
Need help?
Do you have a question about the StudioDock Series and is the answer not in the manual?
Questions and answers