Table of Contents
Advertisement
Quick Links
Advertisement
Table of Contents

Subscribe to Our Youtube Channel
Related Manuals for BCP SKY763


Summary of Contents for BCP SKY763
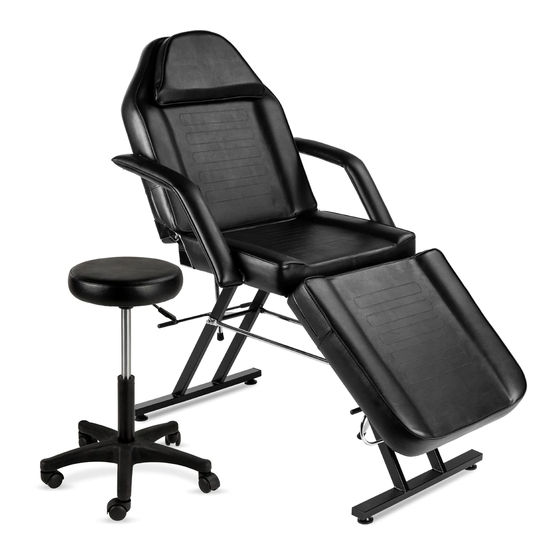
- Page 1 INSTRUCTION MANUAL Reclining Massage/Tattoo Chair SKY763 Ver. 3...
- Page 2 Thank you for choosing us! Since 2002, Best Choice Products has been bringing customers high-quality products at the absolute lowest price. With everything ranging from instruments and toys to furniture and outdoor, we’ve got your everyday living essentials covered. We’re centered around a customer-first philosophy –...
- Page 3 NOTICE Please retain these instructions for future reference. • Do not load more than 500 pounds on this product. • Firmly secure all bolts, screws and knobs before use. • Reconfirm that all bolts, screws, and knobs are secure every 90 days. •...
- Page 4 PARTS CROSSBAR SMALL LEG LONG LEG 2 PCS 1 PC 2 PCS 1 PC CUSHION HOOK ARMREST HEADREST 1 PC 1 PC 2 PCS 1 PC SEAT GAS LIFT BASE CASTER 1 PC 1 PC 1 PC 5 PCS PRODUCT ASSEMBLY Remove the four part 1 nut cap and washer sets from the two part A legs.
- Page 5 PRODUCT ASSEMBLY Remove the six part 4 bolt sets from the underside of the part E cushion. Attach the legs to the cushion by replacing the bolt sets. Remove the part 3 nut and bolt sets from the part C small leg and part D long leg, then remove the short/long legs from the brackets.
- Page 6 PRODUCT ASSEMBLY Remove the part 6 small screw from the part F hook. Slide the hook into bracket on the bottom of the cushion, and replace the small screw. Flip the chair onto its legs. Insert the part H headrest and two part G armrests. Pg.
- Page 7 PRODUCT ASSEMBLY Assemble the stool. NOTE: Make sure to apply even pressure when combining the seat and base. ADJUSTING THE BED Lift up on the levers attached to the part A legs to lay the backrest/footrest down. Release the levers to lock the backrest/footrest in place. Carefully lift the backrest/footrest to raise it to your desired position.
- Page 8 ENJOY YOUR PRODUCT! PRODUCT WARRANTY INFORMATION All items can be returned for any reason within 60 days of the receipt and will receive a full refund as long as the item is returned in its original product packaging and all accessories from its original shipment are included. All returned items will receive a full refund back to the original payment method.
Need help?
Do you have a question about the SKY763 and is the answer not in the manual?
Questions and answers
Both brackets are missing. I can't them in the box.
If any parts, including brackets, are missing, broken, damaged, or worn, you should stop using the product until repairs are made or factory replacement parts are installed. You may need to contact Best Choice Products customer service to request replacement parts.
This answer is automatically generated