Microsoft Xbox 360 Dismantling Instructions
Hide thumbs
Also See for Xbox 360:
- User manual ,
- Manual (176 pages) ,
- Important information manual (20 pages)
Advertisement
Quick Links
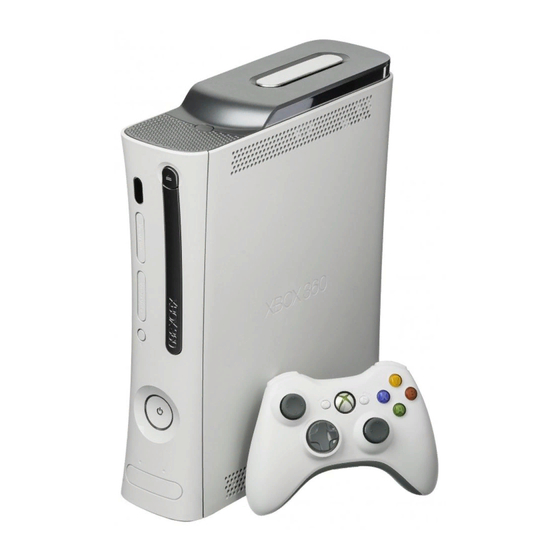
Xbox360
Dismantling Instructions
These instructions will show you how to open the console to replace the DVDrom drive, laser
and other internal parts. Opening your console will void your warrantee, and ConsoleParts4U
does not accept any responsibility for broken tablets due to the installation process. You
proceed at your own risk.
• Remove Hard Drive
Grasp the hard drive assembly and press the release button while lifting its front edge.
•
Remove the hard drive assembly from the top vent.
•
Pry the front edge of the bottom vent away from the faceplate.
•
Bottom Vent
Stand the console vertically
•
with the bottom edge facing
up.
Throughout
•
opening procedure, the finger
of
tool
spudger.
Insert the flat end of a spudger
•
or the edge of an Xbox 360
opening tool into the small
gap at the front edge of the
bottom vent.
- 1 -
the
following
an
Xbox
360
opening
can be used in place of a
Advertisement

Related Manuals for Microsoft Xbox 360


Summary of Contents for Microsoft Xbox 360
- Page 1 Insert the flat end of a spudger • or the edge of an Xbox 360 opening tool into the small gap at the front edge of the bottom vent. Pry the front edge of the bottom vent away from the faceplate.
- Page 2 In the next few steps, you will use the tip of a spudger or the finger of an Xbox 360 • opening tool to release the clips along the left and right sides of the bottom vent. Their locations are highlighted in red.
- Page 3 To release the clips, work from the front edge of the bottom vent. • While slightly lifting the front edge of the bottom vent, use the tip of a spudger to push the • clips closest to the front of the bottom vent towards the inside of the console. - 3 -...
- Page 4 Repeat the same process to release the two center clips on the bottom vent. • - 4 -...
- Page 5 Use the tip of your spudger to release the clips on the bottom vent nearest the back of the • Xbox. - 5 -...
- Page 6 Run your spudger along the edge of the faceplate to release the clips securing it to the • front of the console. You may also accomplish this task by using the edge of the Xbox 360 opening tool, but it • may scratch the plastic case.
- Page 7 Repeat the same motions as previously mentioned to release the left side of the faceplate. • - 7 -...
- Page 8 Remove the faceplate from the front face of the console. • - 8 -...
- Page 9 Stand the console vertically with the top edge facing up. • The top vent is secured to the console via clips. The first two clips are located underneath • the top vent closest to the faceplate, as shown in the pictures. - 9 -...
- Page 10 Insert the flat end of a spudger into the small gaps previously mentioned to release the • clips. You may also use the long finger of an Xbox 360 opening tool to accomplish this task. • - 10 -...
- Page 11 - 11 -...
- Page 12 • To continue, you must peel the warranty sticker off the console. Be aware that this will • void your console's warranty agreement with Microsoft. Proceed at your own risk. Carefully peel the warranty sticker off the console. • - 12 -...
- Page 13 - 13 -...
- Page 14 The upper and lower cases are attached via several latches, located in the front and back • of the console. These latches must be disengaged to separate the upper case from the console. Use the flat end of a spudger to release the following latches: •...
- Page 15 Insert the flat end of a spudger and pry upwards to release the last remaining latch located • above the eject button. - 15 -...
- Page 16 Slightly lift the front portion of the lower case to ensure that the latches in the front have • been completely released. - 16 -...
- Page 17 The upper and lower cases are held together by seven release latches located on the back • of the console. Their locations are highlighted in red. - 17 -...
- Page 18 - 18 -...
- Page 19 Press the Xbox 360 opening tool down into the clips securing the lower case to the upper • case near the I/O ports. While pressing down on the tool, push the lower and upper cases apart to separate the •...
- Page 20 While pushing the upper and lower cases apart, use the tip of a spudger or the finger of an • Xbox 360 opening tool to push the long clip highlighted in red toward the center of the 360. The clip should release, leaving the clips near the power connector as the only thing •...
- Page 21 Orient the console so that the front portion is facing downwards. • Grasp the back portion of the lower case and lift it upwards to separate it from the • console. Be careful not to excessively bend the lower case near the power plug, as it can crack •...
- Page 22 Pry the eject button off its retaining posts and remove it from the 360. • This can also be accomplished using an Xbox 360 opening tool. • Remove the six silver 64 mm T10 Torx screws securing the upper case to the metal casing.
- Page 23 Peel the silver tape securing the optical drive to the metal casing. • - 23 -...
- Page 24 Slightly lift the optical drive upwards to gain clearance to disconnect the SATA and power • connectors located on the backside of the optical drive. Don't try to completely remove the optical drive just yet. Two cables still connect it to the •...
- Page 25 - 25 -...
- Page 26 Optical Drive Replacement While pressing the optical drive cover toward the top face of the optical drive, use the flat • end of a spudger to release the two retaining clips on the underside of the cover. Remove the optical drive cover. •...
Need help?
Do you have a question about the Xbox 360 and is the answer not in the manual?
Questions and answers