
Related Manuals for FMS F/A-18F


Summary of Contents for FMS F/A-18F
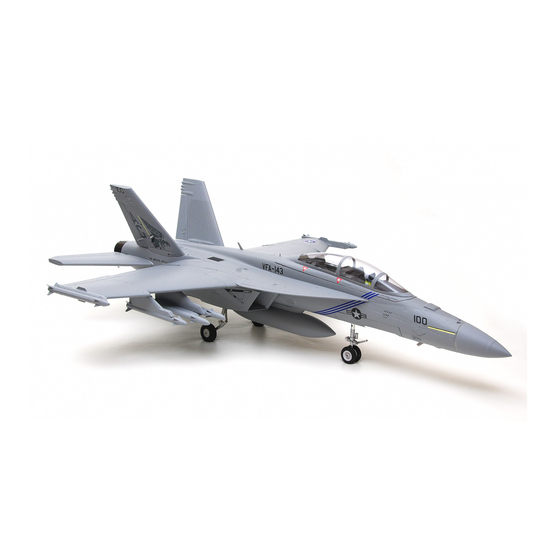
- Page 1 70mm F/A-18F Instruction Manual Bedienungsanleitung Manuel d’utilisation 操作手册 FMSMODEL.COM REALISTIC RIGID STABLE Retracts and flaps installed Durable EPO material Smooth flying performance...
- Page 2 WARNING WARNING: Read the ENTIRE instruction manual to become familiar with the features of the product before operating. Failure to operate the product correctly can result in damage to the product, personal property and cause serious injury. This is a sophisticated hobby product and NOT a toy. It must be operated with caution and common sense and failure to do so could result in injury or damage to the product or other property.
-
Page 3: Table Of Contents
························· ers, just to name a few. Included with the model are four decal The transmitter and model setup ······························· sets, allowing your F/A-18F to turn more than a few heads at Check the control throws ········································· the local field. -
Page 4: Model Assembly
Model assembly Main Wing Installation 1.Align and insert the wing spar into the wing tubes, then slide the wing spar into the fuselage. Note: The connectors on both sides should be attached precisely and firmly. 2.Secure both wings to the fuselage using the included screws. - Page 5 Model assembly Vertical stabilizer installation Vertical Stabilizer Installation 1.Slide the vertical tail into the slot in the fuselage. 2.Secure the vertical tail in place using the included screws. Note: Connect the rudder servo connectors to the servo extensions in the fuselage. Missiles and Oil Tank Installation 1.Slide the missiles and oil tank into the rails.
-
Page 6: Battery Installation
Model assembly Nose cone installation 1.Attach the nose cone to the front of the fuselage; the nose cone is held in place with a magnet. Please note that the orientation of the nose cone is correct. Battery installation 1.Pull back on the latch, releasing the canopy. 2.Remove the canopy, revealing the battery compartment. -
Page 7: Get Your Model Ready To Fly
Battery installation Get your model ready to fly Important ESC and model information The ESC included with the model has a safe start. If the motor battery is connected to the ESC and the throttle stick is not in the low throttle or off position, the motor will not start until the throttle stick is moved to the low throttle or off position. Once the throttle stick is moved to the low throttle or off position, the motor will emit a series of beeps. -
Page 8: Check The Control Throws
Get your model ready to fly Check the control throws The suggested control throw setting for the F/A-18F are as follows (dual rate setting): Tips: On first flight, fly the model in low rate. The first time you use high rates, be sure to fly at low to medium speeds. -
Page 9: Before Flying The Model
Before flying the model Flying your model Find a suitable flying site Take off Find a flying site clear of buildings, trees, power lines and While applying power, slowly steer to keep the model straight. other obstructions. Until you know how much area will be The model should accelerate quickly. -
Page 10: Troubleshooting
Troubleshooting Problem Possible Cause Solution Aircraft will not respond to - Lower throttle stick and throttle trim to lowest settings - ESC is not armed the throttle but responds - Reverse throttle channel on transmitter - Throttle channel is reversed to other controls - Replace damaged fan unit - Damaged blades... -
Page 11: Decal Instruction
ESC instruction Decal instruction Please choose one set of decals to apply to your aircraft according to your personal preference. Water decal instructions. The included decals are water decals, they do not have adhesive backings thus are not applied like usual stickers.
Need help?
Do you have a question about the F/A-18F and is the answer not in the manual?
Questions and answers