Advertisement
Advertisement
Table of Contents

Summary of Contents for Verilux VC01
- Page 1 VC01...
- Page 2 Many other healthy lighting products are available through our catalog and online. To request a free copy of our catalog, call our toll-free number 1-888-544-4865. You may also visit us on the web at www.Verilux.com to learn more about all our quality ® Verilux products.
- Page 3 IMPORTANT SAFETY INSTRUCTIONS CAUTION: • TO REDUCE THE RISK OF ELECTRIC SHOCK, DO NOT DISMANTLE. THERE ARE NO SERVICEABLE PARTS INSIDE. • TO REDUCE THE RISK OF FIRE OR ELECTRIC SHOCK, DO NOT EXPOSE THIS UNIT TO RAIN OR MOISTURE. WARNING: TO REDUCE THE RISK OF FIRE, ELECTRIC SHOCK OR PERSONAL INJURY: •...
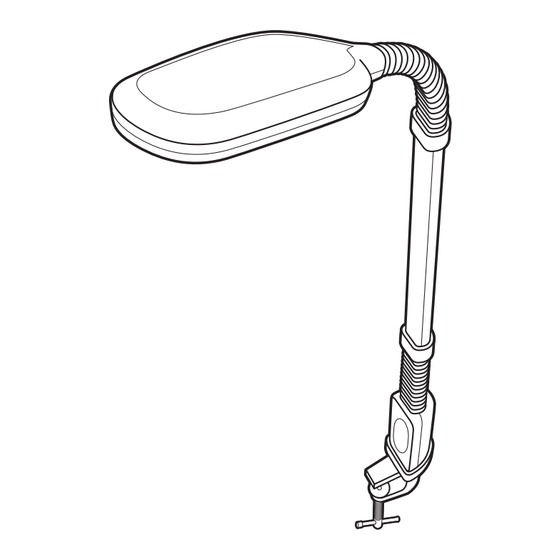
- Page 4 Main Parts & Controls A. Lamp Head B. Clamp Assembly C. Metal Clamp Swivel D. Lamp Tightening Knob E. Power Cord F. Polarized Plug G. Parabolic Grid Diffuser H. Bulb I. High/Off/Low Switch Read Instructions Carefully Before Set-up: 1. Remove lamp and packaging from box. Note: Please save original packaging for repacking should you need to return the product.
-
Page 5: Bulb Replacement
ASSEMBLY & SET-UP cont. Moving the Clamp Lamp to a New Location: 1. Unplug lamp from power source. 2. Turn the tightening knob counterclockwise 1/4 turn to loosen the lamp shaft and pull lamp out of clamp socket. 3. Move clamp assembly, secure it to surface and replace lamp into clamp socket. - Page 6 GENERAL PRECAUTIONS • Do not use with power supply voltage other than 120V AC • Avoid placing the lamp in areas that are dusty, humid/moist, lack ventilation, or are subject to constant vibration. • Not for use with light dimmers, timers, motion detectors, voltage transformers, or extension cords.
-
Page 7: Troubleshooting
Before requesting service on your Verilux • Make sure all power connectors, cords, and plugs are inserted fully and securely. • Make sure there is power to the wall outlet or try another outlet – not connected to a dimmer. - Page 8 During the limited warranty period, Verilux, Inc. will, at its option, repair or replace defective parts of this product, at no charge to the customer, subject to the following limitations. This limited warranty does not include any postage, freight, insurance or delivery fees.


Need help?
Do you have a question about the VC01 and is the answer not in the manual?
Questions and answers