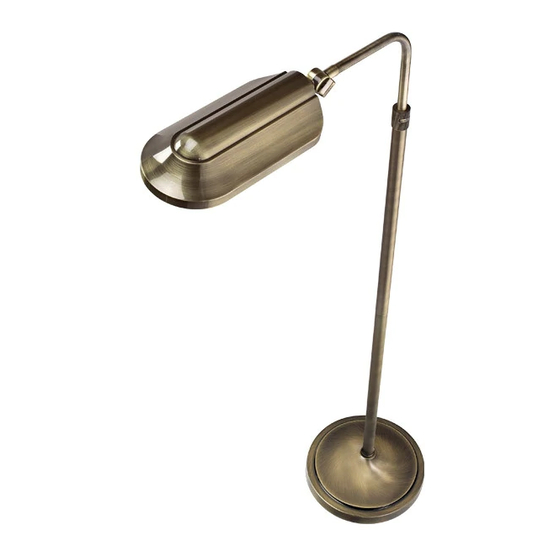
Summary of Contents for Verilux VF03
- Page 1 VF03...
- Page 2 Heritage™ Deluxe Full Spectrum Floor Lamp. You have received a quality product, ® backed by a three-year limited warranty. As a Verilux customer, your satisfaction means everything to us. We look forward to serving you now and in the future.
-
Page 3: Important Safety Instructions
IMPORTANT SAFETY INSTRUCTIONS Thank you for purchasing the Heritage™ Natural Spectrum Please read the following safety information before using. To reduce the risk of fi re, electrical shock, or injury to persons: • Do NOT dismantle. • Do NOT alter power cord. •... -
Page 4: Getting Started
Main Parts & Controls ® A. Optix Glare Control Filter B. Switch C. Lamp Head Swivel Knob D. Lamp Arm E. Height Adjusting Collar F. Upper Shaft Close-up of Lamp Head Attention! Lift your lamp by the vertical shaft, NOT the lamp arm. GETTING STARTED G. - Page 5 ASSEMBLY INSTRUCTIONS Please Read Operating Instructions Carefully Before Using the Heritage™ Full Spectrum Floor Lamp: 1. Set lamp base on the fl oor and insert the lower lamp shaft (G) onto the base and screw clockwise to tighten. (Fig.1) 2. Pull the slack of the electrical cord through the lamp base.
- Page 6 ASSEMBLY INSTRUCTIONS cont. 7. Attaching the Optix fi lter: • Remove glare control fi lter from protective plastic bag. Take care to hold fi lter by the edges only. • Insert tabs on bottom of fi lter into opening. (Fig. 2) •...
- Page 7 ADJUSTING THE HERITAGE™ FLOOR LAMP The Heritage™ Floor Lamp adjusts several ways: 1. To adjust lamp height – hold upper shaft (F) with one hand, loosen height adjusting collar. Raise or lower lamp arm (D) to desired height. Tighten collar. (Fig. 5) Note: Do not stand on cord or otherwise restrict its movement while raising or lowering the height of the lamp.
- Page 8 BULB REPLACEMENT INSTRUCTIONS Removal 1. Unplug lamp from power source. 2. To access the bulb, remove Optix glare control fi lter by depressing the thumb tab and lifting it out. 3. Firmly hold bulb base (B) and pull bulb (C) from the socket (A) in an outward motion.
-
Page 9: Troubleshooting
The LED indicator light on the ballast allows you to troubleshoot any problems with the lamp’s function. When replacing your Verilux in the power cord properly. The 4-pin plug was designed to fi t in only one orientation (See Assembly Instructions on page 5). -
Page 10: Care And Cleaning
CARE & CLEANING Your lamp is made from high quality materials that will last for many years with minimum care. You may want to periodically clean the lamp, using a mild non-abrasive cleaner and soft cloth. When cleaning, make sure you have turned off and unplugged the unit, and allowed suffi cient time for the unit to cool. -
Page 11: Warranty
During the limited warranty period, Verilux, Inc. will, at its option, repair or replace defective parts of this product, at no charge to the customer, subject to the following limitations. This limited warranty does not include any postage, freight, insurance or delivery fees. - Page 12 Please visit our web site at: www.Verilux.com 340 Mad River Park, Waitsfi eld, VT 05673 1-888-544-4865 Printed in Taiwan for Verilux, Inc. © Copyright 2007 Verilux, Inc. All rights reserved. VF03-MAN-Rev3...


Need help?
Do you have a question about the VF03 and is the answer not in the manual?
Questions and answers