
Related Manuals for Candy FCS 605 X


Summary of Contents for Candy FCS 605 X
- Page 1 NOTICE D'EMPLOI ET D'INSTALLATION DES FOURS ENCASTRABLES INSTRUCTIONS FOR INSTALLATION AND USE FOR BUILT-IN HOODS...
- Page 2 CANDY HOOVER GROUP S.R.L. • Via Privata Eden Fumagalli • 20047 Brugherio Milano Italy...
- Page 3 Conseils De Securite • AVERTISSEMENT: L'appareil et les parties accessibles deviennent chauds pendant l'utilisation. Des précautions doivent être prises pour éviter de toucher les éléments chauffants. • ATTENTION : les parties accessibles peuvent devenir très chaudes quand le four est en marche. Les enfants doivent être tenus à une distance de sécurité.
- Page 4 du câble de l'appareil, demander à un électricien professionnel de remplacer la prise d'alimentation par un dispositif compatible. La fiche du câble d'alimentation et la prise d'alimentation doivent être conformes aux normes en vigueur dans le pays d'installation. Il est possible de brancher l'appareil à...
-
Page 5: Table Of Contents
SOMMAIRE 1.1 Indications de sécurité Instructions Générales 1.2 Sécurité électrique 1.3 Recommandations 1.4 Installation 1.5 La gestion des déchets et la protection de l'environnement 1.6 Déclaration de conformité 2.1 Vue d'ensemble Description du produit 2.2 Accessoires 2.3 Première utilisation 3.1 Description de l'affichage Utilisation du Four 3.2 Mode de cuisson 4.1 Remarques générales concernant... -
Page 6: Indications De Sécurité
1 Instructions générales Nous vous remercions d'avoir choisi un de nos produits. Pour obtenir les meilleurs résultats avec votre four, vous devez lire attentivement ce manuel et le conserver pour toute consultation ultérieure. Avant d'installer le four, notez le numéro de série, il vous sera demandé par le support technique si des réparations sont nécessaires. -
Page 7: Recommandations
ATTENTION Faire vérifier la continuité de la terre de l'installation avant de procéder au raccordement. Le fabricant décline toute responsabilité en cas d'accidents ou d'autres problèmes qui pourraient survenir à l'usage d'un appareil non relié à la terre, ou relié à une terre dont la continuité serait défectueuse. REMARQUE: Le four peut nécessiter une opération de S.A.V. -
Page 8: Déclaration De Conformité
ÉCONOMIE ET RESPECT DE L'ENVIRONNEMENT Lorsque cela est possible, éviter le préchauffage du four et éviter de le faire tourner à vide. N'ouvrez la porte du four que lorsque cela est nécessaire, car il y a des déperditions de chaleur à chaque fois qu'il est ouvert. -
Page 9: Première Utilisation
2.2 Accessories Léchefrite Tournebroche Recueille le jus des grillades. Le lèche frite ne Le préchauffage n'est pas nécessaire pour les doit pas être utilisé pour les cuissons autres que cuissons au tournebroche. Les cuissons au Grill et grill pulsé (Il va provoquer un écran de tournebroche se font porte fermée. -
Page 10: Description De L'affichage
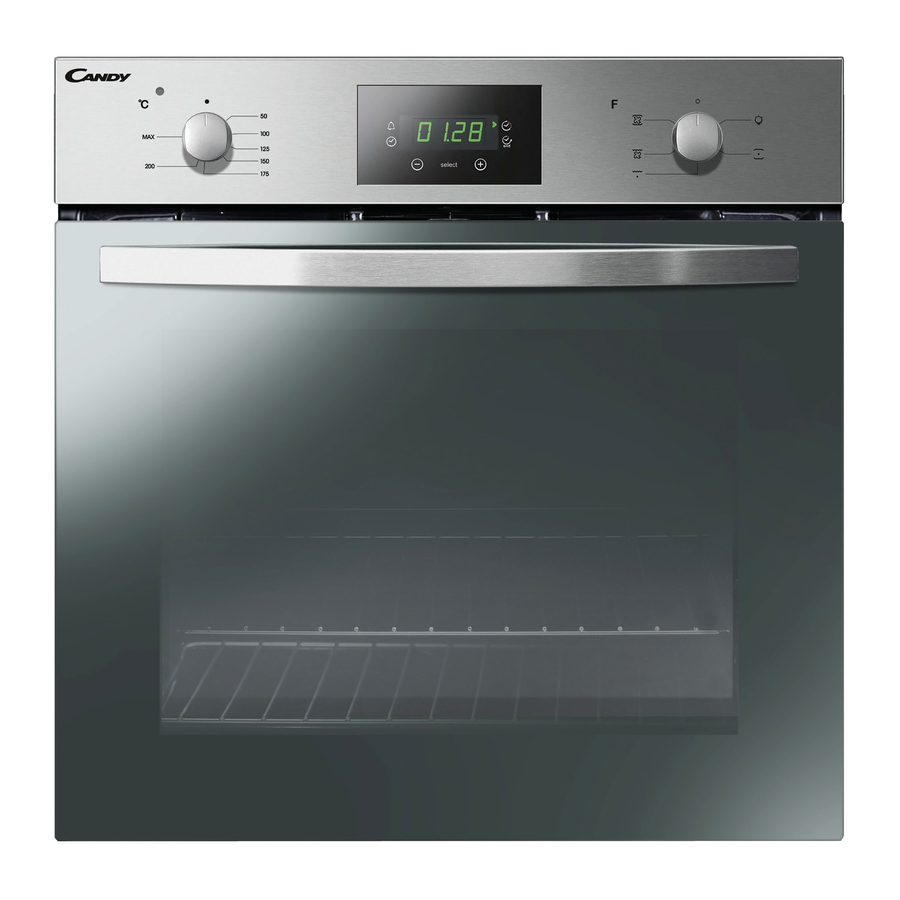
3 Utilisation du Four 3.1 Description de l'affichage 1- Minuteur ATTENTION: la première opération à exécuter 2- Reglage de l'heure après l'installation ou après une coupure de 3- Durèe de cuisson courant (de telles situations se reconnaissent parce que le atticheur est sur 12:00 et clignote)est 4- Fin de cuisson 5- Display température ou horloge réglage de l'heure, comme décrit ci-dessus. - Page 11 COMMENT LE FONCTIONS COMMENT L'ACTIVER A QUOI CA SERT POURQUOI EST-CE UTILE DESACTIVER Régler la manette du Tourner la manette sur la Permet de régler l'heure Cette fonction vous permet programmateur sur la position off. qui apparaît sur le display. de régler l'heure en utilisant les MISE À...
-
Page 12: Mode De Cuisson
3.2 Mode de cuisson Bouton de T°C Fonction (selon modèle) sélection range L'ampoule: Allumage de l'éclairage du four Convection naturelle: utilisation simultanée de la résistance de sole et de voûte. Préchauffer le four une dizaine de minutes. Idéale pour toutes les cuissons à l'ancienne, 50 ... -
Page 13: Entretien
4 Nettoyage du four et maintenance 4.1 Remarques générales sur le nettoyage Le cycle de vie de l'appareil peut être étendu grâce à un nettoyage régulier. Attendez le refroidissement du four avant de procéder à des opérations de nettoyage manuel. Ne jamais utiliser de détergents abrasifs, de laine d'acier ou d'objets pointus pour le nettoyage, l'émail serait irrémédiablement abîmé. -
Page 14: Retrait Et Nettoyage Des Vitres
RETRAIT ET NETTOYAGE DES VITRES 1. Ouvrez la porte du four. 2.3.4. Bloquer les charnières, enlever les vis et retirez le couvercle métallique supérieur en le tirant vers le haut. 5.6. Retirez le verre, l'extraire soigneusement de la porte du four (NB: dans les fours de pyrolyse, retirez également les deuxième et troisième verre (le cas échéant)). -
Page 15: Remplacement De L'ampoule
REMPLACEMENT DE L'AMPOULE 1. Débranchez le four de la prise. 2. Défaire le couvercle en verre, dévisser l'ampoule et la remplacer par une ampoule du même modèle. 3. Une fois l'ampoule remplacée, remettre le couvercle en verre. 5 Dépannage 5.1 FAQ PROBLEMES CAUSE POSSIBLE SOLUTION... - Page 16 Safety Advice • WARNING: The appliance and its accessible parts become hot during use. Precautions should therefore be taken to avoid touching the heating elements. • WARNING: the accessible parts may become extremely hot when the oven is in use. Children must be kept at a safe distance. •...
- Page 17 applicable regulations in force in the country of installation of the appliance. The appliance can be connected to the power supply socket by installing a multi-polar circuit-breaker which can withstand the maximum electrical load, in compliance with the applicable laws in force, between the appliance and the power supply socket.
- Page 18 TABLE OF CONTENTS 1.1 Safety advice General Instructions 1.2 Electrical safety 1.3 Recommendations 1.4 Installation 1.5 Waste management and protecting the environment 1.6 Declaration of conformity 2.1 Overview Product description 2.2 Accessories 2.3 First-time use 3.1 Display description Oven use 3.2 Cooking mode 4.1 General comments about Oven cleaning and...
-
Page 19: Safety Advice
1 General Instructions Thank you for choosing one of our products. For best results with your oven, read this manual carefully and keep it for further reference. Before installing the oven, make a note of the serial number, as you will need to mention it to technical support if repairs are necessary. -
Page 20: Recommendations
CAUTION Make sure the continuity of the earthing connection of the household electrical system has been checked before proceeding with connection. The manufacturer will not be held in any way responsible in the event of an accident or other problems which may arise from using an appliance without an earthing connection, or one connected to an earth terminal with faulty continuity. -
Page 21: Declaration Of Conformity
SAVINGS AND RESPECTING THE ENVIRONMENT Wherever possible, avoid preheating the oven and avoid operating it empty. Only open the oven door when necessary, as high heat loss occurs every time you open it. For significant energy savings, switch off the oven between 5 to 10 minutes before the expected cooking end time, and use the heat the oven continues to produce. -
Page 22: Accessories
2.2 Accessories Oven tray Roasting jack Collects dripping juices. The oven tray must not Preheating is not necessary for cooking modes be used for cooking modes other than Grill and using the roasting jack. Cooking using the roasting fan-assisted grill (It causes a heat shield between jack should be done with the oven door closed. -
Page 23: Display Description
3 Oven use 3.1 Display description 1- Timer CAUTION: the first thing to do after installation or 2- Time setting after a power outage (you will recognise these 3- Cooking time situations because the display indicates a flashing 12:00) is to set the time, as described below. 4- End cooking time 5- Temperature or clock display ... - Page 24 FUNCTIONS HOW TO ACTIVATE IT HOW TO DEACTIVATE IT WHAT IT'S FOR WHY IT IS USEFUL Adjust the programmer Set knob to the off Designed to set the time This function allows you to knob to the Time setting position.
-
Page 25: Cooking Mode
3.2 Cooking mode Selection T°C Function (depending on model) knob range Light bulb: Oven lighting comes on Natural convection: simultaneous use of the bottom and top heating elements. Preheat the oven for about ten minutes. Ideal for all types of old-fashion cooking, searing red 50 ... -
Page 26: General Comments About Cleaning
4 Oven cleaning and maintenance 4.1 General comments about cleaning The appliance life cycle can be extended with regular cleaning. Wait for the oven to cool down before performing any manual cleaning operations. Never use abrasive detergents, wire wool or sharp objects for cleaning, as this would cause irreparable damage to the enamel. -
Page 27: Removing And
REMOVING AND CLEANING THE GLAZING 1. Open the oven door. 2.3.4. Block the hinges, remove the screws and take out the top metal cover by pulling it upwards. 5.6. Remove the glazing, pulling out carefully from the oven door (N.B.: in pyrolytic ovens, also remove the second and third glazing panes (where applicable)). -
Page 28: Replacing The Bulb
REPLACING THE BULB 1. Unplug the oven from the socket. 2. Remove the glass cover, unscrew the light bulb and replace it with another of the same model. 3. Once the bulb has been replaced, reposition the glass cover. 5 Troubleshooting 5.1 FAQ PROBLEMS POSSIBLE CAUSE... - Page 29 INSTALLATION DU FOUR OVEN INSTALLATION Ouverture / opening 460 mm x 15 mm 560 mm 580 mm 595 mm 545 mm 595 mm 22 mm Si le fond du meuble est doté d'un panneau de fermeture, prévoyez un orifice pour le passage du câble d'alimentation.
Need help?
Do you have a question about the FCS 605 X and is the answer not in the manual?
Questions and answers