Advertisement
Purpose
The purpose of this document is to provide installation instructions for Solera Smart Arm™ LED Lights.
Resources Required
• Wire strippers
• Crimpers
Prior to Installation
1.
Verify the unit's battery is fully charged and connected to the electrical system.
2.
To turn the awning on, press and hold the LOCK/UNLOCK button (Fig. 1A) on the touchpad for three
seconds. The button's green LED indicator light will illuminate when the awning is on.
3.
Press and hold the extend arrow button (Fig. 1B) until the awning is fully extended.
Rev: 01.24.19
SOLERA SMART ARM™ LED LIGHTING
INSTALLATION GUIDE
Fig. 1
B
C
A
AWNINGS
Green
LED
Green
LED
Page 1
CCD-0002165
Advertisement
Table of Contents

Related Manuals for Lippert Components Solera Smart Arm


Summary of Contents for Lippert Components Solera Smart Arm
- Page 1 SOLERA SMART ARM™ LED LIGHTING INSTALLATION GUIDE AWNINGS Purpose The purpose of this document is to provide installation instructions for Solera Smart Arm™ LED Lights. Resources Required • Wire strippers • Crimpers Prior to Installation Verify the unit's battery is fully charged and connected to the electrical system.
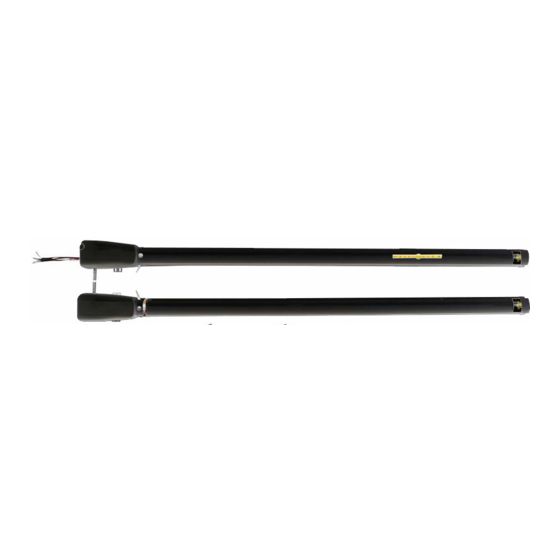
- Page 2 SOLERA SMART ARM™ LED LIGHTING INSTALLATION GUIDE AWNINGS Installing LED Lights Fabled (Fabric LED) Depending on top wire or bottom wire installation, remove the wire covers in the drive mount arm. If bottom installation, take the LED power wire (Fig. 2A) from the light track and run it down the drive arm.
- Page 3 SOLERA SMART ARM™ LED LIGHTING INSTALLATION GUIDE AWNINGS LED Light Rail Seal the back of the LED light rail. Mount the LED light rail (Fig. 4A) directly below the awning rail (Fig. 4B) and secure to the side of the unit.
Need help?
Do you have a question about the Solera Smart Arm and is the answer not in the manual?
Questions and answers