Do you have a question about the 8000 Series and is the answer not in the manual?
Questions and answers
Noel Pipkin
April 26, 2025
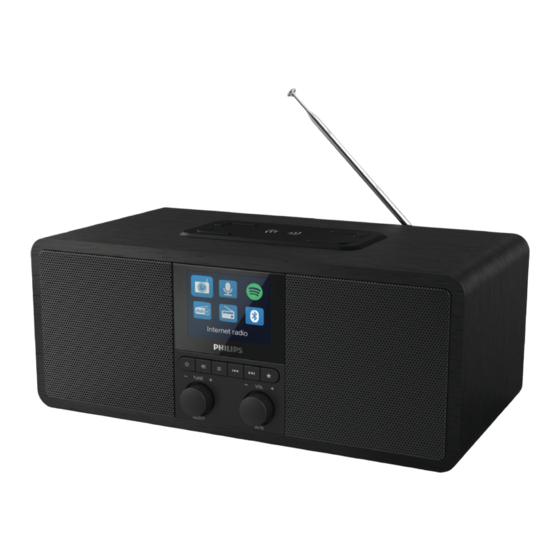
I have connected my Internet 8805 radio to my WiFi but when I load the Internet radio feature it gives a connection error. Is there something I need to do?
1 comments:
Mr. Anderson
May 14, 2025
To resolve the connection error on the Philips 8000 Series Internet 8805 radio when using the Internet radio feature, follow these steps:
1. Check the Wi-Fi network connection. 2. Rotate and adjust the position of the Wi-Fi antenna. 3. Check the distance between the router and the radio. 4. Ensure the radio is not in standby mode. 5. Disconnect and reconnect the AC power plug, then turn the radio on again.


Need help?
Do you have a question about the 8000 Series and is the answer not in the manual?
Questions and answers
I have connected my Internet 8805 radio to my WiFi but when I load the Internet radio feature it gives a connection error. Is there something I need to do?
To resolve the connection error on the Philips 8000 Series Internet 8805 radio when using the Internet radio feature, follow these steps:
1. Check the Wi-Fi network connection.
2. Rotate and adjust the position of the Wi-Fi antenna.
3. Check the distance between the router and the radio.
4. Ensure the radio is not in standby mode.
5. Disconnect and reconnect the AC power plug, then turn the radio on again.
This answer is automatically generated