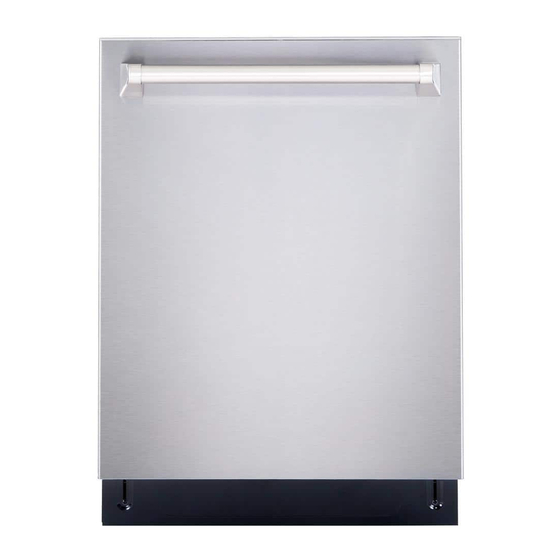
Cosmo COS-DIS6502 Installation Manual
Top control dishwasher
Hide thumbs
Also See for COS-DIS6502:
- Use & care manual (34 pages) ,
- Installation manual (11 pages) ,
- User manual
Table of Contents
Advertisement
Quick Links
I N S P I R I N G T H E W O R L D ' S K I T C H E N
TOP CONTROL DISHWASHER
COS-DIS6502
INSTALLATION GUIDE
IMPORTANT SAFETY INSTRUCTIONS
Carefully read the following Important information redarding installation
safety and maintenance. Keep these instruction for future reference.
COS-DIS6502
INSTALLATION GUIDE
Advertisement
Table of Contents

Summary of Contents for Cosmo COS-DIS6502
- Page 1 I N S P I R I N G T H E W O R L D ’ S K I T C H E N TOP CONTROL DISHWASHER COS-DIS6502 INSTALLATION GUIDE IMPORTANT SAFETY INSTRUCTIONS Carefully read the following Important information redarding installation safety and maintenance.
-
Page 2: Table Of Contents
Enclosure requirements ............6 COSMO appliances are designed according to the strictest safety and performance Drain requirements . -
Page 3: Introduction
Top Control Dishwasher READ CAREFULLY. KEEP THESE INSTRUCTIONS. Introduction If you have an installation problem, contact your dealer or installer. You are responsible for providing adequate electrical, exhausting, and other connecting facilities. This installation guide will show you how to install your new dishwasher. Preparing to install your dishwasher IMPORTANT SAFETY INSTRUCTIONS Parts supplied:... -
Page 4: Enclosure Requirements
Materials needed (kit purchased separately): If installing into a corner, allow 2 in. (5.08 cm) min. clearance between dishwasher and adjacent cabinet, wall, or other appliances. Allow 25.63 in. (65.1 cm) min. clearance from the front of the dishwasher for opening the door. 90°... -
Page 5: Electrical Requirements
Method 1 - Air gap with a waste tee or garbage disposal connection Power Cord Method • Install a 3-prong grounding type receptacle. The wall outlet can be installed in a cabinet or on a wall adjacent to the undercounter space in which the dishwasher is to be installed. •... -
Page 6: Preparing The Hot Water Line
Preparing the hot water line Installation instructions • The water connection is on the left side of dishwasher. Step 1: Check the door balance • The hot water line may enter the opening from either side, the rear, or the floor within the shaded area. •... -
Page 7: Step 3: Remove The Toekick
8 Replace the junction box cover on the right front of the dishwasher. Be sure that the wires are not pinched under the Step 3: Remove the toekick cover. • Remove the two toekick screws with a Phillips screwdriver, then remove the toekick. Note: If you have trouble replacing the junction box cover, loosen the screws on the strain relief. -
Page 8: Step 5: Install The 90° Water Supply Elbow
Step 5: Install the 90° water supply elbow Step 6: Install the drain hose 1 Wrap the male thread of the 90° elbow with Teflon thread seal tape twice. Do not use plumber's putty. 1 Make sure that the leveling feet are loosened before standing the dishwasher upright. They may be tight from shipping/packaging. -
Page 9: Step 7: Inserting The Drain Hose Through The Cabinet
Step 9: Position the dishwasher under the countertop Step 7: Inserting the drain hose through the cabinet 1 Make sure that the wires are secure under the dishwasher and not pinched or in contact with door springs or other • Insert the drain hose into the hole in the cabinet wall. If a power cord is used, guide the end through a separate hole. dishwasher components. -
Page 10: Step 11: Securing The Dishwasher To The Countertop
Method 2 3 If the door hits the tub, the dishwasher is not installed correctly. Adjust the leveling legs to align the door to the tub. 1 Remove the plastic tub caps from the inside of the dishwasher tub. Note: Keep the dishwasher level. -
Page 11: Step 12: Connecting The Water Supply Line
2 If a longer drain hose is required, you can add up to 42" (1.1 m) of length, for a total of 10 ft. (3.01 m) to the factory Step 12: Connecting the water supply line installed hose. Use 5/8” or 7/8” inside diameter hose and a coupler to connect the two hose ends. Secure the 1 Make sure that you wrapped the 90°... -
Page 12: Step 15: Performing A Pre-Test Check
4 If connecting the drain line to a garbage disposal, make sure that the drain plug has been removed. Your dishwasher Step 16: Wet testing the dishwasher will not drain if the plug is left in place. 1 Turn on the power supply (or plug the power cord into the outlet, if equipped). 2 Turn on your dishwasher (refer to the User Guide for instructions). -
Page 13: Specifications
Ne pas Réexpédier ce Produit au Magasin Pour tout problème concernant ce produit, veuillez contacter For full warranty details on this product please visit: le service des consommateurs Cosmo Customer Support au http://www.cosmoappliances.com/warranty +1(888) 784-3108 TO RECEIVE WARRANTY SERVICE, YOUR UNE PREUVE D’... - Page 14 Cosmo is constantly making efforts to improve the quality and performance of our products, so we may make changes to our appliances without updating this manual. Electronic version of this manual is available at: www.cosmoappliances.com...


Need help?
Do you have a question about the COS-DIS6502 and is the answer not in the manual?
Questions and answers