
Related Manuals for Pentair SOLARTOUCH 521606


Summary of Contents for Pentair SOLARTOUCH 521606
- Page 1 SOLARTOUCH CONTROLLER ® FIRMWARE UPGRADE KIT (P/N 521606) INSTALLATION GUIDE IMPORTANT SAFETY INSTRUCTIONS READ AND FOLLOW ALL INSTRUCTIONS SAVE THESE INSTRUCTIONS...
-
Page 2: Table Of Contents
Technical Support Phone: (800) 831-7133 www.pentair.com Web site: Kit contents The following items are included in Kit P/N 521606 • PICKit™ 4 programmer • Installation Guide (this manual) System requirements • Windows 10 and Windows 7 ® Related manual SolarTouch Controller Manual (P/N 521591) ®... -
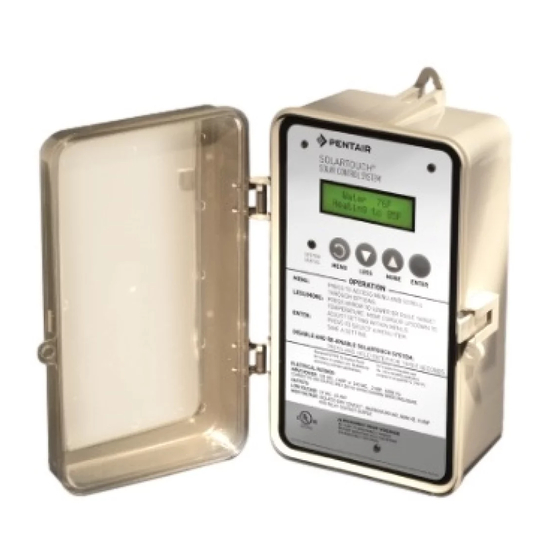
Page 3: Solartouch Controller Firmware Update Instructions
® SolarTouch Controller Firmware Update Instructions The SolarTouch Controller firmware can be updated using the PICkit™ 4 in-circuit programmer which is connected to a USB port on a computer running Microsoft Windows operating system. ® ® IMPORTANT: Do not plug in PROGRAMMER until after software is installed. -
Page 4: Install Mplabx (Version 5.25) Online Using A Pc Or Laptop
® Install MPLABX (version 5.25) online using a PC or Laptop (Continued) Select Use System Proxy Settings and click Next. Select MPLAB IPE (Integrated Programming Environment) and all of the application selections. Click Next. Installation Options: Use the default Installation directory (or select another directory. -
Page 5: Connecting The Programmer
Connecting the Programmer Connect the USB cable (provided) to the programmer and to a USB port on the PC. Note: If a USB hub is being used, the hub must be powered with its own power supply. PICKit 4 programmer ®... -
Page 6: Connect Programmer To Solartouch Control Panel
Connect Programmer to SolarTouch ® Control Panel (Continued) With the front (LEDs) of the PICKit 4 programmer facing you, connect ® the programmer (pin 1 on right side) onto the 5-pin connector (pin 1 on right side) on the control panel circuit board (PCB) as shown below. Pin slot on PCB (not used) Pin 1 on PCB... -
Page 7: Launching The Ipe Programming Application
Launching The IPE Programming Application After installing the software, double-click the MPLAB IPE v5.25 ® application icon located on the desktop. The IPE main window opens. From drop-down menu, select as follows: Family: All Families Device: PIC16F1939 Tool: PICkit4S. No: “Programmer Serial #” Click Connect to connect to Device and Tool and make sure there is no Connection error in the Output window. - Page 8 Launching The IPE Programming Application (Continued) Upon connecting the following screen displays, indicating the PICKit™ 4 Programmer is connecting to the target device. Note: If the “Hex File” and “Browse” window does not show, you may need to minimize the “Output - IPE” window. Hex File /Browser window Minimize “Output...
- Page 9 Launching The IPE Programming Application (Continued) Select Browse to load firmware .hex file from the PC directory to be programmed into the device. Then click Open. Be sure the hex file to be programmed is loaded successfully. SolarTouch Controller Firmware Update User’s Guide...
- Page 10 Launching The IPE Programming Application (Continued) Select Program to program the device. Be sure that programming is complete. 10. Select Read to read the all memory. SolarTouch Controller Firmware Update User’s Guide...
- Page 11 Launching The IPE Programming Application (Continued) 11. Select Verify to verify the all memory. Once verified, “Verifcation Successful” is displayed. 12. Exit the IPE V5.25 application. 13. Disconnect the PICKit 4 programmer from the SolarTouch Controller ™ ® board. 14. The updated firmware should already be running. Reinstall the SolarTouch controller board in the enclosure and secure the control panel with the three (3) screws.
- Page 12 All Pentair trademarks and logos are owned by Pentair. SolarTouch is a trademarks and/or ® registered trademarks of Pentair Water Pool and Spa, Inc. and/or its affiliated companies in the United States and/ or other countries. PICkit™ and MPLAB are trademarks and/or registered ®...
Need help?
Do you have a question about the SOLARTOUCH 521606 and is the answer not in the manual?
Questions and answers