Midea MAW Series User Manual
Window capacity: 8000 ~ 12000btu/h
Hide thumbs
Also See for MAW Series:
- User manual (48 pages) ,
- User manual (40 pages) ,
- User manual (37 pages)
Advertisement
en
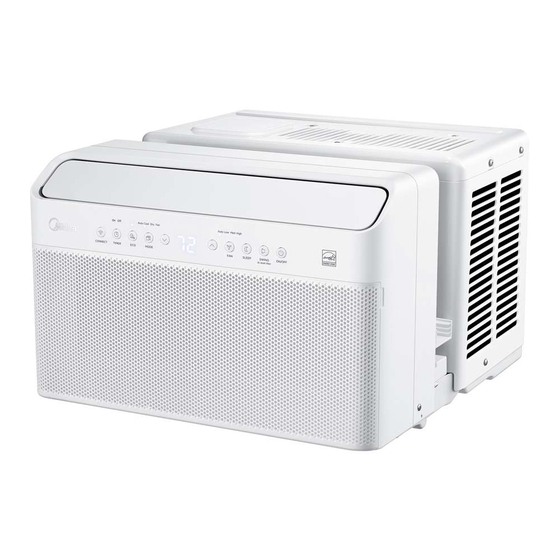
USER MANUAL
Window Air Conditioner
MAW
Capacity: 8000 ~ 12000BTU/h
Warning notices: Before using
this product, please read this
Free 3 months
manual carefully and keep it for
extension* of the
future reference. For additional
original limited warranty
period! Simply text a
support, please call customer
picture of your proof of
service at 1-866-646-4332.
purchase to:
The design and specifications are
1-844-224-1614
subject to change without prior
*The warranty extension is for the
notice for product improvement.
MAW12V1DWT
three months immediately following
Consult with your dealer or
the completion of the product's
MAW10V1DWT
original warranty period.
the manufacturer for details.
MAW08V1DWT
version D - 03 - 2020
midea.com
version B - 02 - 2020
Advertisement


Need help?
Do you have a question about the MAW Series and is the answer not in the manual?
Questions and answers
where exactly is the drain plug on a MAW08AV1QWT. Is it under the plastic nub centered underneath the unit almost to the rear? Photo/Diagram ? nothing in user manual that I can find
I didn’t get a users manual for my MAW12VTYWT-S