Hytera HP78X Quick Reference Manual
Hide thumbs
Also See for HP78X:
- User manual (64 pages) ,
- Quick reference manual (7 pages) ,
- Quick reference manual (4 pages)
Table of Contents
Advertisement
Quick Links
Advertisement
Table of Contents

Subscribe to Our Youtube Channel
Related Manuals for Hytera HP78X


Summary of Contents for Hytera HP78X
- Page 1 QUICK REFERENCE GUIDE HP78X DIGITAL PORTABLE RADIO...
- Page 2 Connect the equipment into an outlet on a different without the prior written consent of the Company. circuit to that of the receiver's outlet. Hytera is the trademark or registered trademark of Hytera We do not guarantee, for any particular purpose, the accuracy, ...
- Page 3 The antenna should be kept away from the face and eyes. C95.1:2005 Edition All Hytera radios are designed, manufactured, and tested to When worn on the body, always place the radio in a RF Exposure Compliance and ensure they meet government-established RF exposure levels.
- Page 4 ISEDC Statement Regulatory Conformance The device has been tested and complies with SAR limits, As certified by the qualified laboratory, the product is in users can obtain Canadian information on RF exposure and compliance with the essential requirements and other relevant compliance provisions of the following directives: 2014/53/EU, 2006/66/EC, 2011/65/EU, and 2012/19/EU.
-
Page 5: Programmable Keys
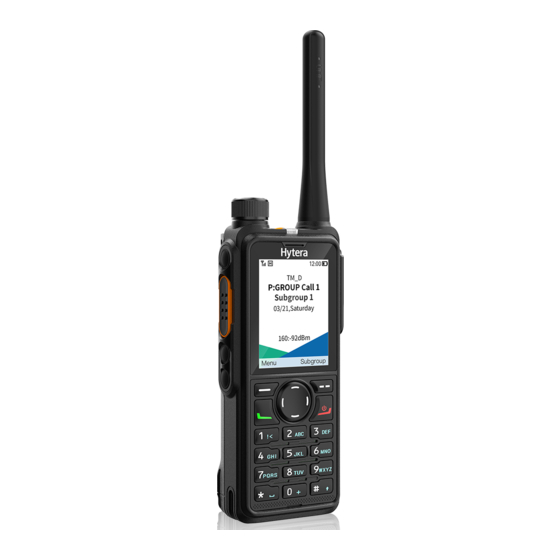
Product Overview Part Name Part Name Side Key 1 (SK1) Microphone Product Layout Push-to-Talk (PTT) Key Back/Subgroup Key Side Key 2 (SK2) On-Off/P2/End Key Top Key (TK) Navigation Keys Smart Knob Battery Latch LCD Display Strap Hole 1 OK/Menu Key Strap Hole 2 P1/Answer Key Accessory Connector... -
Page 6: Basic Operations
Locking or Unlocking the Basic Operations LED Indicator Charging Status Keypad or above. Charging the Battery Glows green The battery is fully charged. When the keypad is not in use, it is recommended that you lock it to avoid unintended operations. No battery is placed on the Flashes red slowly charger. -
Page 7: Using The Keypad
l Press the preprogrammed Operation Mode l Press the preprogrammed Zone Up or Zone Switch key. Down key. l If the Keypad Lock Backup feature is l Go to Menu > Mode, and then select the mode. Selecting a Channel enabled by your dealer, the radio Before selecting a channel, make sure that the automatically saves the last settings of... -
Page 8: Status Indications
l Press and rotate the Smart knob. Icon Radio Status Icon Radio Status l On the home screen, press the Back/Subgroup The battery power is low. There is/are missed call(s). key or go to Menu > Subgroup, select the subgroup, and then select the group or private The battery power runs out. -
Page 9: Call Services
l Trunking mode: Go to Menu > Subgroup, select mouth. This ensures optimal voice quality on the LED Indicator Radio Status the subgroup and group contact, and then press receiving radio. radio is working in or the PTT key. emergency mode. l Trunking mode: The called Through Manual Dial In trunking mode, if the radio is not registered or... - Page 10 Ending a Group Call Through Contact List Trunking Mode l FOACSU Go to Menu > Contact > Favorite /Contact , Conventional Mode select the private contact, and then press and When receiving a FOACSU private call, the A group call ends when the call hang time hold the PTT key.
-
Page 11: Call On Analog Channel (Conventional Only)
l The BS signal is lost. Alternatively, press the OK/Menu key to enter Emergency Call l A preemptive or emergency call interrupts the contact list, and then select the contact. In case of an emergency, you can initiate an the call. 3. - Page 12 Setting Visibility After the BT feature is enabled, the radio waits for l To derive optimal communication quality, it is connection. When waiting time expires, the radio enters the recommended to use the BT devices specified by standby state to save power and ensure the security of BT the Company.
Need help?
Do you have a question about the HP78X and is the answer not in the manual?
Questions and answers