Advertisement
Quick Links
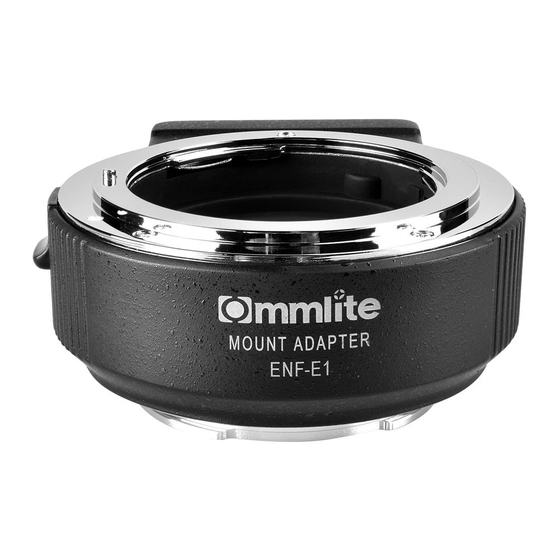
Commlite Lens Mount Adapter from Nikon F Lens to Sony E-Mount
CM-ENF-E1 PRO Firmware Upgrading Instruction
Upgrading Content
The Newest Firmware: Ver. 06 _2016.09.28
(Windows Only)
Notice:
Upgrade CM-ENF-E1 PRO from Ver.05 to Ver.06
Upgrading Details:
V06 Firmware Upgrading Content:
1. Compatible with SONY A9;
2.Compatible with following new lens:
AF-S 24-70mm f/2.8E ED VR
AF-S 70-200mm f2.8E FL ED VR
AF-S 105mm f/1.4E
85MM f/1.4 ART
135mm f/1.8 ART
Notice:V06 version lens list(it is quite possible working with the adapter which
is not including in the table, but we can't guarantee its compatibility and
performance.
Notice Before Upgrade
1. Make sure whether your lens need to be upgraded (check the current
version first), and pay attention to our newest version NO;
2. Following the below steps to confirm your current version. Don't need to
upgrade if the current version confirmed to be the
newest version
already;
3. Be sure you have connected the adapter to Camera and lens before
upgrading;
4. While in upgrading the 'MAC' Firmware, if it shows 'file damaged', please
enter into setting of 'safety and privacy' and choose 'Any source' option to
make your computer accept the file first;
Advertisement

Related Manuals for Commlite CM-ENF-E1 PRO


Summary of Contents for Commlite CM-ENF-E1 PRO
- Page 1 Commlite Lens Mount Adapter from Nikon F Lens to Sony E-Mount CM-ENF-E1 PRO Firmware Upgrading Instruction Upgrading Content The Newest Firmware: Ver. 06 _2016.09.28 (Windows Only) Notice: Upgrade CM-ENF-E1 PRO from Ver.05 to Ver.06 Upgrading Details: V06 Firmware Upgrading Content: 1.
- Page 2 [For Windows] ◆ Check the Firmware Version Notice: Be sure you have connected the adapter to Camera and Lens before checking. The adapter performs as a lens then. 1. Press [Menu] ---- Enter into [Setting] ----- Choose [Version] 2. Camera will show the current Lens (ENF-E1 adapter) Version If using QX Series Camera, one can check the version via executed upgrading software.
- Page 3 1. Operation Software 【Windows 】 Supported Software:Windows 10 / Windows 8.1 / Windows 8 / Windows 7 SP1 / Windows Vista*1 SP2 (Don’t support *1 Starter edition) 2. Other Software Requirement Hard disk space: 200MB or More Internal Storage: 512MB or More Notice: Please turn off all the application programs before upgrading 3.
- Page 4 Click to download the relevant files. Save the downloaded file Update_ENF-E1v02(W).rar to your computer’s desktop (Recommended) Then after decompression For the users of Windows 8,8.1 and Windows 10 According to the original settings of IE, the updated files will be saved in ‘Downloaded File’.
- Page 5 4. Connect Camera and Computer --Take out the memory card before upgrade 4.1 Connect the camera, adapter and lens to your computer by USB cable Notice: The LCD screen will shut down after connection, following the next step to operate 4.2 Now, please confirm that it appears with sign at lower right corner of your computer 4.3 Click [Next Step], the picture 2 will show on your computer’s screen...
- Page 6 Picture 3: Camera LCD Shows 5. Confirm your need of Upgrade 5.1 Confirm the content of Picture 2 and Picture 3, click [Next Step]. The current and updated firmware version will appear at lower left corner of your screen (picture 4) 5.2 Confirm [Current Version], click [Next Step] Notice: If it appears like Picture 5, there’s no need of your upgrading.
- Page 7 6. Start Upgrade 6.1 Start Date transferring Progress-bar will appear while in transferring (About 5s) Picture 6 Note: Don’t turn off your camera or stop USB connection during the data transferring 6.2 Picture 7 will appear after finishing the data transferring, click [Finish] Picture 7...
- Page 8 6.3 Start to upgrade the program (About 30s) Picture 8 6.4 Upgrading Finished While it appears with ‘Lens update complete’ on your camera’s screen, the upgrading is finished If using QX series, the upgrading is finished if your screen’s showing disappear Picture 9...
- Page 9 Note: Dis-connect the USB connection and re-put battery to re-start the camera after upgrading 7. Check the lens’ Firmware Version Please operate by following instructions, check to make sure the firmware version has been updated to Ver.02 Choose [Menu] --- [Setting] --- [Version] [For Mac OS] ◆...
- Page 10 1. Press [Menu] ---- Enter into [Setting] ----- Choose [Version] 2. Camera will show the current Lens (ENF-E1 adapter) Version If using QX Series Camera, one can check the version via executed upgrading software. ◆ Firmware upgrade preparation Before download the upgrading files, prepare the following works excepting camera.
- Page 11 Since the whole upgrading process needs to take 15 minutes, please turn off the computer’s sleeping mode before firmware upgrade. Consult the manufacturer for more details. 3. Other Requirement 3.1 Power Full charge of Battery NP-FW50 Note: One can operate only when the battery power is over than 3 grids, we recommend the full-power battery.
- Page 12 2. Start Firmware Upgrade 2.1 Double-click the downloaded file Update_ENF-E1v02(M).dmg Note: Till so far you haven’t connected the camera to computer 2.2 While in loading the kernel extension, the computer will show and remind to enter into password and allow you to modify the application routines Picture 1 3.
- Page 13 3. Check the USB Connection Mode 3.1 Turn on the Camera 3.2 Choose [Menu] ---- [Setting] ---- [USB Connection] , choose [Mass Storage] While in using QX Series Camera, no need of this step 4. Connect Camera and Computer --Take out the memory card before upgrade 4.1 Connect the camera, adapter and lens to your computer by USB cable Notice: The LCD screen will shut down after connection, following the next step to operate...
- Page 14 Picture 4:Camera LCD 5. Confirm your need of Upgrade 5.1 Confirm the content of Picture 3 and Picture 4, click [Next Step]. The current and updated firmware version will appear at lower left corner of your screen (picture 5) 5.2 Confirm [Current Version] to be original one, click [Next Step] Notice: If it appears like Picture 6, there’s no need of your upgrading.
- Page 15 Progress-bar will appear while in transferring (About 5s) Note: Don’t turn off your camera or stop USB connection during the data transferring 6.2 Picture 8 will appear after finishing the data transferring Picture 8...
- Page 16 6.3 Start to upgrade the program (About 30s) Picture 9 6.4 Upgrading Finished While it appears with ‘Lens update complete’ on your camera’s screen, the upgrading is finished If using QX series, the upgrading is finished if your screen’s showing disappear Picture 10 Note: Dis-connect the USB connection and re-start your camera after the...
- Page 17 Choose [Menu] --- [Setting] --- [Version] Picture 11...
Need help?
Do you have a question about the CM-ENF-E1 PRO and is the answer not in the manual?
Questions and answers