
Related Manuals for Snapper XD 1696869


Summary of Contents for Snapper XD 1696869
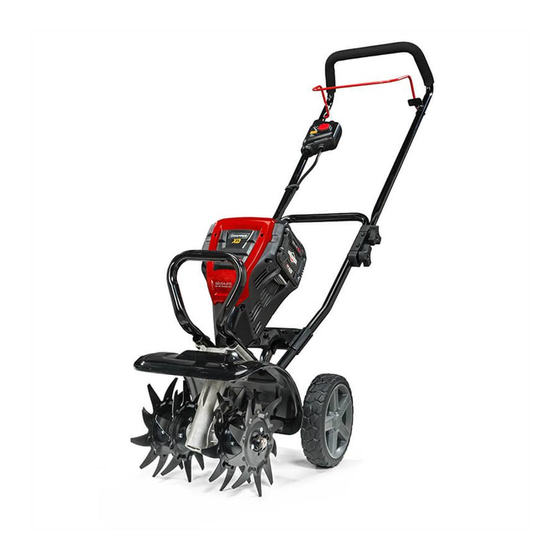
- Page 1 82V 10” Brushless Cultivator 1696869 (SXDC82) Owner’s Manual TOLL-FREE HELPLINE: 1-800-317-7833 www.snapper.com Read all safety rules and instructions carefully before operating this tool.
-
Page 2: Table Of Contents
CONTENTS Product Specifications ..................... 2 Safety Information ....................3 Symbols ........................5 Features and controls ....................6 Assembly ......................... 7 Operation ......................12 Battery & Charger ....................15 Maintenance ......................17 Environmentally Safe Battery Disposal..............18 Troubleshooting ..................... 19 Limited Warranty ....................20 PRODUCT SPECIFICATIONS 82V 10”... -
Page 3: Safety Information
SAFETY INFORMATION W A R N I N G Read all safety warnings and all instructions. Failure to follow the warnings and instructions may result in electric shock, fire, and/or serious injuries. Save all warnings and instructions for future reference. •... - Page 4 SAFETY INFORMATION • When battery pack is not in use, keep it away from other metal objects, like paper clips, coins, keys, nails, screws or other small metal objects, that can make a connection from one terminal to another. Shorting the battery terminals together may cause a fire.
-
Page 5: Symbols
SYMBOLS Some of the following symbols may be used on this product. Please study them and learn their meaning. Proper interpretation of these symbols will allow you to operate the product better and safer. SYMBOL NAME DESIGNATION/EXPLANATION Volts Voltage Amperes Current Hertz Frequency (cycles per second) -
Page 6: Features And Controls
FEATURES AND CONTROLS Read this operator's manual and safety rules before operating your cultivator. Compare the illustration in Figure 1 to your cultivator in order to familiarize yourself with the location of various controls and adjustments. Save this manual for future reference. -
Page 7: Assembly
Part Name Figure Cultivator 82V 10” Brushless Cultivator 1696869 (SXDC82) Owner’s manual Owner’s Manual TOLL-FREE HELPLINE: 1-800-317-7833 www.snapper.com Read all safety rules and instructions carefully before operating this tool. Wheel assembly Wing nut Hitch pin Ring pin Felt washer Bolt... -
Page 8: Wing Nut
ASSEMBLY ASSEMBLING THE UPPER HANDLE (See Figure 2) 1. Align the holes on the upper handle assembly with holes on the lower handle found on the cultivator. Insert the bolts through the handles and secure using the wing nut. BOLT UPPER HANDLE LOWER HANDLE WING NUT... - Page 9 ASSEMBLY ASSEMBLING THE WHEELS (See Figure 3) 1. Remove the battery from the unit. 2. Insert the wheel assembly (1) into the support rod (2). 3. Align wheel assembly hole to desired position. Slide bolt (3) through hole and attach fastening knob (4) to bolt (3). 4.
- Page 10 ASSEMBLY INSTALLING THE TINES (See Figure 4) W A R N I N G To prevent accidental starting that could cause serious personal injury, always remove the battery pack from the tool when assembling parts. 1. Remove the battery from the unit. 2.
-
Page 11: Hitch Pin
ASSEMBLY INSTALLING THE TINES CORRECTLY (See Figure 5) NOTE: when the tines are installed correctly, the flute on the tines should line-up, and the angled edge of the tine blades should point towards the ground. The cultivator will not operate properly if the tines are not installed correctly. If there is a problem with the cultivating operation of the cultivator, check the tines for proper positioning. -
Page 12: Operation
OPERATION W A R N I N G Do not allow hands, feet, or any other part of the body or clothing near the rotating tines or any other moving part. The tines begin to rotate forward once the switch trigger is depressed. The tines continue to rotate until the switch trigger is released. Failure to avoid contact could cause serious personal injury. - Page 13 OPERATION W A R N I N G Do not allow familiarity with this product to make you careless. Remember that a careless fraction of a second is sufficient to inflict serious injury. W A R N I N G Always wear safety goggles or safety glasses with side shields when operating tools.
- Page 14 OPERATION GENERAL TILLING/CULTIVATING Shallow cultivating (less than 2 in. [5 cm] deep) can be used to disrupt weeds and aerate soil without injuring nearby plant roots. It should be done often so that weeds do not grow large and get tangled in the tines of the cultivator. The two outside blades can be removed from the unit to allow a narrower cultivating width.
-
Page 15: Battery & Charger
BATTERY & CHARGER CHARGING PROCEDURE NOTE: The battery is not shipped fully charged. It is recommended to fully charge before first use to ensure that maximum run time can be achieved. This lithium-ion battery will not develop a memory and may be charged at any time. Low voltage charging: If the battery has been stored with little to no charge for a long period of time, the charger will go into recovery mode, which will take 20 hrs to fully charge the battery. - Page 16 BATTERY & CHARGER CHARGER MOUNTING 1. This charger can be installed hanging on a wall using two #8 screws (not included). 2. Locate the placement for the charger to be wall mounted. 3. If fastening to wood studs use 2 wood screws (not included). 4.
-
Page 17: Maintenance
MAINTENANCE W A R N I N G When servicing, use only identical replacement parts. Use of any other parts may create a hazard or cause product damage. W A R N I N G Always wear safety goggles or safety glasses with side shields during product operation. If operation is dusty, also wear a dust mask. -
Page 18: Environmentally Safe Battery Disposal
ENVIRONMENTALLY SAFE BATTERY DISPOSAL The following toxic and corrosive materials are in the batteries used in this tool battery pack: Lithium-Ion, a toxic material. W A R N I N G Toxic materials must be disposed of in a specified manner in order to prevent contamination of the environment. Before disposing of damaged or worn out Lithium-Ion battery packs, contact your local waste disposal agency for information and specific instructions. -
Page 19: Troubleshooting
TROUBLESHOOTING PROBLEM POSSIBLE CAUSE SOLUTION Battery pack is not inserted To secure the battery pack, make sure the latch on bottom of the Motor fails to start or connection is loose. battery pack snaps into place. when switch trigger is Cultivator circuit overload depressed. -
Page 20: Limited Warranty
This warranty is effective for and is subject to the time periods and conditions stated below. For warranty service, find the nearest Authorized Service Dealer in our dealer locator map at www.SNAPPER. - Page 21 LIMITED WARRANTY Normal Wear and Tear - Like most mechanical devices, your unit is subject to wear even when properly maintained. This warranty does not cover repairs when normal use has exhausted the life of a part or the equipment. Maintenance and wear items such as filters, belts, cutting blades, and brake pads (except engine brake pads) are not covered by warranty due to wear characteristics alone, unless the cause is due to defects in material or workmanship.
- Page 22 Briggs & Stratton Corporation P.O. Box 702 Milwaukee, WI 53201 TOLL-FREE HELPLINE: 1-800-317-7833 3880011667 Rev: 00 (07-03-17)
Need help?
Do you have a question about the XD 1696869 and is the answer not in the manual?
Questions and answers