TP-Link TL-WR941HP Quick Installation Manual
High power wireless n router
Hide thumbs
Also See for TL-WR941HP:
- User manual (85 pages) ,
- Quick installation manual (2 pages) ,
- User manual (188 pages)
Advertisement
Quick Installation Guide
High Power Wireless N Router
Note: Images may differ from actual products.
Router Mode
This mode enables multiple users to share internet connection via an ADSL/Cable Modem.
If your internet comes from an Ethernet outlet, connect the router's Internet port to it, then skip Step 1, 2 and 3.
Modem
Important
1
Unplug your modem, and remove
the backup battery if it has one.
3
Power on the modem and wait
about 2 minutes for it to restart.
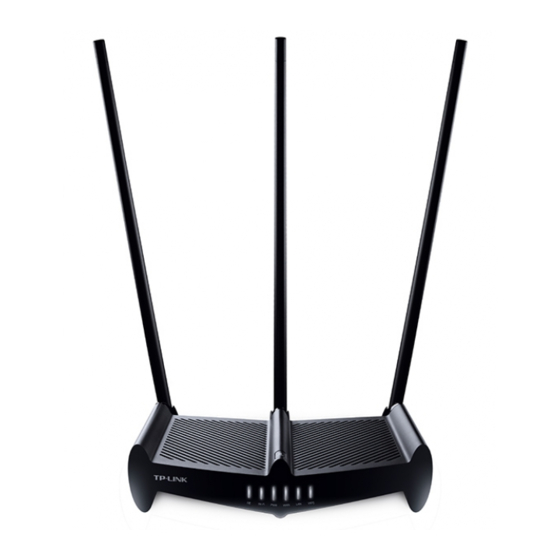
Install the Antennas
1.
B. Make sure that the
adjustable elbow is
facing up when
attached.
A. Insert and screw the antenna
into the antenna socket.
2
4
Connect the power-off modem to the
router's Internet port via an Ethernet cable.
5
2.
Slide the cap onto the antenna
until it fixes into place.
Please note that the router provides three working modes:
Router, Repeater and Access Point. You can choose the
mode to better suit your network needs and follow the
guide to complete the configuration.
6
Connect the power adapter to the router
and turn on the router.
Verify that the following LEDs are solid on to
confirm the hardware is connected correctly.
Wi-Fi
PWR
WAN
ON
ON
ON
3.
Position the antenna
vertically for best Wi-Fi
performance.
Configure the router.
1. Connect your device to the router (wired or wireless).
Wired:
Turn off the Wi-Fi on your computer and connect it to the router via
an Ethernet cable.
Wireless:
a. Find the product label at the bottom of
the router.
b. Use the default SSID (network name) and
wireless password to join the network.
Tip: If you are using a smartphone or tablet,
you can also scan the QR code to join the
preset network directly.
2. Launch a web browser, and enter http://tplinkwifi.net or
http://192.168.0.1 in the address bar. Create a password to log in.
3. Go to Quick Setup and follow the step-by-step instructions to
complete the setup.
QR
Wireless Password/PIN:
Code
XXXXXXXX
SSID:TP-Link_XXXX
Advertisement
Table of Contents

Related Manuals for TP-Link TL-WR941HP


Summary of Contents for TP-Link TL-WR941HP
- Page 1 Install the Antennas Slide the cap onto the antenna Quick Installation Guide until it fixes into place. B. Make sure that the adjustable elbow is facing up when attached. High Power Wireless N Router Position the antenna A. Insert and screw the antenna vertically for best Wi-Fi into the antenna socket.
- Page 2 Advanced > Network > Internet > MAC Clone, and Adapter shall be installed near the equipment and shall be easily select Use Current Computer MAC Address. Then click Save. To communicate with TP-Link users or engineers, please join the TP-Link accessible. Community at https://community.tp-link.com.
Need help?
Do you have a question about the TL-WR941HP and is the answer not in the manual?
Questions and answers