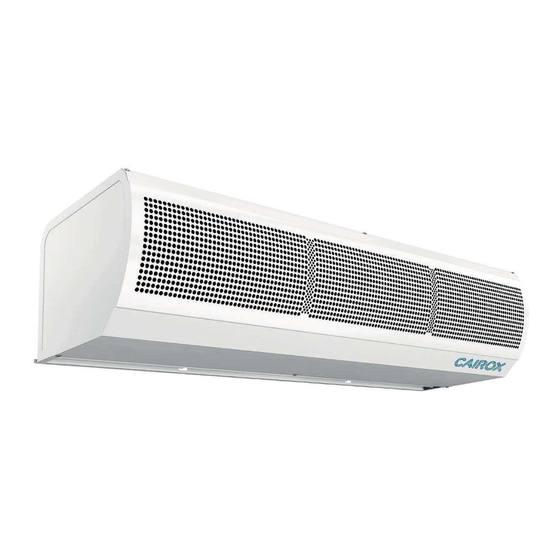
Summary of Contents for Cairox SOLANO EASY Series
- Page 1 SOLANO EASY TECHNICAL DOCUMENTATION / TECHNISCHE DOCUMENTATIE GEBRUIKSAANWIJZING / NOTICE D’UTILISATION / DOKUMENTACJA TECHNICZNA / MŰSZAKI LEÍRÁS...
- Page 2 1. GENERAL INFORMATION ..............................2 2. APPLICATION..................................2 3. DIMENSIONS ................................... 3 4. TECHNICAL DATA ................................. 4 5. INSTALLATION ..................................4 6. ASSEMBLY INSTRUCTIONS ..............................5 7. UNDER CEILING MOUNTED ..............................6 8. CONNECTING ..................................6 8.1. CONNECTION DIAGRAM SOLANO EASY-W ........................
- Page 4 EASY-E-100 EASY-E-150 EASY-E-200 Step 1100 1300 1450 1650 1950 2100 2300 2700 Air flow [m Puissance [kW] Temp. increase [°C] 3x400/50 3x400/50 3x400/50 Power supply [V/Hz] 14,5 18,7 Max current consumption [A] 21 /F 21 /F 21 /F IP/Insulation class 44,5 46,5 48,5...
- Page 5 1. Unscrew the screws from mounting bracket. 2. Bracket should be mounted to the wall with 4 screws M8. Hole spacing: EASY-W/E-100 90x440 mm EASY-W/E-150/200 90x840 mm 3. Put the curtain on the bracket. 4. After installing the unit on the bracket, tighten the screws (point 1) then put the plastic cover on screw hole.
- Page 6 MOUNTED 4 pcs. of pins M8 should be screwed into the curtain min. at a length of 20 mm Model AxB [mm] EASY-W-100 181x948 EASY -W-150 181x1448 EASY -W-200 181x1958 EASY -E-100 80x948 EASY -E-150 80x1448 EASY -E-200 80x1958 GUIDE To connect the control system and power supply to the SOLANO EASY curtain, remove the cover (unscrew 2 screws) located at the top of the unit.
- Page 7 Power supply 230V/50Hz (OMY 3x1,0 mm ! Air curtain step switch with thermostat S-C (OMY 5x0,5 mm FAN AUTO – fan operating depending on room thermostat signal FAN CONT – fan operating continuously (deactivated thermostat signal) HEAT – heating mode FAN –...
- Page 8 ! Power supply 3x400V/50Hz EASY-E-100 (5x2,5 mm ); Overcurrent breaker B16 EASY-E-150 (5x2,5 mm ); Overcurrent breaker B20 EASY-E-200 (5x4,0 mm ); Overcurrent breaker B25 " Air curtain step switch with thermostat S-C (OMY 7x0,5 mm FAN AUTO* – fan operating depending on room thermostat signal FAN CONT –...
- Page 9 Power supply 230V/50Hz (OMY 3x1 mm ! S-TOUCH (LIYCY 2x2x0,5 mm " Door contact S-DS-MAG / S-DS-MEC (door closed – contacts opened; door opened contacts closed) (OMY 2x0,5 mm • Valve with actuator S-V-2 (OMY 3x0,75 mm ) or S-V-3 (OMY 3x0,75 mm A –...
- Page 10 Power supply 3x400V/50Hz • EASY-E-100 (min. 5x2,5 mm ) (Overcurrent B16) • EASY-E-150 (min. 5x4,0 mm ) (Overcurrent B20) • EASY-E-200 (min. 5x4,0 mm ) (Overcurrent B25) S-TOUCH (LIYCY 2x2x0,5 mm ! Door contact S-DS-MAG / S-DS-MEC (door closed – contacts opened; door opened – contacts closed) (OMY 2x0,5 mm •...
- Page 11 Single S-C controller can run with up to 2 EASY air curtains. Larger number of EASY air curtains need to be connected via S-SPLIT splitter. ΠPower supply 230V/50Hz (OMY 3x1,omm Power supply 3x400V/50Hz: EASY C-E-100 (5x2,5 mm ) Overcurrent breaker B16 EASY C-E-150 (5x2,5 mm ) Overcurrent...
-
Page 12: Operation
GUIDELINES FOR SYSTEM CONNECTION • The connection should be executed in a way which does not induce stresses. It is recommended to use flex pipes to connect the stubs. • It is recommended to install vent valves at the highest point of the system. •...


Need help?
Do you have a question about the SOLANO EASY Series and is the answer not in the manual?
Questions and answers