Advertisement
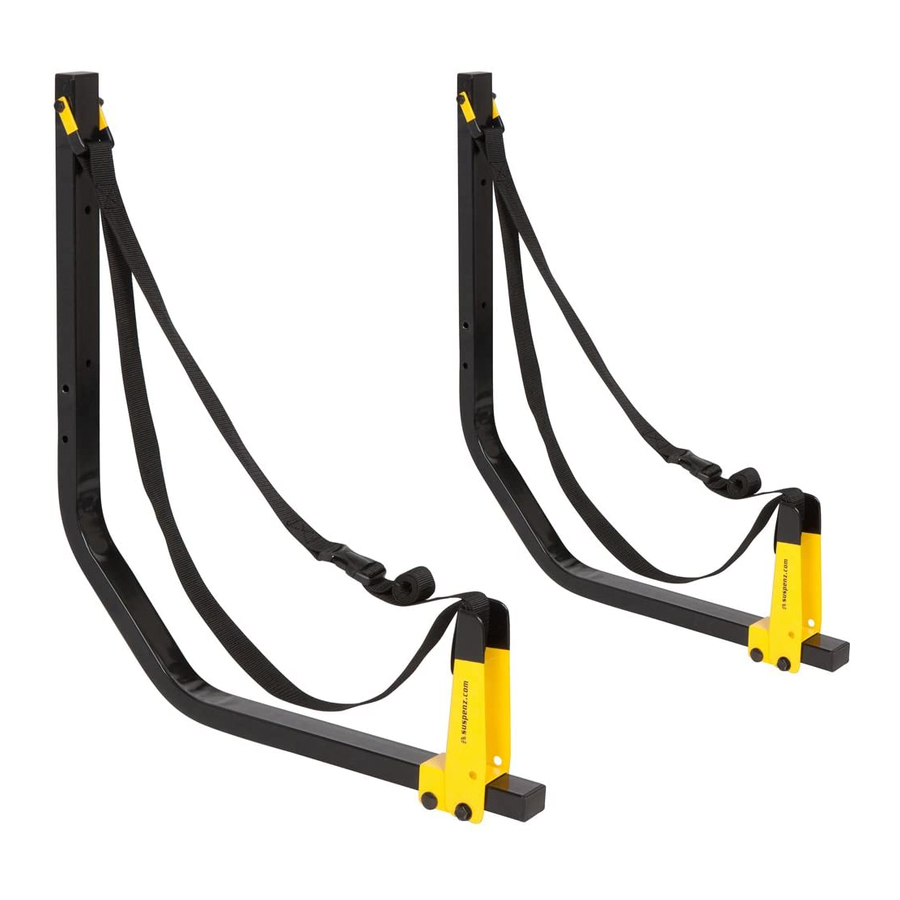
Deluxe Rack
(Page 1)
Suspenz, Inc. Spacing Chart ®
Boat
Ideal Arm
Length
Spacing (40%)
8'
3' 2"
8' 6"
3' 5"
9'
3' 7"
9' 6"
3' 10"
10'
4'
10' 6"
4' 2"
11'
4' 5"
11' 6"
4' 7"
12'
4' 10"
12' 6"
5'
13'
5' 2"
13' 6"
5' 5"
14'
5' 7"
14' 6"
5' 10"
15'
6'
15' 6"
6' 2"
16'
6' 5"
16' 6"
6' 7"
17'
6' 10"
17' 6"
7'
18'
7' 2"
18' 6"
7' 5"
19'
7' 7"
19' 6"
7' 10"
20'
8'
20' 6"
8' 2"
21'
8' 5"
21' 6"
8' 7"
22'
8' 10"
22' 6"
9'
Mounting Rack to Wall:
1. Use the Spacing Chart above as a guideline to determine the distance between each Deluxe Rack arm.
a.
Locate the first stud then measure across the ideal spacing distance (2
nd
b.
Find the 2
stud nearest to the ideal distance. Make sure it falls within the min/max spacing (column 3)
2. Be sure to mount the Deluxe Rack into a stud. Screwing only into drywall is not sufficient and could
result in injury to self and kayak.
3. Pre-drill pilot holes for Phillips Head screw using 3/16" drill bit.
a.
Vertically locate the first arm at a convenient height
b.
Vertically locate the 2
perfection.
4. Rub soap on the screw threads for ease of installation.
Our Pledge to you:
Suspenz products are guaranteed against defects in material and workmanship to the original owner for one year after
purchase. Please contact Suspenz with any questions.
Toll-free: 866.787.7369
Fax: 770.518.8507
Email: info@suspenz.com
Min/Max
spacing for
each kayak
(35% / 50%)
2' 10" / 4'
3' / 4' 3"
3' 2" / 4' 6"
3' 4" / 4' 9"
3' 6" / 5'
3' 8" / 5' 3"
3' 10" / 5' 6"
4' / 5' 9"
4' 2" / 6'
4' 5" / 6' 3"
4' 7" / 6' 6"
4' 9" / 6' 9"
4' 11" / 7'
5' 1" / 7' 3"
5' 3" / 7' 6"
5' 5" / 7' 9"
5' 7" / 8'
5' 9" / 8' 3"
5' 11" / 8' 6"
6' 2" / 8' 9"
6' 4" / 9'
6' 6" / 9' 3"
Tools required:
6' 8" / 9' 6"
6' 10" / 9' 9"
7' / 10'
7' 2" / 10' 3"
7' 4" / 10' 6"
7' 6" / 10' 9"
7' 8" / 11'
7' 11" / 11' 3"
nd
arm to be level with the first. Your eyes will get you close, a Level will get
Contact Information
suspenz.com
SKU 11-0111
Updated January 2013
Item #
Parts List
1
Deluxe Rack Arm
2
Philips Head Screw
3
Washer
4
Nut
5
Locking Pin
1.
Measuring tape
2.
Pencil to mark the hole positions
3.
Electric drill to set the pilot holes
3/16" Drill bit to set the pilot holes
4.
5.
Phillips Head screwdriver
6.
Bar of soap
7.
Level (if you are looking for perfection)
8.
A cold beverage of your choice
nd
column in chart)
.
Qty
2
4
4
2
2
Suspenz, Inc.
8725 Roswell Road #O-220
Atlanta, GA 30350
Advertisement
Table of Contents

Related Manuals for SUSPENZ Deluxe Rack 11-0111

Summary of Contents for SUSPENZ Deluxe Rack 11-0111
- Page 1 4. Rub soap on the screw threads for ease of installation. Our Pledge to you: Suspenz products are guaranteed against defects in material and workmanship to the original owner for one year after purchase. Please contact Suspenz with any questions.
- Page 2 Deluxe Rack SKU 11-0111 (Page 2) Updated January 2013 Adjusting the Racks for your Boat: The next two adjustments are starting points that will work well for an average boat. You may need to fine tune them once your boat is in place. Set the Pivot Arm Distance: Boats can vary greatly in their cross section.
Need help?
Do you have a question about the Deluxe Rack 11-0111 and is the answer not in the manual?
Questions and answers