Advertisement
Quick Links
Advertisement

Subscribe to Our Youtube Channel
Related Manuals for Vello ACTIONPAN PRO


Summary of Contents for Vello ACTIONPAN PRO
- Page 1 VB-2000 ACTIONPAN STABILIZING ACTION GRIP/HANDLE USER MANUAL...
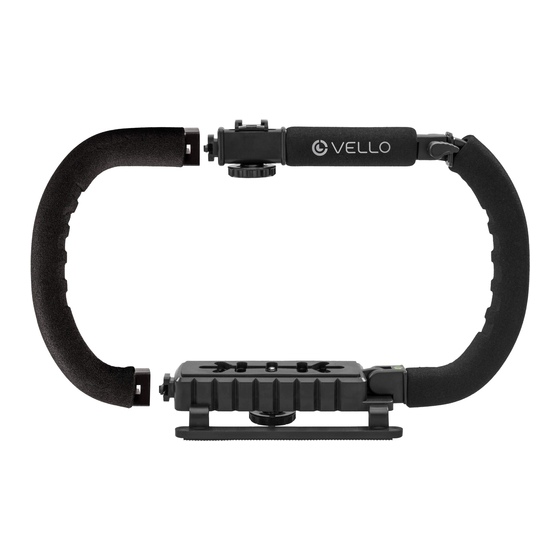
- Page 2 THANK YOU FOR CHOOSING VELLO Vello’s ActionPan Pro Stabilizing Grip is compatible with most DSLR, point and shoot, and camcorders that are a maximum of 4.75 inches high. The two-arm grip allows photographers and videographers to shoot fast-moving action with a secure and steady, yet mobile, camera platform. It provides the stability that digital and video cameras need to achieve dramatic low-angle shots and follow fast-paced action like skiing, skateboarding, or motocross.
-
Page 3: Specifications
PRECAUTIONS SPECIFICATIONS • Please read and follow these Compatibility Compact cameras and camcorders with instructions, and keep this manual in 1/4-20 mount a safe place. • Do not attempt to disassemble or Attachment Method 1/4-20 mount repair the equipment. Material ABS polymers •... - Page 4 OVERVIEW 1. 1/4-20 screw 2. Mounting platform 3. Locking button 4. Padded locking arm 5. Locking knob 6. Padded arm extension 7. Mounting screw 8. Second arm slots and locking tabs 9. Padded second arm 10. Single shoe mount 11. Triple shoe mount...
- Page 5 SETTING UP THE ACTIONPAN PRO 1. Lift the padded locking arm until it 2. Swivel out the padded extension To Add the Second Arm locks into place. arm, and secure it by tightening the Slide the padded second arm into the locking knob.
-
Page 6: Attaching Accessories
Attaching a Camera Attaching Accessories 2. Slide the accessory’s foot into the shoe, and make sure it’s secured Find the camera orientation and Use the single or triple shoe before proceeding. balance point along the mounting mounts to attach accessories like a platform. - Page 7 FOLDING THE ACTIONPAN PRO GRIP 1. Press the padded second arm 2. Loosen the locking knob, and fold 3. Press the locking button, and fold locking tabs, and remove the down the padded arm extension. down the padded locking arm.
-
Page 8: One-Year Limited Warranty
To obtain warranty coverage, contact the Vello Customer Service Department to obtain a return merchandise authorization (“RMA”) number, and return the defective product to Vello along with the RMA number and proof of purchase. Shipment of the defective product is at the purchaser’s own risk and expense.
Need help?
Do you have a question about the ACTIONPAN PRO and is the answer not in the manual?
Questions and answers