Mocka Jesse Assembly Instructions Manual
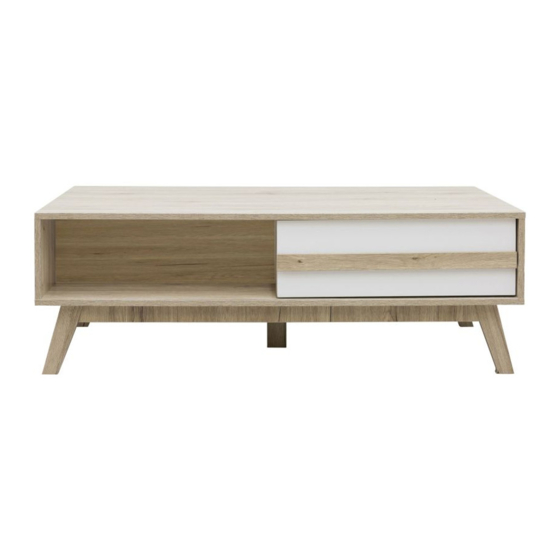
Coffee table
Hide thumbs
Also See for Jesse:
- Assembly instructions manual (17 pages) ,
- Assembly instructions (4 pages) ,
- Assembly instructions manual (12 pages)
Advertisement
Quick Links
Jesse Coffee Table
Assembly Instructions
Thank you for your purchase.
Please follow the instructions below for correct assembly.
A
B
C
dowel
small screw
bolt
x30
x16
x12
I
G
H
screw
long screw
cam bolt
x4
x8
x5
M
N
O
plastic
bracket
bracket
glide x5
x4
screw
Hardware Supplied
x8
mocka.co.nz | mocka.com.au | po Box 6171,Maroochydore,QLD,4558
D
E
L + R
L + R
locking
nut x30
x4
x4
J
K
L
allen key
screw bolt
long screw
x1
x1
x8
Phillips & Flathead screwdrivers
and hammer required
For quicker assembly, we recommend the
use of a power drill on a low-speed setting.
F
cam nut
x4
*We recommend using a Flathead screwdriver to tighten all locking nuts 100%
inserting the nut to ensure it locks 100%
1
Advertisement

Related Manuals for Mocka Jesse


Summary of Contents for Mocka Jesse
- Page 1 *We recommend using a Flathead screwdriver to tighten all locking nuts 100% For quicker assembly, we recommend the inserting the nut to ensure it locks 100% use of a power drill on a low-speed setting. mocka.co.nz | mocka.com.au | po Box 6171,Maroochydore,QLD,4558...
- Page 2 To begin assembly, screw 8x bolts (A) and insert 6x wooden dowels (DL) to both sides of panel [3]. Fasten using 8x screws (C) in the holes as shown. Tighten (B) into panel [1]. with a screwdriver. mocka.co.nz | mocka.com.au | po Box 6171,Maroochydore,QLD,4558...
- Page 3 Slide the divider panels [4] down into place in the grooves in panels [2] (E) into holes in the vertical panels and tighten with a flathead and [3] as shown. Insert 6x dowels (B) into the top of panels [2] and [3].` screwdriver. mocka.co.nz | mocka.com.au | po Box 6171,Maroochydore,QLD,4558...
- Page 4 Attach the base panel [5] to the rest of the table unit by inserting 8x long through the underside and tighten with Allen key (M) provided. screws (H) in the pre-drilled holes and tighten with a screwdriver. mocka.co.nz | mocka.com.au | po Box 6171,Maroochydore,QLD,4558...
- Page 5 [6] & [7]. Connect all components together using to panel [5] using 10x locking nuts (E). Tighten with a screw driver. 4x locking nuts (E) and 4x cam nuts (F). Tighten with a screwdriver. mocka.co.nz | mocka.com.au mocka.co.nz | mocka.com.au | po Box 6171,Maroochydore,QLD,4558...
- Page 6 4x locking nuts (E) into holes in the side panels and tighten by inserting 4x locking nuts (E) into holes in the side panels and tighten with a flathead screwdriver. with a flathead screwdriver. mocka.co.nz | mocka.com.au | po Box 6171,Maroochydore,QLD,4558...
- Page 7 Attach the back panel [17] in place between the side panels [14] and panels as shown. [15] using 4x long screws (J) in the holes provided and a screwdriver. Repeat step for the second drawer. mocka.co.nz | mocka.com.au | po Box 6171,Maroochydore,QLD,4558...
- Page 8 5x screws (I). Attach 2x rail components (D) to both left and right completed drawers into place on the rails in the coffee table unit as side of each drawer using 4x screws (C). Tighten with a screwdriver. shown. mocka.co.nz | mocka.com.au | po Box 6171,Maroochydore,QLD,4558...
- Page 9 Finally ensure all drawers easily slide open and closed. Please extend You’re done, enjoy! the feet on the central leg before first use. Lift the table into the desired position, do not drag. mocka.co.nz | mocka.com.au | po Box 6171,Maroochydore,QLD,4558...
Need help?
Do you have a question about the Jesse and is the answer not in the manual?
Questions and answers