Advertisement
Advertisement
Table of Contents

Subscribe to Our Youtube Channel
Related Manuals for RC-PRO PRO 15


Summary of Contents for RC-PRO PRO 15
- Page 1 PRO 15 FPV CAMERA FOLDING DRONE ALTITUDE HOLD VERSION WWW.RCPRO.CA...
-
Page 2: Important Safety Information
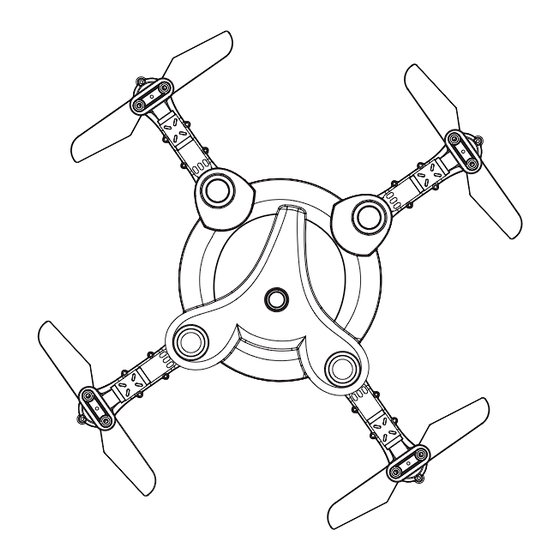
Improper handling may lead to fire and/or explosion. RC-PRO is not responsible for any damage or injury occurring from proper or inproper use of this drone, batteries and the rest of the provided parts. - Page 3 PARTS LIST DRONE INSTRUCTION Blade A Blade B Arms folding order-fold the front arms near the camera Motor A Motor B first, then the back arms Canopy (opposite when unfold them). Power switch Motor B Motor A Blade B Blade A REMOTE CONTROLLER FUNCTIONS REMOTE CONTROL AND DRONE BATTERY INSTALLATION AND CHARGING INSTRUCTIONS...
-
Page 4: Preparing To Fly
PREPARING TO FLY 1. Connect the power plug of the drone to the lithium battery socket. Press the power button for 2 seconds and place the drone on a flat surface. 2. Please put the drone in an open space. Before flight, please make sure that the rear part of drone is pointing to you directly. - Page 5 TRIMMING INSTRUCTIONS Forward and backward trimming When hovering backwards press this button to adjust until backward motion stops. When hovering forward press this button to adjust until forward motion stops. Left and right trimming If drifting to the right while hovering, press left on directional pad until corrected.
-
Page 6: Troubleshooting
3D Flips Once you have mastered basic functions, try out the 3D flip function! Make sure the drone is at least 3m above the ground and press the Roll button (as shown), then move the right lever in the direction of your intendedflip (Pressing upward will flip the drone over forward, etc) TROUBLESHOOTING... - Page 7 APP INSTRUCTION MANUAL...
- Page 8 1.Wifi Conneciton RC-PRO RC-PRO RC-PRO main screen 4).Once to connected to your drone by Wifi, you will be able to view the camera transmit through your APP. 2.APP Interface Description...
-
Page 9: App Functions
3.APP Functions 1. Place the drone on a flat surface. 2. Press the “Altitude hold” button” (Figure1). 3. Press the “Auto-Takeoff” button” (Figure2). Attention: Please make sure you disconnect the battery from the drone after every flight in order ro prevent damage to the battery. 2). - Page 10 Push up the left lever, the rotating Push the left lever to the left, speed of main blades increase, the drone will turn left. the drone will ascend. Push the left lever to the right, Push down the left lever, the rotating the drone will turn right.
-
Page 11: Altitude Hold
5).Altitude Hold When you release the left lever after the up/down opeartion, the drone will still hover over the height when the lever is released. 6).3D Flips Once you have mastered basic functions, try out the 3D flip function! Make sure the drone is at least 3m above the ground and press the 360 Roll key , then move the right lever in the direction of your intended flip (Pressing upward will flip the drone over forward, etc) -
Page 12: Headless Mode
9).Headless Mode This function means that the drone's direction of flight seen from your viewpoint follows the phone directly, no matter in which direction the drone's is pointing. Follow this steps to use this function: (1) Place the drone exactly in front of you with its nose pointing to your forward.
Need help?
Do you have a question about the PRO 15 and is the answer not in the manual?
Questions and answers