Table of Contents
Advertisement
Advertisement
Table of Contents

Related Manuals for Simrad HS75


Summary of Contents for Simrad HS75
- Page 1 HS75 User Manual ENGLISH www.navico-commercial.com...
- Page 3 Trademarks Navico® is a registered trademark of Navico Holding AS. Simrad® is used by license from Kongsberg. NMEA® and NMEA 2000® are registered trademarks of the National Marine Electronics Association. Other trademarks are the properties of their respective owners.
- Page 4 Used to draw the reader’s attention to a comment or some important information. ! Warning: Used when it is necessary to warn personnel that they should proceed carefully to prevent risk of injury and/or damage to equipment/ personnel. Preface | HS75 User Manual...
-
Page 5: Table Of Contents
7 Installation Wiring guidelines Mounting location Mounting orientation 11 Wiring details 12 Dimensional drawings 13 Troubleshooting 14 Supported data 14 NMEA 2000 messages received based on a request 14 NMEA 2000 transmitted messages 18 Technical specifications Contents | HS75 User Manual... -
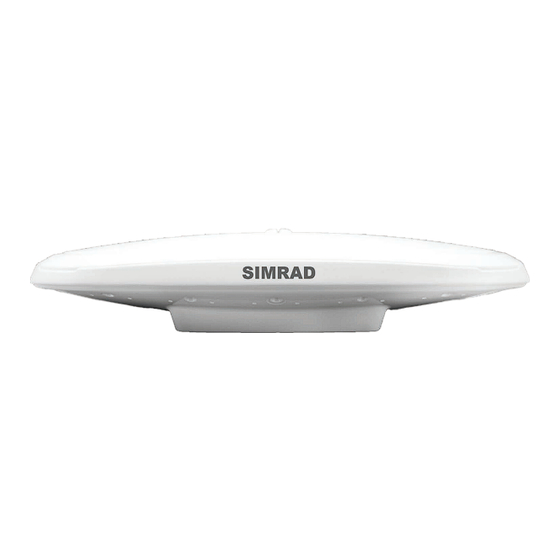
Page 6: Introduction Overview
The HS75 GNSS Compass supports GPS, GLONASS, Galileo, QZSS, and BeiDou satellites. The HS75 GNSS antennas are separated by 20 cm (7.87”) between phase centers, resulting in a heading performance of better than 0.75° RMS. The HS75 can provide heading and positioning updates at 10 Hz and delivers positioning accuracy of 0.6 m 95% of the time when using differential... -
Page 7: Installation
(A) on the underside of the housing. Make sure that any transmitting antennas are mounted away from the HS75 by at least 2 m (6.5 ft) to ensure tracking performance is not compromised. Refer to the documentation supplied with the transmitting antenna for minimum safe distances. -
Page 8: Mounting Orientation
C Minimum cable separation: 0.3 m (1 ft) for the first 5 m (16.5 ft). Mounting orientation Mount the HS75 parallel to, and along the centerline of the axis of the boat. Doing so, provides a true heading. The recessed arrow (A) under the antenna housing should point towards the bow of the vessel. - Page 9 1 Use the supplied mounting template to mark and drill the required holes for the screws and the cable. 2 Place the HS75 over the mounting holes and insert the mounting screws (M8) through the bottom of the mounting surface into the HS75.
- Page 10 4 Connect the NMEA 2000 drop cable to the HS75 and place the HS75 assembly into the lower adapter so that the four latches snap into place. ¼ Note: To remove the HS75, press in the clips on one side, at which point the HS75 can easily be removed. Pole mounting 1 Screw the jam nut onto the 1-inch pole, then screw the pole mount bracket onto the pole.
-
Page 11: Wiring Details
4 Verify the orientation of the HS75, then tighten the jam nut to the bottom of the pole mount bracket to a torque of 11 - 13 Nm (8 – 10 lbs-ft). Wiring details The HS75 has a standard NMEA 2000 Micro-C connector, used for both power and data communication. -
Page 12: Dimensional Drawings
Dimensional drawings 348.2 mm 158.4 mm (13.71 “) (6.23 “) 94.0 mm Qty. 4 - M8x1.25 - 12.7 (0.50 “) (3.70 “) 12 | Dimensional drawings | HS75 User Manual... -
Page 13: Troubleshooting
• Check integrity and connectivity of cable connections. No GNSS lock • Verify the HS75 has a clear view of the sky. No SBAS lock • Verify the HS75 has a clear view of the sky. • SBAS lock is only possible if you are in an appropriate SBAS regions. -
Page 14: Supported Data
The purpose of this PGN is twofold: To provide a regular transmission of UTC time and date, and to provide synchronism for measurement data. 126993 Heartbeat 60000 1/60 Confirms a device is still present on the network. 14 | Supported data | HS75 User Manual... - Page 15 PGN lends itself to more frequent transmission without using excessive bandwidth. 129026 COG & SOG, Rapid Update Single frame PGN that provides Course Over Ground (COG) and Speed Over Ground (SOG). | 15 Supported data | HS75 User Manual...
- Page 16 Local Time Offset On Request On Request Indicates offset between a configured local time and UTC. As of currently we do not support a local time, so this always reports no offset. 16 | Supported data | HS75 User Manual...
- Page 17 Description Default Freq (Hz) update rate (msec) 126998 Configuration Information On Request On Request Used for returning fields describing an instal- lation. Currently always returns blank. | 17 Supported data | HS75 User Manual...
-
Page 18: Technical Specifications
Humidity 95% non-condensing Enclosure ISO 60529:2013 for IPx6/IPx7/IPx9 Vibration IEC 60945:2002 Section 8.7 Vibration EMC IEC60945:2002 EN 301 489-1 V2.1.1 EN 301 489-5 V2.1.1 EN 301 489-19 V2.1.0 EN 303 413 V1.1.1 18 | Technical specifications | HS75 User Manual...
Need help?
Do you have a question about the HS75 and is the answer not in the manual?
Questions and answers